
The purpose of this series is to give a basic overview of the gameplay systems, specifications, and general knowledge regarding the current state of FINAL FANTASY XI ("FFXI") for those players who are thinking of returning to Vana'diel after spending some time away from the game.
Here in Volume 3, we'll be discussing various types of non-battle content, including item synthesis, material gathering, and chocobo racing. We'll also cover some of the different in-game campaigns that are held each month.
Synthesis, Synergy, and Fishing
The synthesis system lets you craft various useful items, thereby giving you even more goals to accomplish in the game. When fishing, you can upgrade your high-quality fishing rods such as Lu Shang's fishing rod and the ebisu fishing rod to get even better results.
Synthesizing items from your item history
Go to Synthesis in the main menu and select the History submenu to see a list of recipes for items that you have previously crafted. If you already have the necessary materials in your inventory, simply select the item displayed in order to synthesize it. Your item history shows the ten most recent items that you have synthesized.
/lastsynth
This text command lets you perform the last synthesis you completed.
Storing crystals with moogles
You can store crystals with the Ephemeral Moogle found in the various crafting guilds and your Mog Garden. Up to 5,000 crystals of each element can be stored with the Ephemeral Moogle.
Note: You can invite an Ephemeral Moogle to your Mog Garden by trading 15 star sprinkles for a shimmering invitation.
Synthesis kits
These special kits available for sale in each guild let you synthesize items simply by providing the necessary crystals, helping you to boost your synthesis skill level without having to gather the materials first.
Carpenter's ring
This ring boosts your woodworking success rate, but also prevents you from synthesizing high-quality items.
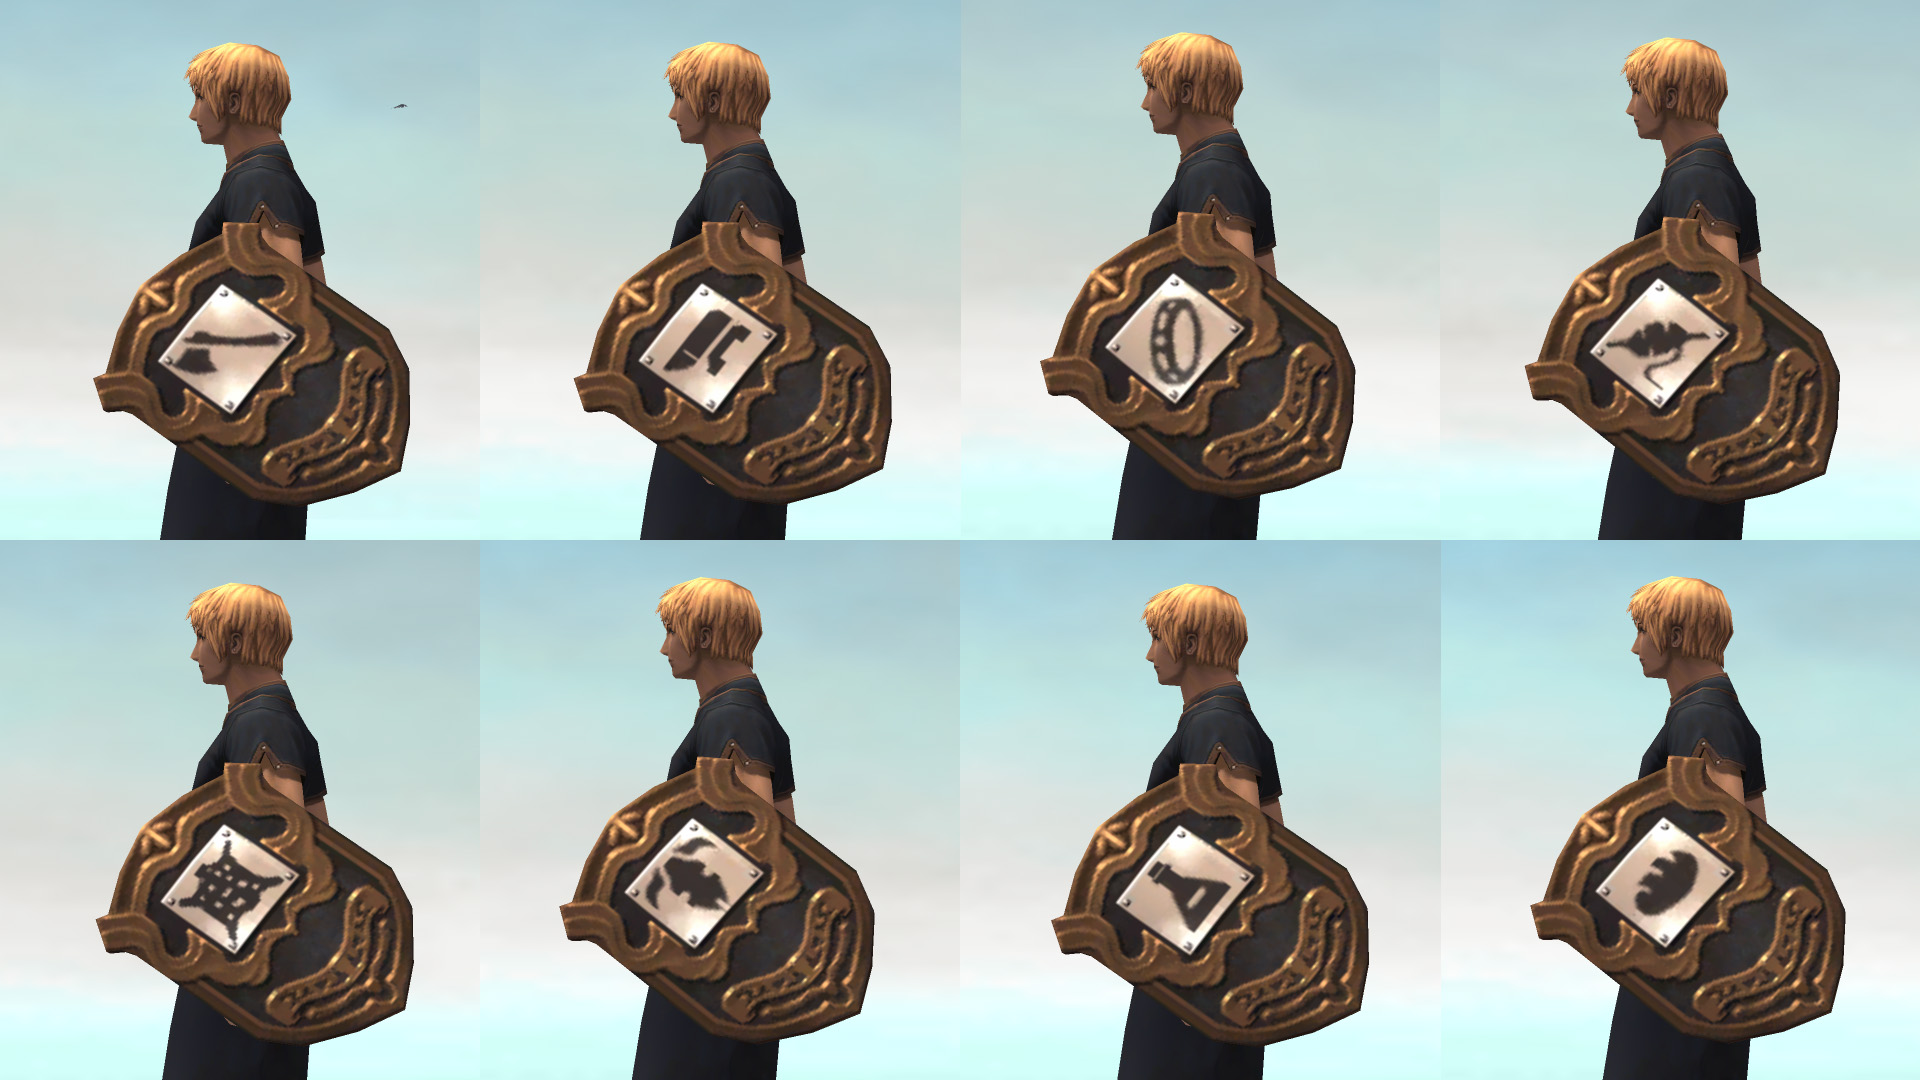
Escutcheons
Escutcheons are shields designed to boost your crafting skills and help you go beyond the rank of Expert craftsman. Complete the objectives given to you by your guild master in order to increase the escutcheon's level and boost its crafting ability. Once you have upgraded your escutcheon to a certain level, you will receive a key item that allows you to synthesize special recipes.
Attain a rank of Expert in a craft (excluding fishing or synergy) and then speak with Mewk Chorosap in Port Jeuno (G-8).
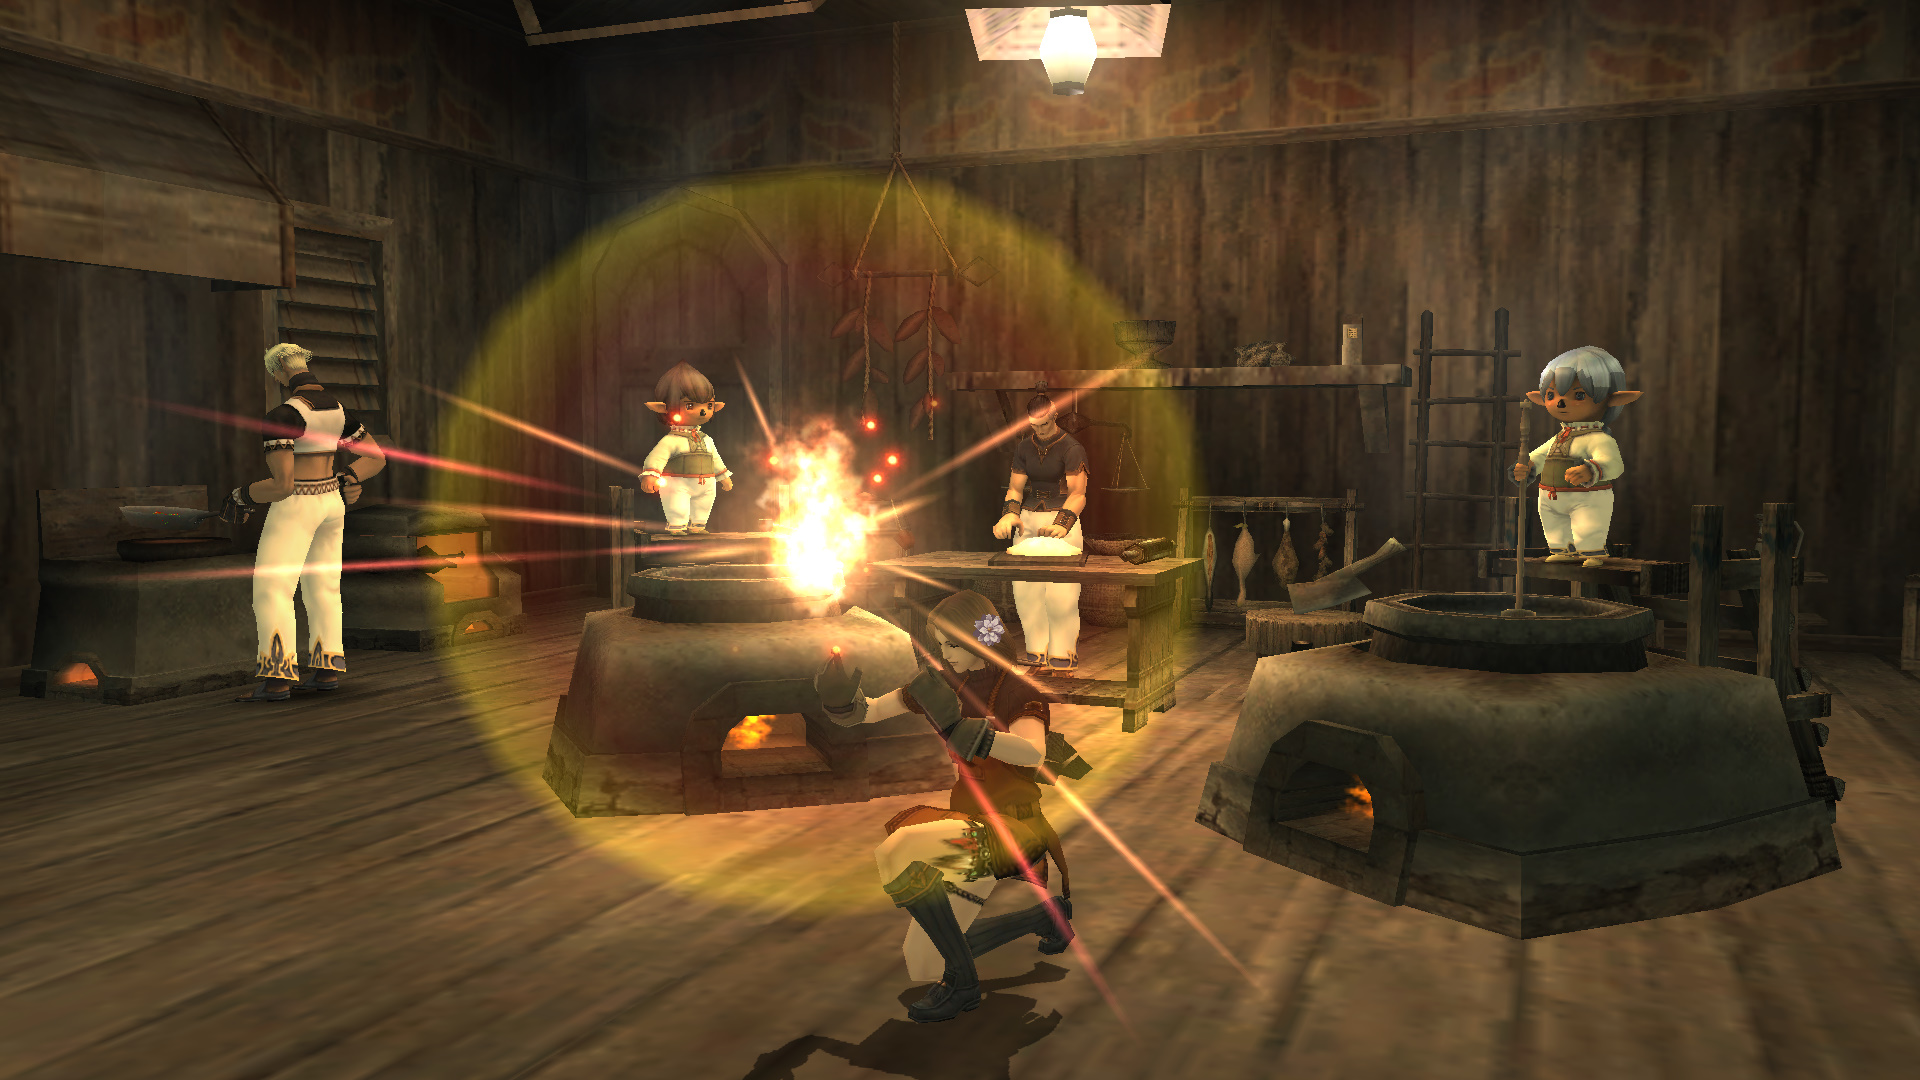
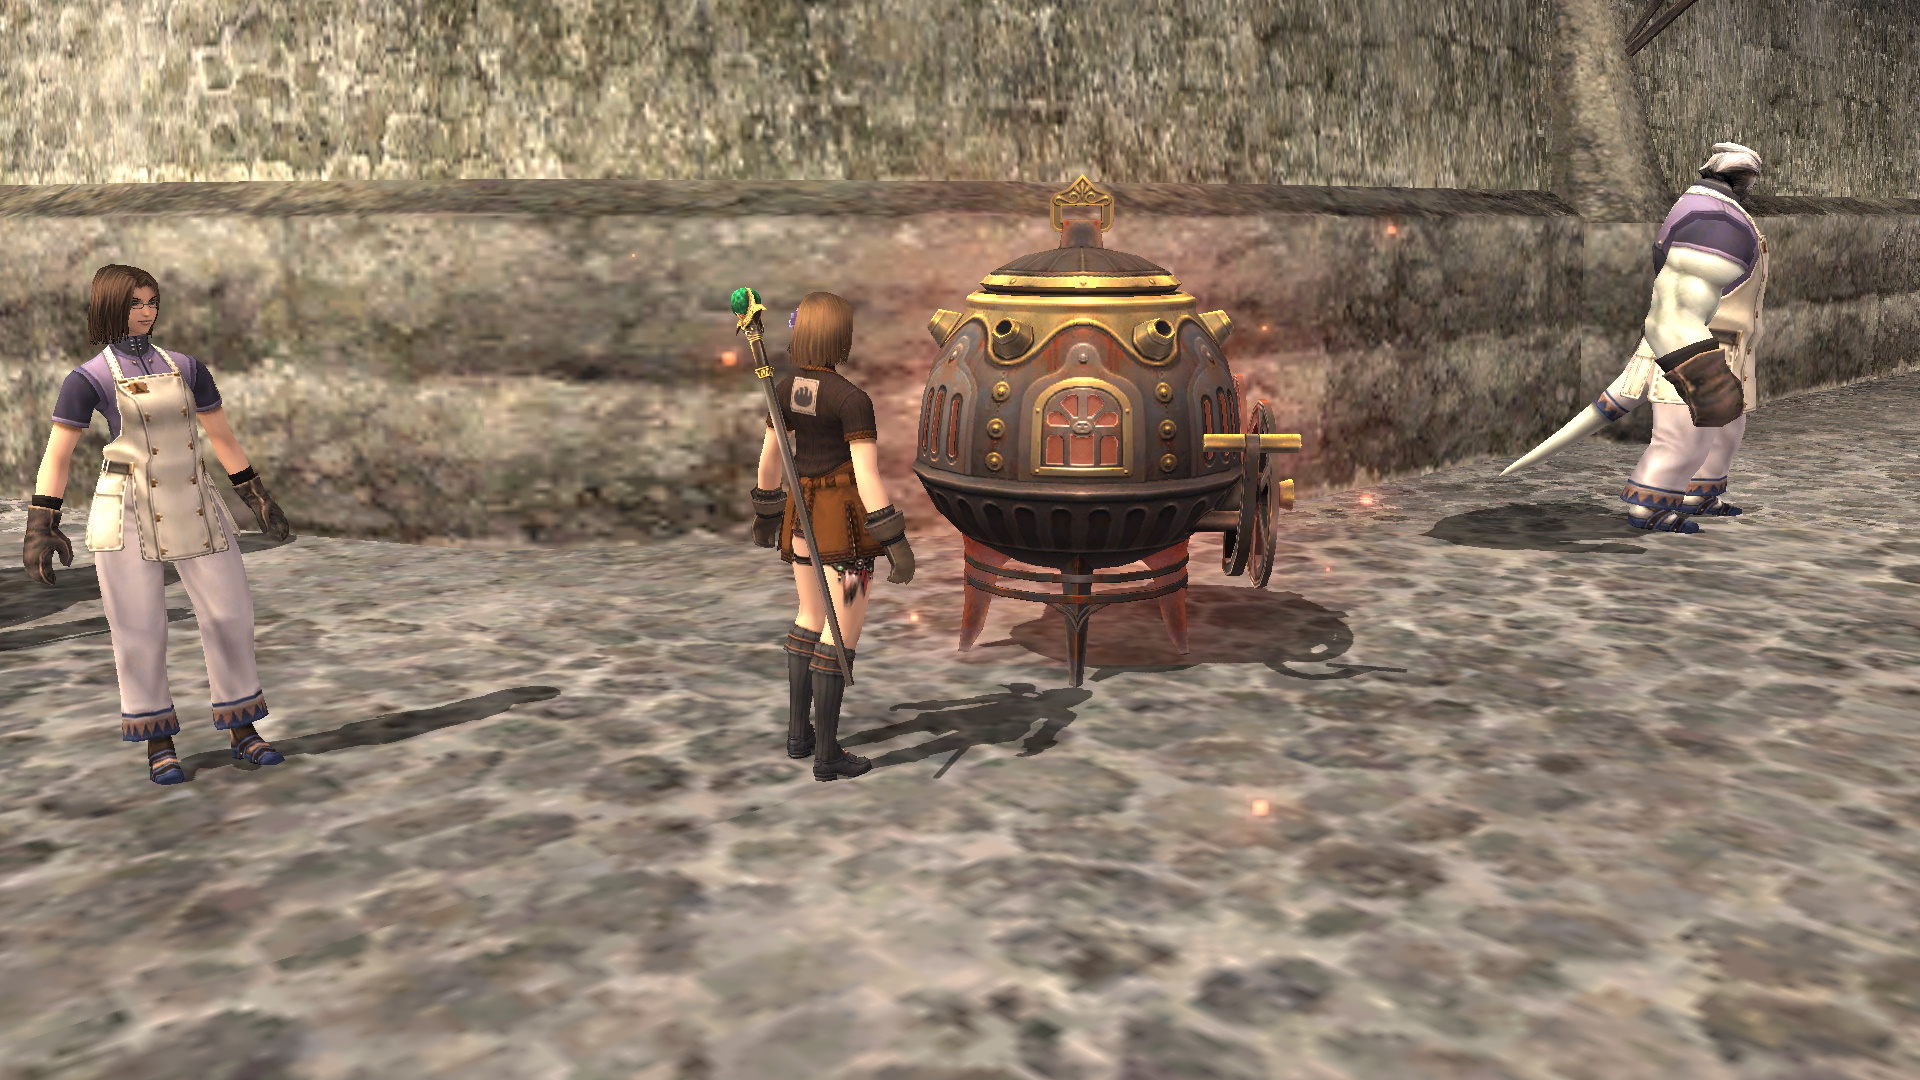
Synergy
This form of synthesis uses a piece of equipment known as a synergy furnace to aid the process. Unlike normal synthesis, this advanced method lets you work together with other players to craft an item. Synergy is used to create various exclusive items, including ones that can upgrade the equipment you receive from login campaigns.
Performing the synergy process
Speak to the Synergy Engineer standing near a synergy furnace and purchase a special substance known as fewell for 100 gil in order to initiate the synergy process.
Note: If the "Synergistic Pursuits" quest is active, you must complete it in order to proceed.
- Southern San d'Oria (D-7), (M-7), (M-8)
- Northern San d'Oria (F-3), (F-4)
- Port San d'Oria (H-9)
- Bastok Mines (H-6), (H-7), (J-8), (K-7)
- Bastok Markets (G-7), (H-10), (I-10)
- Port Bastok (J-7), (I-8), (J-8)
- Windurst Waters (North side L-11), (South side G-8)
- Windurst Walls (I-12), (J-9)
- Port Windurst (C-7), (H-6), (H-7)
- Port Jeuno (H-8), (I-8)
- Chocobo Circuit (H-9), (H-10)
Fishing
There are special quests that allow you to upgrade the quality of Lu Shang's fishing rod and the ebisu fishing rod.
Upgrading your Lu Shang's fishing rod
Speak with Jourdenaux in Rabao (F-8) after fulfilling the requirements listed below in order to accept the "Thanks for All the Fish" quest.
* Be in possession of a Lu Shang's fishing rod.
* Complete the "First Step Forward" quest.
Upgrading your ebisu fishing rod
Speak with Irmilant in Rabao (G-7) after fulfilling the requirements listed below in order to accept the "Fish Favors the Bold" quest.
* Be in possession of an ebisu fishing rod.
* Catch at least 100 different fish.
(Your catch will consist of fish caught from the June 2015 version update onward.)
* Install and register the following expansion packs:
Rise of the Zilart / Chains of Promathia / Treasures of Aht Urhgan / Wings of the Goddess / Seekers of Adoulin / Scars of Abyssea

Mining, Logging, and Harvesting
When engaging in activities such as mining, logging, and harvesting, the gathering points for their resources will visibly light up, making them easier to find than they were previously. Mining points and excavation points are colored blue, logging points are colored yellow, and harvesting points are colored green. Also, you can now stack up to 99 pickaxes, hatchets, and sickles.
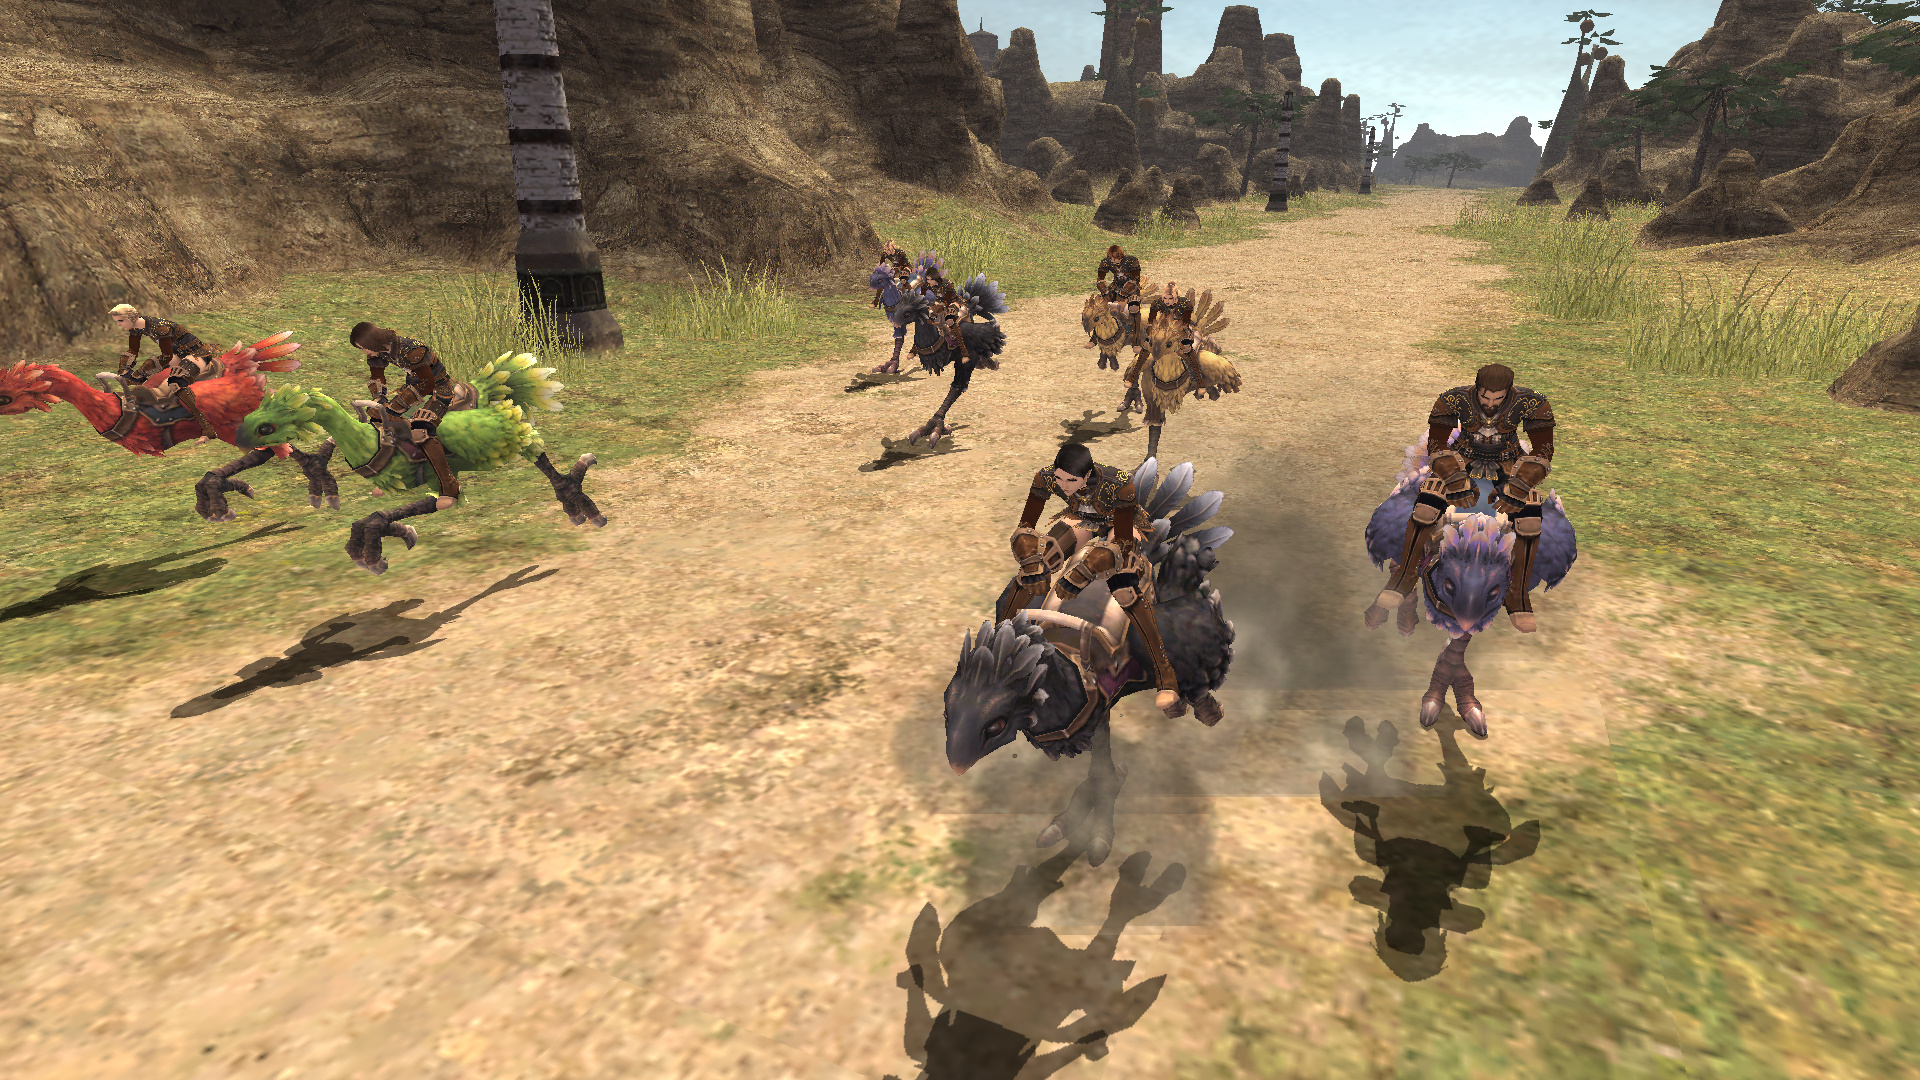
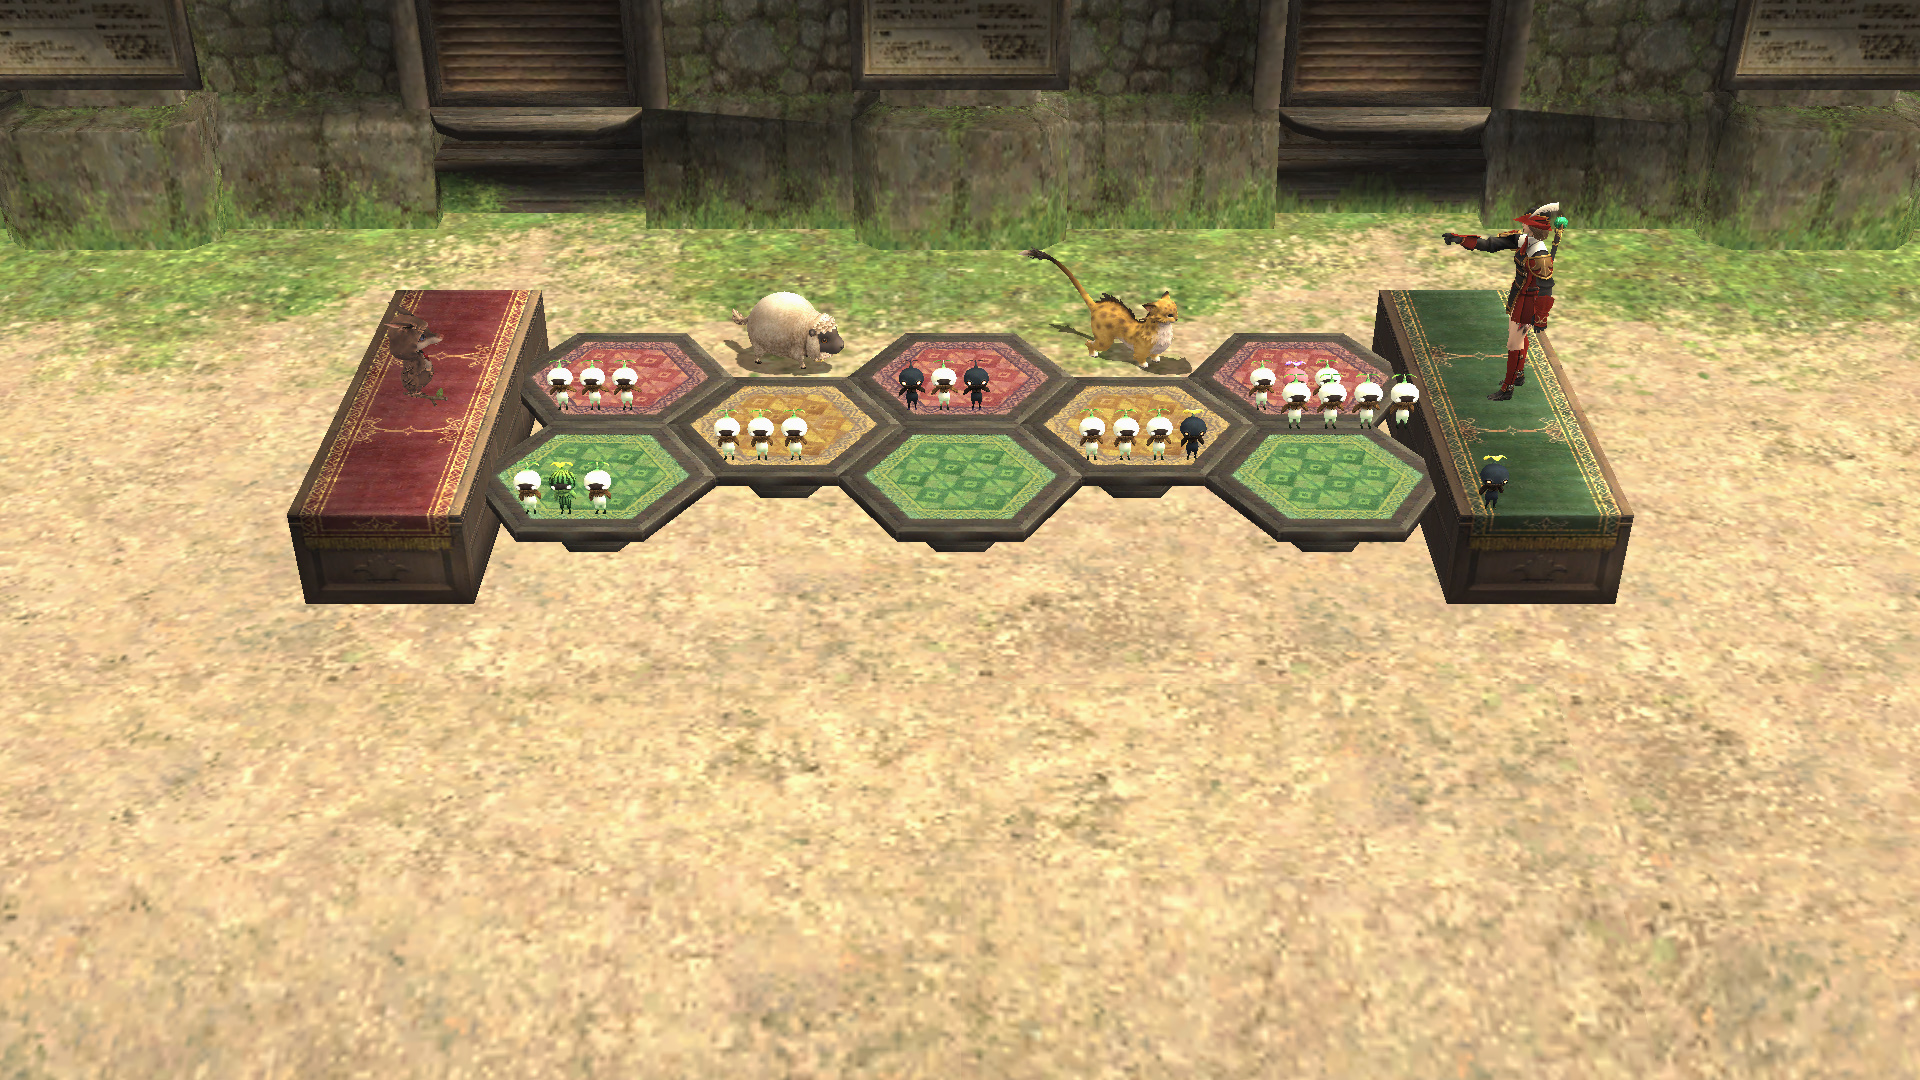
Chocobo Racing
The Chocobo Circuit is a venue for chocobo racing, allowing you to race chocobos against other players in action-packed competition. You can also place bets on chocobos that you think will win a race.
- Southern San d'Oria (H-11)
- Bastok Mines (J-9)
- Windurst Woods (K-12)
- Port Jeuno (J-8)
- Aht Urhgan Whitegate (G-6)
Watching chocobo races
You can watch chocobo races from the Chocobo Circuit's grandstand. Speak with the NPC at the grandstand entrance and do one of the following to gain entry: pay an admission fee of 50 gil, purchase a chocobet ticket, or use the Chocobo Circuit grandstand pass key item that you receive when registering your chocobo in a race.
Chocobo Digging
When riding a rental chocobo or one of your own, you can use food (gysahl greens) in order to get it to dig a hole where it's standing. Your chocobo can find various kinds of items on its digs, including ore, timber, and other resources, as well as Shadowreign era currencies, alexandrite, and heavy metals. Additionally, you can now dig in a wider range of areas than when the feature was first implemented.
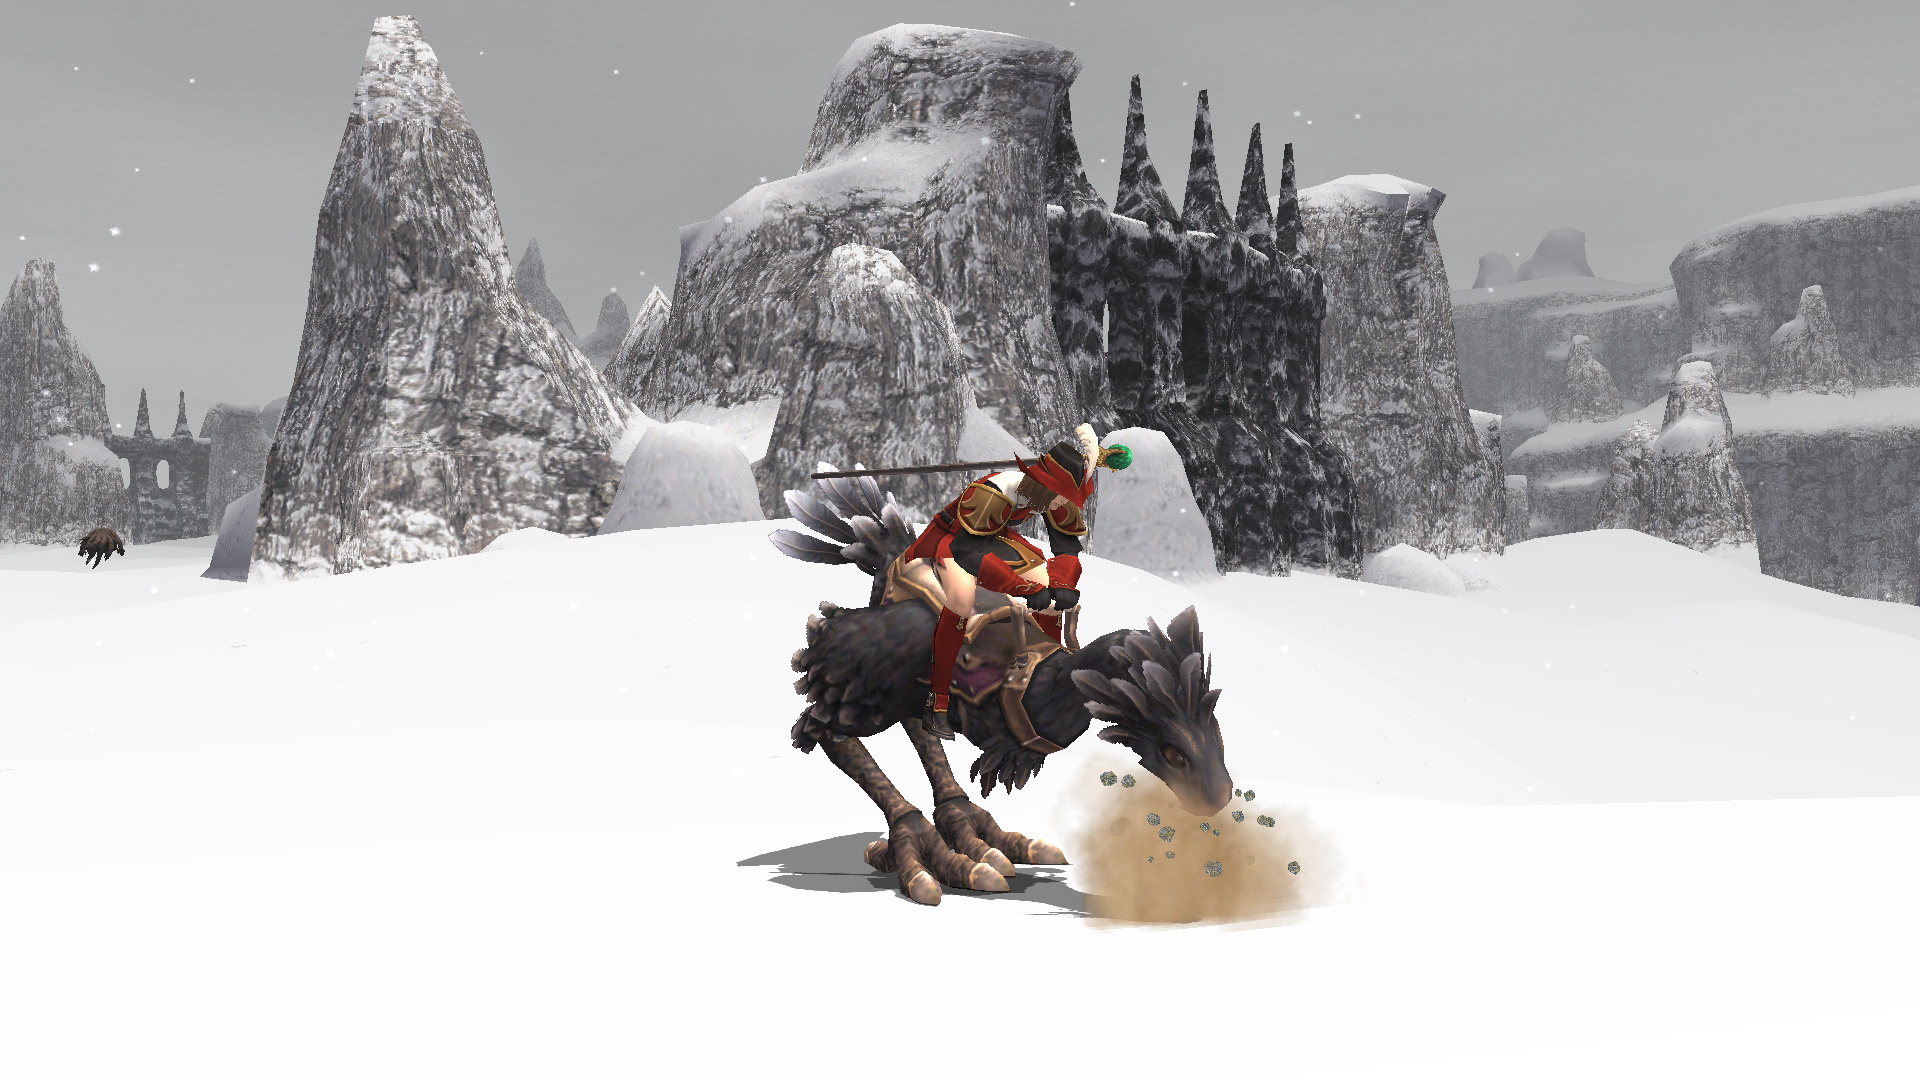
Effects of your chocobo's stats
When digging with your chocobo, its stats will affect the results of the dig in the following ways:
STR (Strength): Provides a bonus to beastmen currencies gained.
END (Endurance): Helps prevent the chocobo from feeling tired.
DSC (Discernment): Occasionally stops the chocobo from consuming gysahl greens.
RCP (Receptibility): Increases the chance of obtaining rare items.
Note: Your chocobo must be re-registered after applying the June 2016 version update in order for the stat bonuses to take effect.
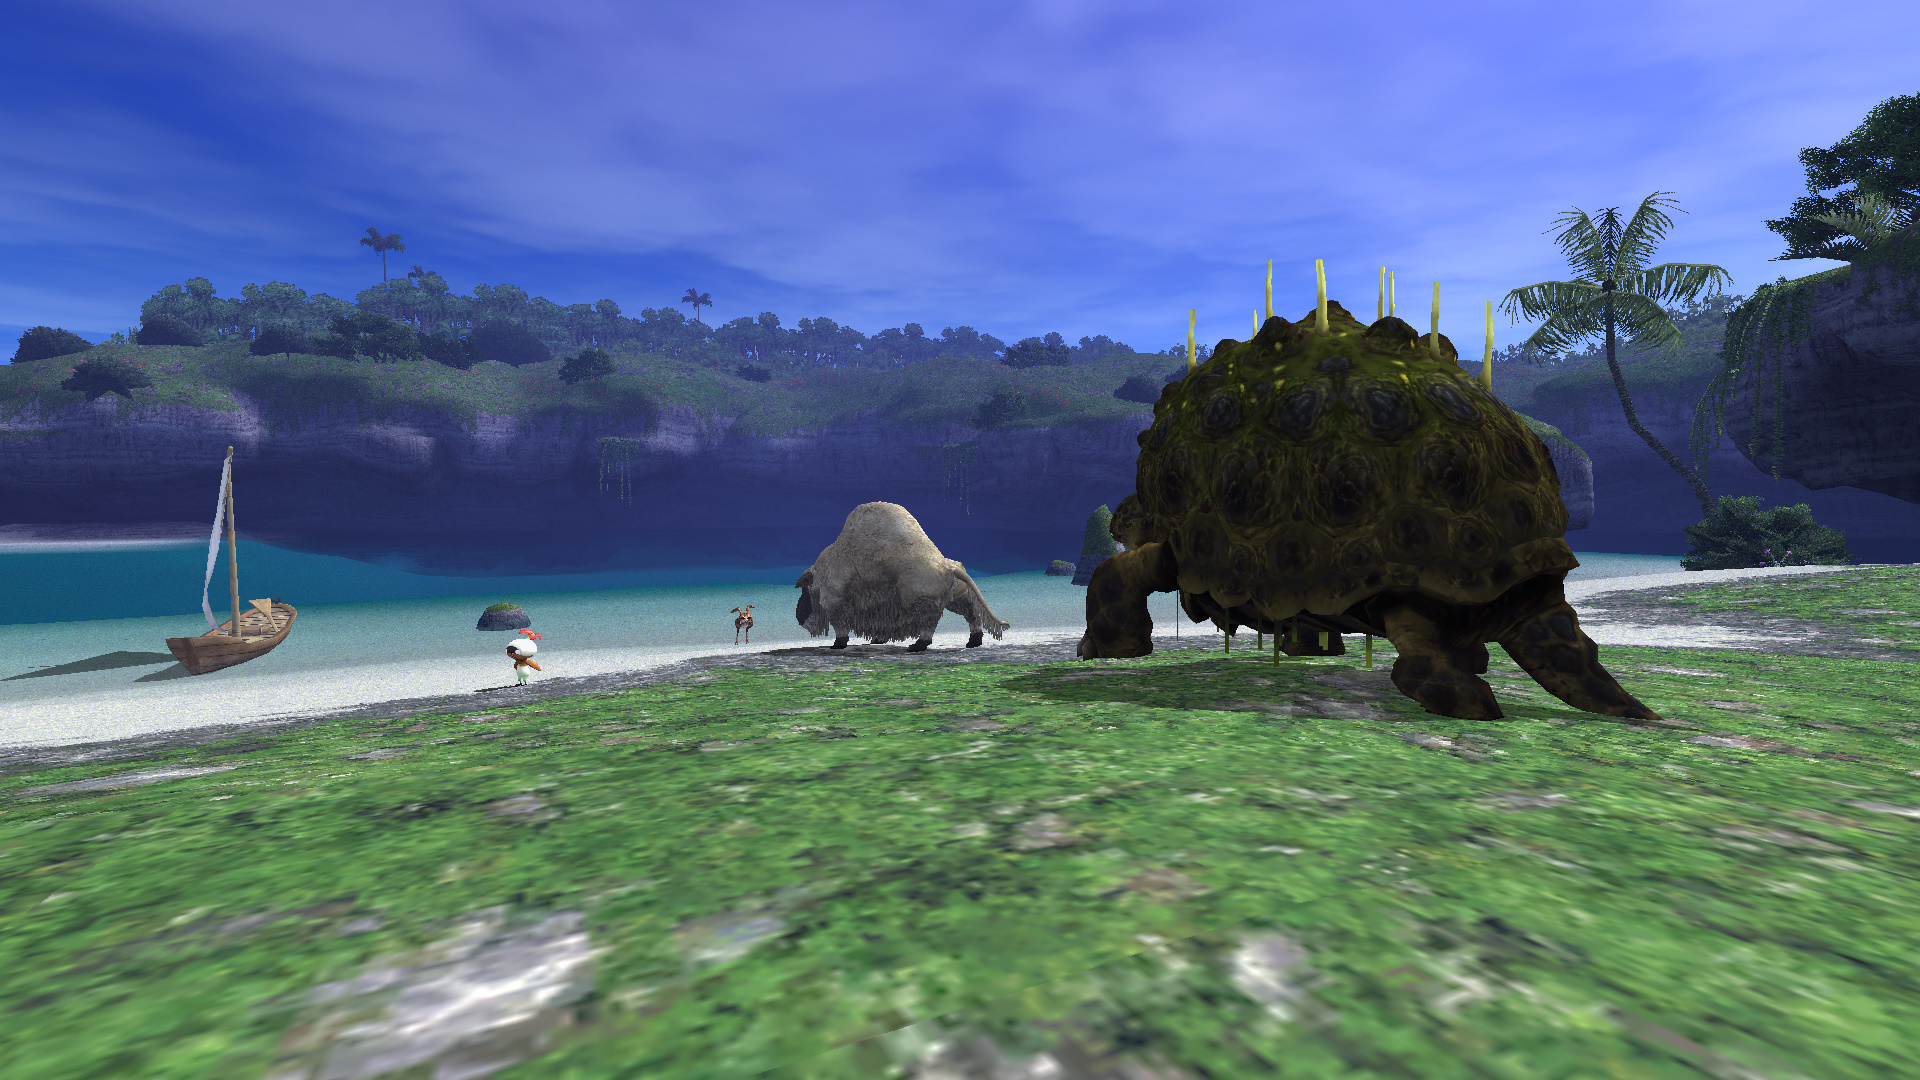
Mog Gardens
Mog Gardens are private parcels of land where you can gather items from the garden furrows, arboreal groves, mineral veins, coastal fishing nets, and pond dredgers located there. You can also rear monsters and perform various other tasks as well. Each of these geographical features where you can harvest resources have their own rank and you will be able to obtain items of increased quantity and quality as their rank increases. In addition, there are also some quests that will be activated when their rank increases.
You can enter the Mog Garden by fulfilling the following requirements and speaking to one of the NPCs listed below.
Note: You must have attained rank 3 in either your current or past home nation, or be in possession of the pioneer's badge key item.
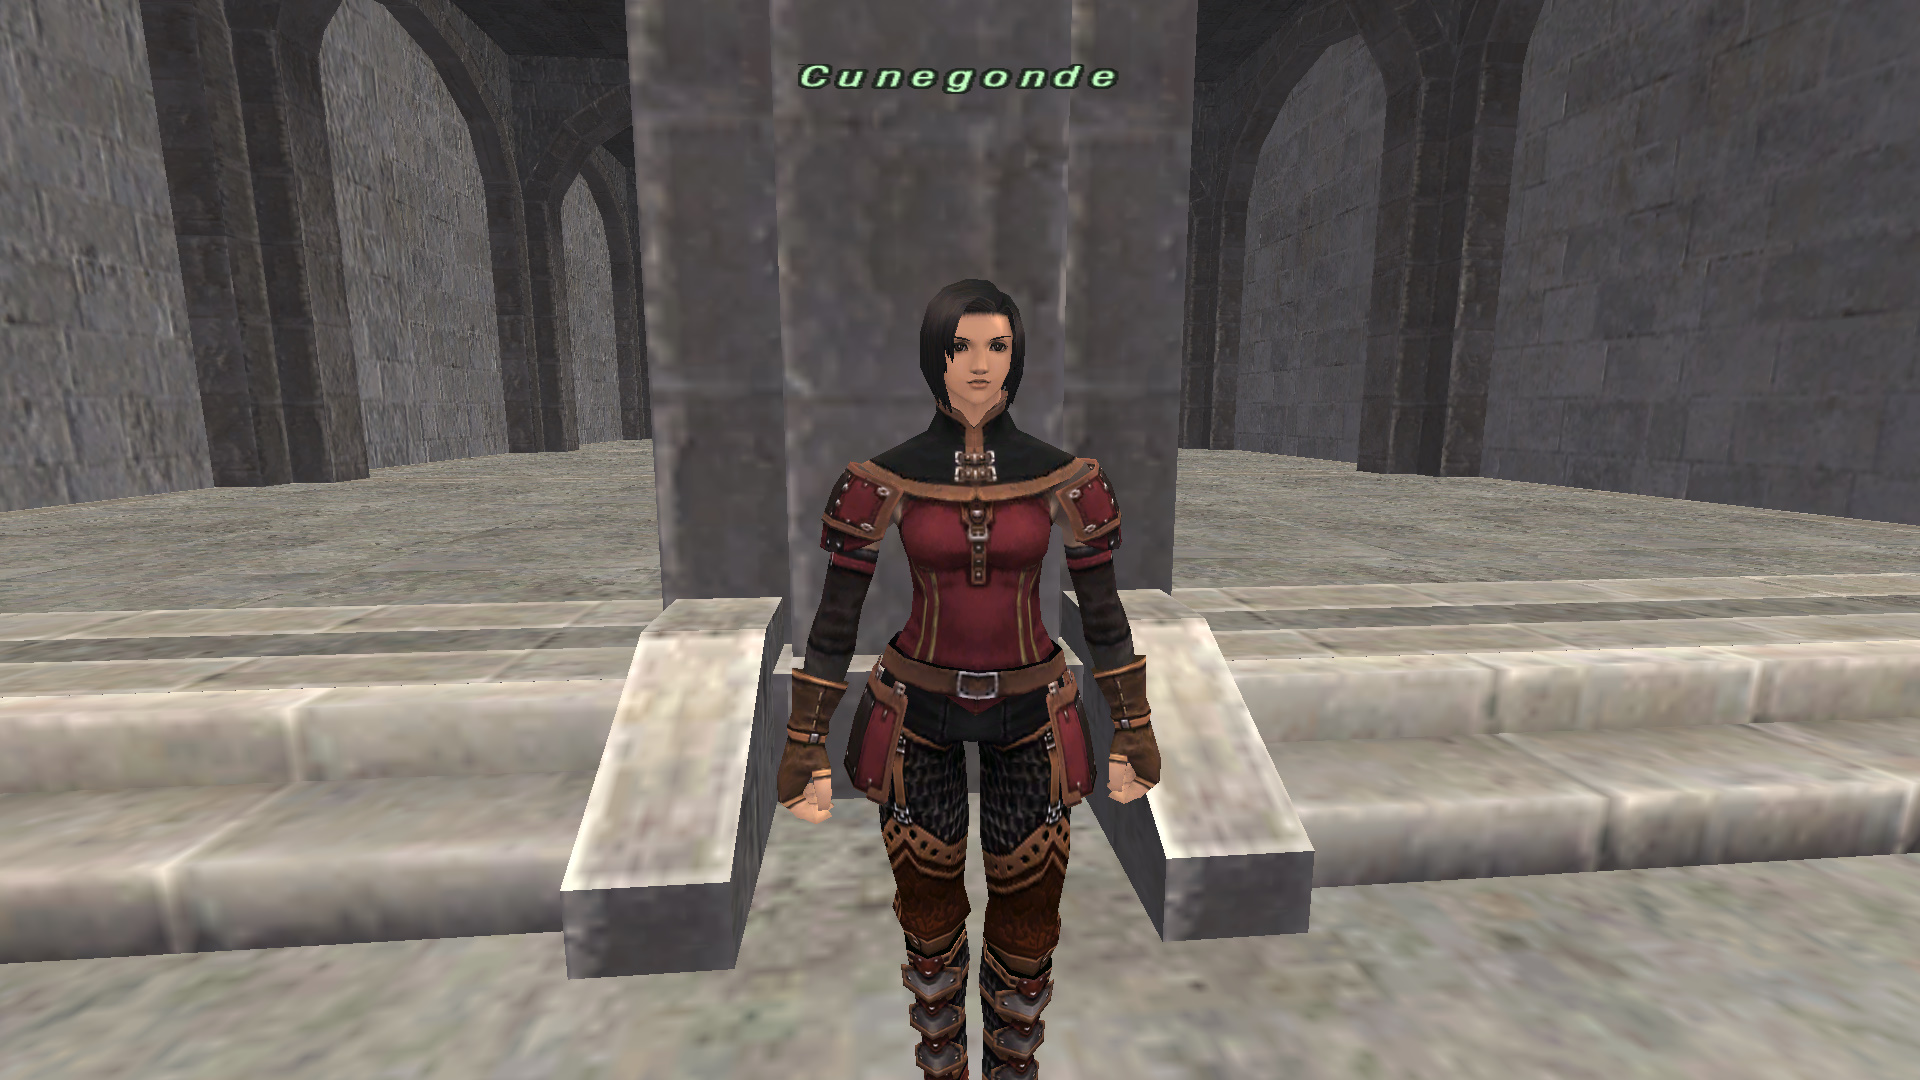
Cunegonde in Eastern Adoulin (G-11)
Dangueubert in Western Adoulin (H-11)
Mog Dinghy in Port San d'Oria (I-8)
Mog Dinghy in Port Bastok (K-11)
Mog Dinghy in Port Windurst (C-8)

Increasing the rank of geographical features
Once you have harvested a certain number of times from a gathering point, you can purchase a key item from the NPCs listed below that will boost the rank of that geographical feature. The number of times you can harvest from a given point per day is fixed, so it's vital that you continue gathering resources every day in order to increase the rank of that geographical feature.
Zenicca in Western Adoulin (E-9)
Skipper Moogle in Port San d'Oria (I-8)
Skipper Moogle in Port Bastok (J-11)
Skipper Moogle in Port Windurst (C-8)
Monster Rearing
Once you meet the requirements listed below, speak to the Green Thumb Moogle to trigger an event and get Chacharoon to appear in your Mog Garden. Afterwards, complete the related quests and you will gain the ability to rear monsters. The monster rearing feature lets you raise monsters to maturity, where they can provide you with materials and also give you a cheer-like effect known as a "memento." Once you obtain a memento, you'll be able to purchase more items from the Green Thumb Moogle and obtain additional Chacharoon's Cheer effects. Receiving a memento cheer effect from Chacharoon can give you stat boosts and experience point bonuses.
Achieve an average rank of 4 or higher for each of the five geographical features within your Mog Garden (garden furrows, arboreal groves, mineral veins, coastal fishing nets, and pond dredgers).
Recruit Susuroon from the assistants that help with the gathering points at least one time.
(Recruiting Susuroon requires the use of a rusted coin that can be acquired from your coastal fishing net.)
Super Kupowers
These mysterious powers provide various benefits for all of the adventurers within the affected area once a set of missing mog tablets are found, with three powers selected at random from the list of eleven below. The effects of the powers will remain active for one week (Earth time). A message indicating the active Super Kupowers will be displayed in the chat window only when entering an affected area. The effects of the Super Kupowers will be removed one week following their activation. After a set period of time, the mog tablets will be scattered throughout the world once again and the quest will begin anew.
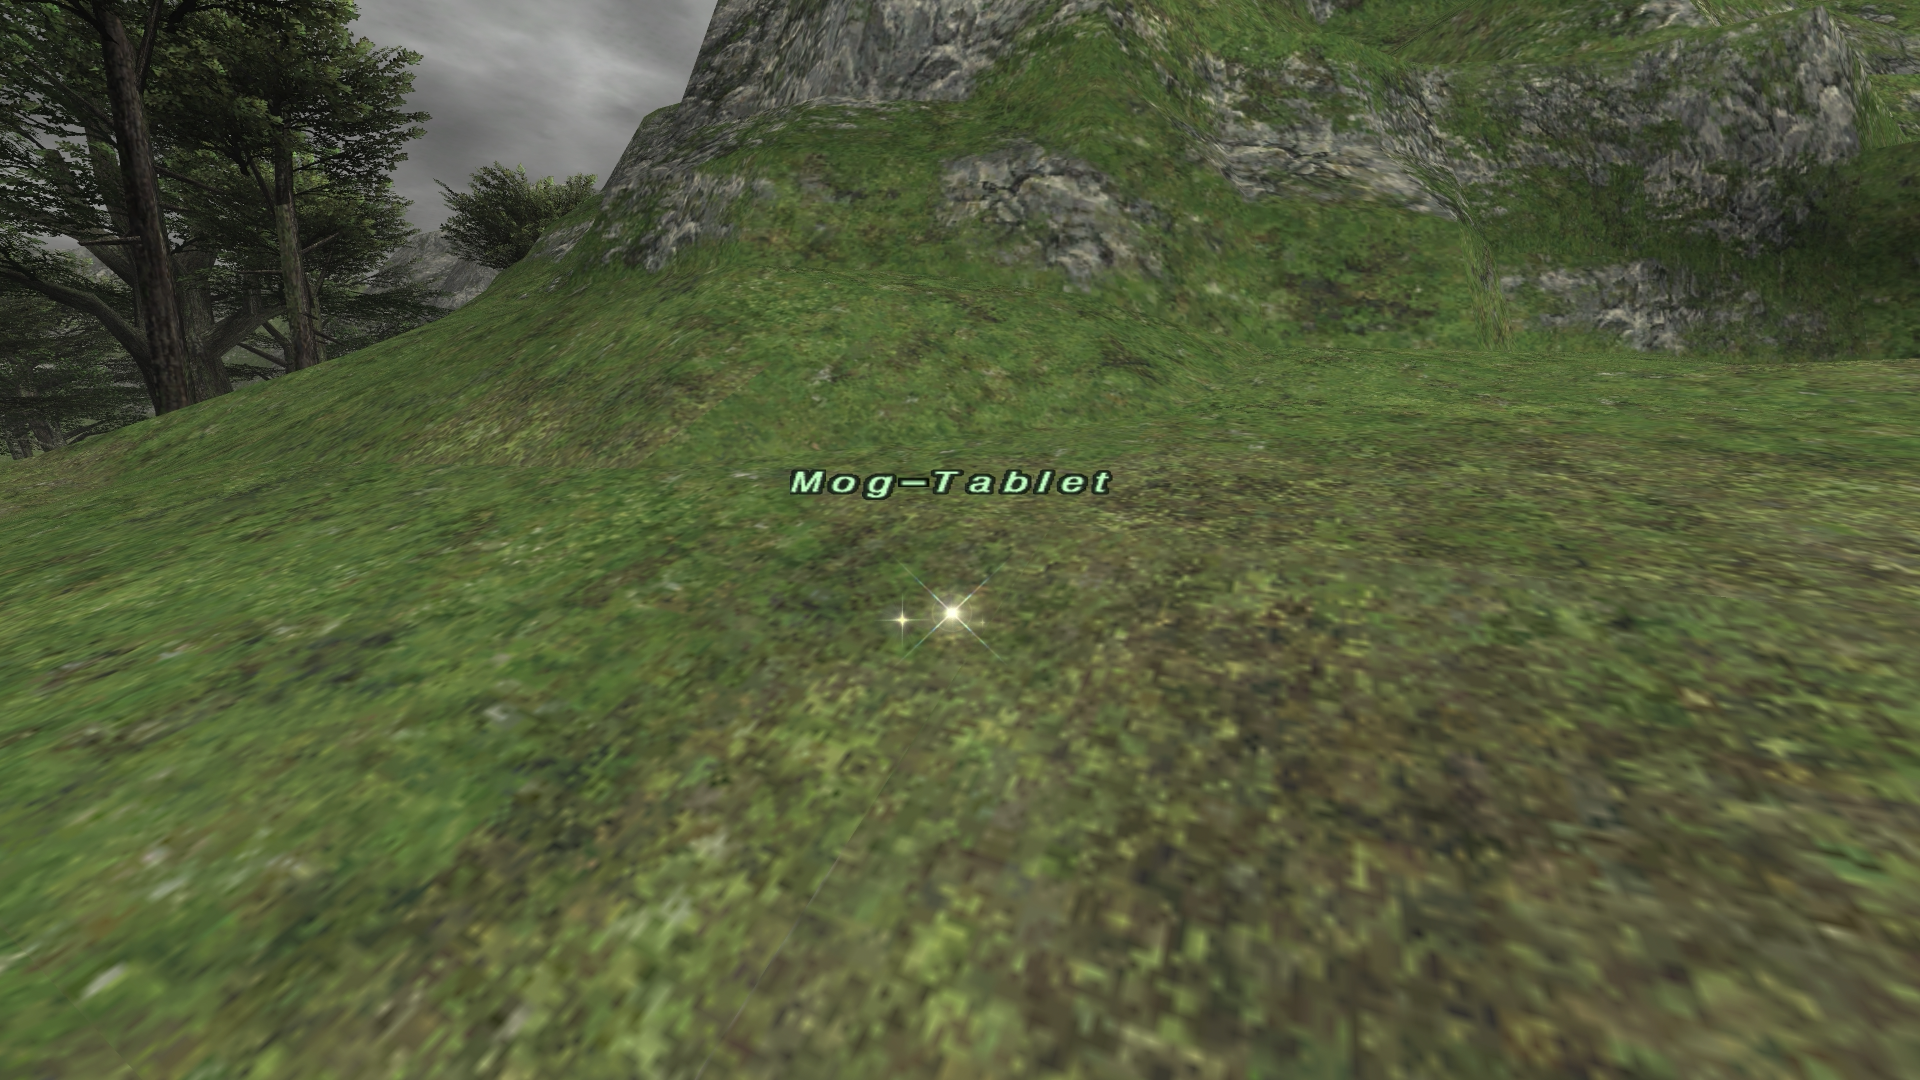
Rewards for discovering mog tablets
When you find a mog tablet, head to the Explorer Moogle in Ru'Lude Gardens (H-9) to collect a special reward.

Super Kupowers effects
Crystal Caboodle: It is easier to collect crystals with the Signet effect active (crystals can drop in beastmen-controlled areas).
Thrifty Transit: You can teleport between outposts and also outposts with survival guides for free. Speak with the Explorer Moogle to utilize the teleportation service between San d'Oria, Bastok, Windurst, Mhaura, and Selbina.
Martial Master: Your combat, magic, and automaton skills increase more rapidly as an added bonus to your Signet.
Blood of the Vampyr: The effect of Signet will be boosted with the abilities of Regeneration and Refresh.
Treasure Hound: Signet will grant you the Gilfinder and Treasure Hunter abilities.
Artisan's Advantage: Significantly lowers the chances of losing ingredients due to failed synthesis.
Swift Shoes: Adventurers who are fully rested and healed can run faster (up to 60 minutes).
Myriad Mystery Boxes: Treasure Caskets will appear more frequently.
Dilatory Digestion: Food effects will last twice as long.
Boundary Buster: Doubles the amount of Conquest Points received from defeating enemies.
Bountiful Bazaar: All regional merchants in each of the three nations will be open for business.
Minigames
How about participating in some enjoyable minigames to while away the time between your adventures?
Mandragora Mania
The Mandragora Mania minigame that was introduced as part of the Anniversary Events in 2020 and 2021 can now be played at any time. Mandragora Mania is a minigame where you compete against an NPC. Players take turns moving their mandragora pieces on the game board to score points and the player with the most points at the end of the game wins. Please refer to the game for more information regarding the rules.
Southern San d'Oria (K-10)
Bastok Mines (I-9)
Windurst Walls (C-12)
Ru'Lude Gardens (G-9)
Rabao (G-6)
Mhaura (G-9)
Eastern Adoulin (H-10)
Chocobo Circuit (H-9)
Mog Garden
Mandragora Mania rewards
Regardless of the outcome, both players get to keep all of the jingly that they earned from securing areas during the game. Once you have earned enough jingly, you can trade it to the Mandragora Assistant for various items. You do not lose your jingly upon trading for an item, since the prizes are based on the total amount of jingly earned. Your jingly count is reset with each month's version update and you can also pay 10,000 gil to reset the rewards you acquired for one time only.
Lucky Roll
Those who wish to play a game of Lucky Roll need to pay one of the NPCs listed below 100 gil and they will be given one roll of a six-sided die. The number rolled is added to the running total for the day and the player that puts the total over 400 wins a prize of 10,000 gil.
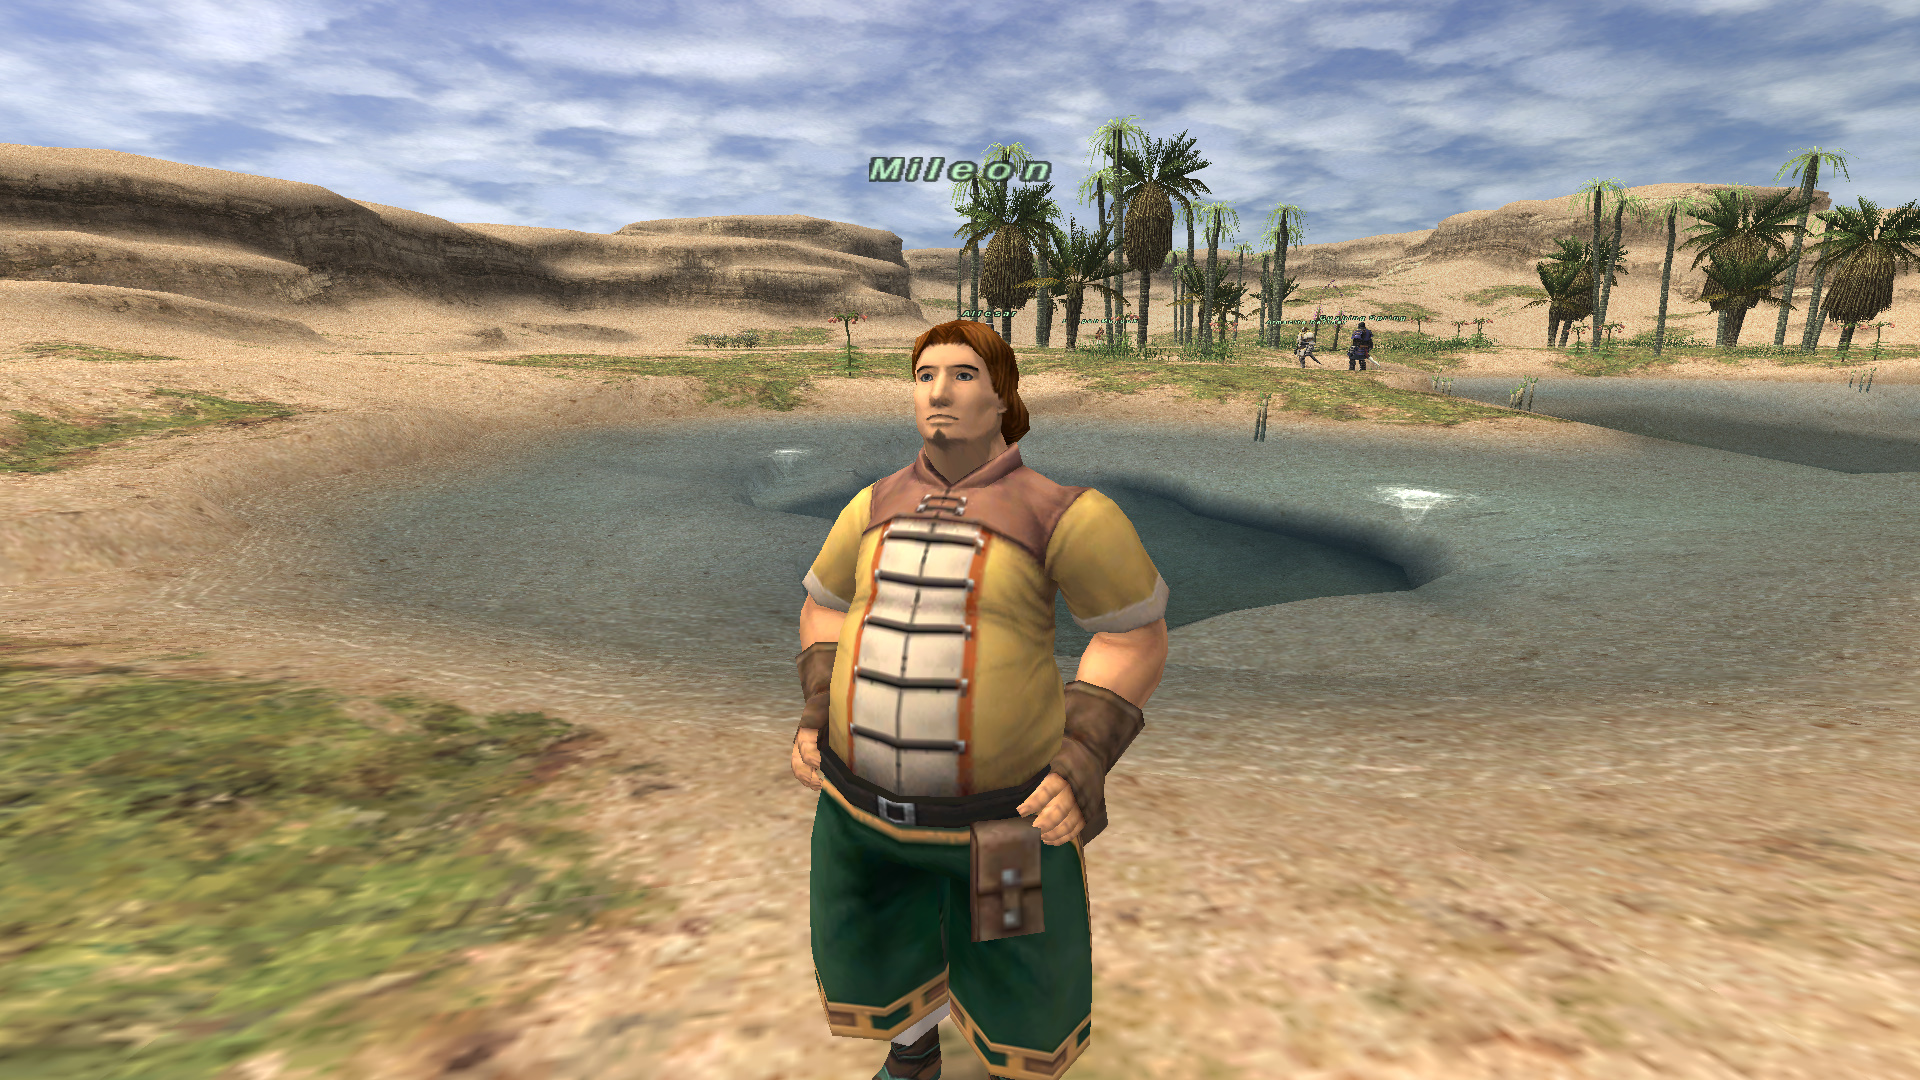
Mileon in Rabao (H-7)
Repat in Norg (H-8)
Venture Roll
This minigame is for two to four players. First, agree to play a game at one of the game tables in the areas listed below and the game will begin if enough players arrive within the time limit. The players roll a six-sided dice and try to reach a total of 11. You can roll the dice as many times as you like for one minute from the game's start, but you will lose the game (go bust) if you exceed a total of 11. The winner will receive the pot made up of the participation fee paid by each player.
Note: The required participation fee varies between 300 gil and 10,000 gil and will differ by location.
Southern San d'Oria (K-6)
Northern San d'Oria (F-6)
Port Bastok (E-6)
Northern Windurst Waters (F-10)
Windurst Woods (I-13)
Upper Jeuno (F-7) *Inside the Marble Bridge
Lower Jeuno (H-8)
Port Jeuno (I-8)
Nashmau (G-9)
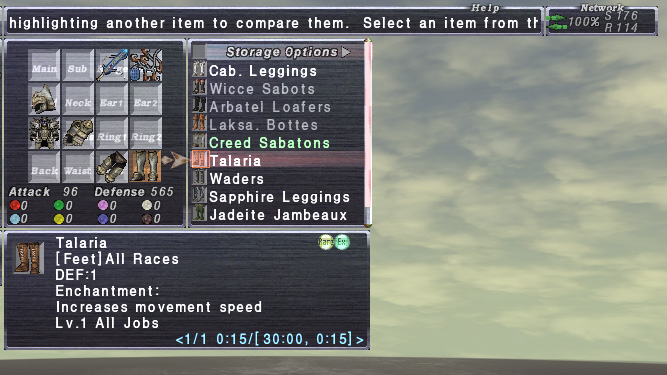
Gobbie Mystery Box
Speak to one of the Goblins listed below and spend the special currency known as daily tally to open a Gobbie Mystery Box. You will receive various items depending on which dial you choose to spin. The special dial can also give you rare items and item level equipment.
Note: The Gobbie Mystery Box is unavailable if you created your character fewer than 45 days ago (Earth time).
Mystrix in Southern San d'Oria (L-7)
Habitox in Port San d'Oria (I-10)
Bountibox in Bastok Mines (K-9)
Specilox in Bastok Markets (I-7)
Arbitrix in Windurst Walls (C-14)
Funtrox in Windurst Woods (G-7)
Priztrix in Upper Jeuno (I-10)
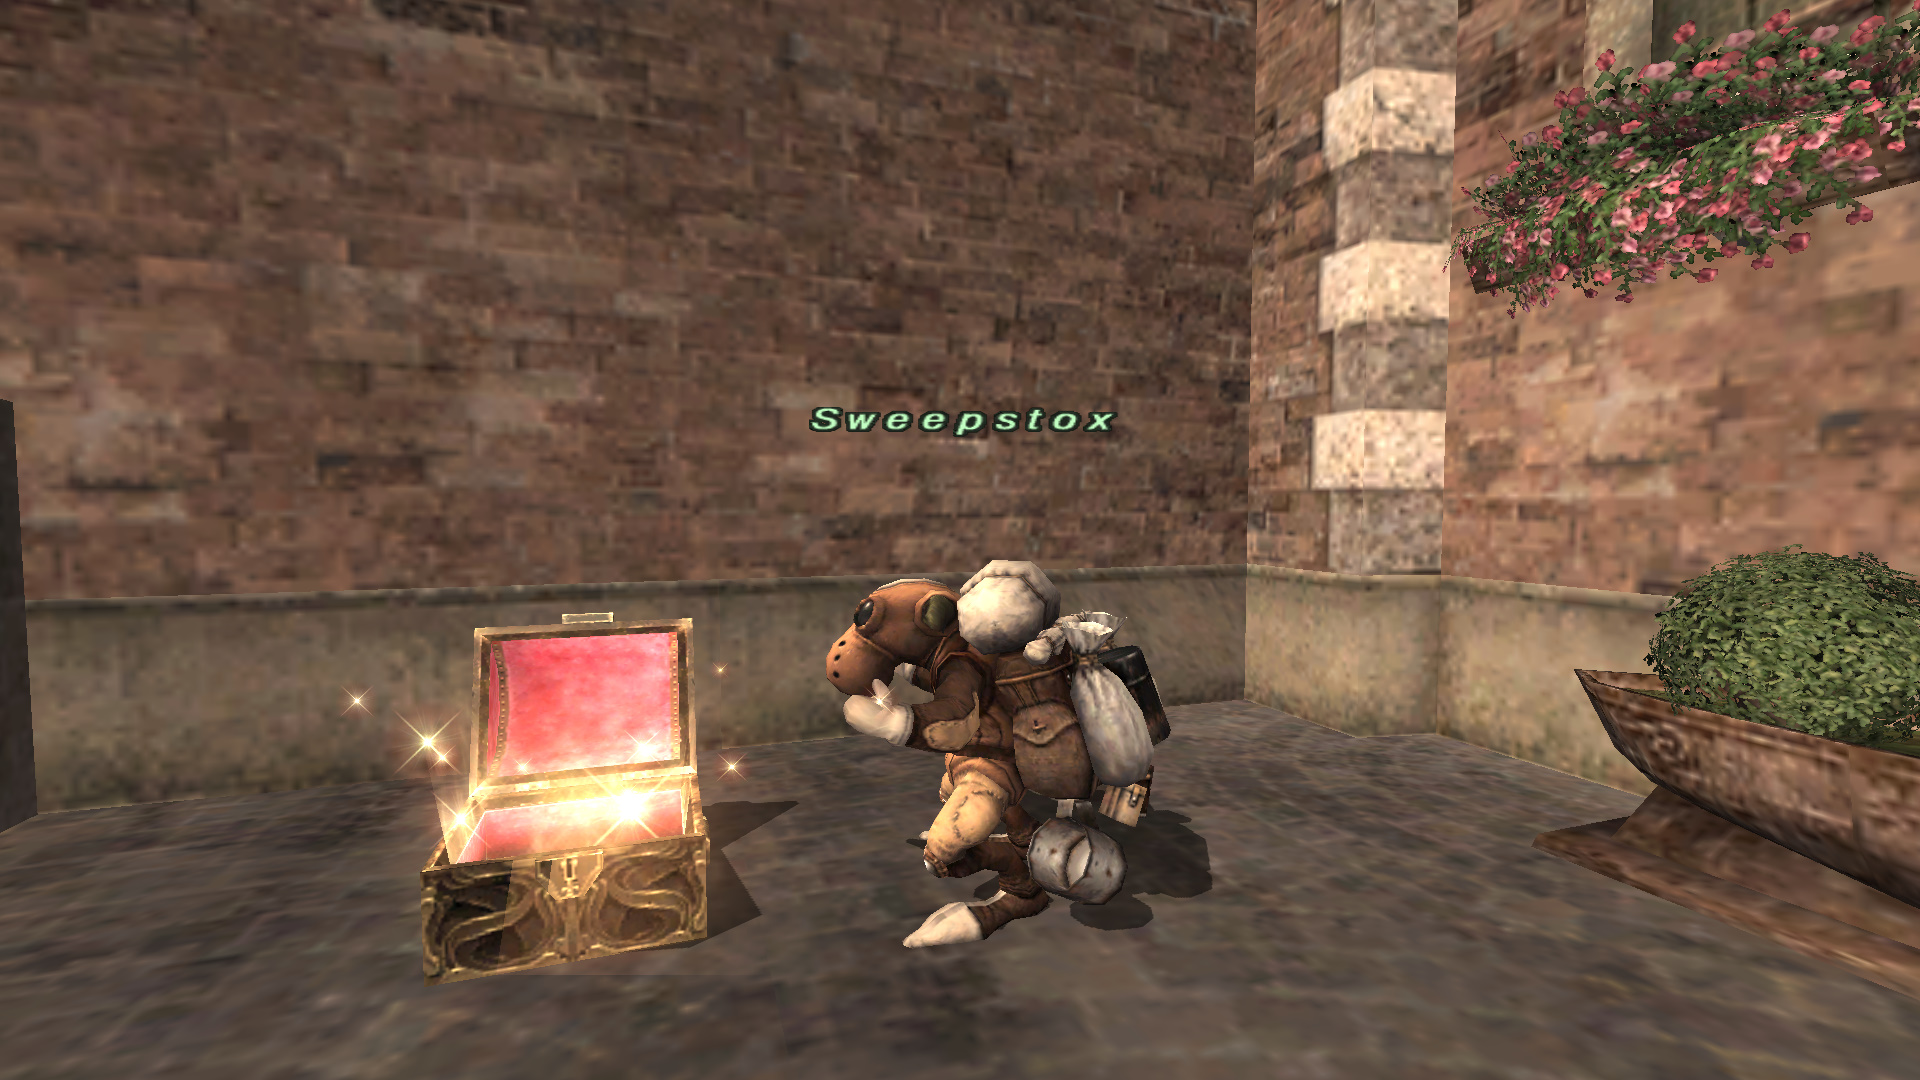
Sweepstox in Lower Jeuno (I-6)
Wondrix in Aht Urhgan Whitegate (F-11)
Rewardox in Western Adoulin (H-10)
Winrix in Eastern Adoulin (G-10)
Acquiring Daily Tally
Once you speak to one of the Goblins listed above, 10 points will be added to your daily tally every Earth day at 7:00 a.m. (PST) / 8:00 a.m. (PDT) / 3:00 p.m. (GMT) / 4:00 p.m. (BST). You can also add to your Daily Tally by trading certain items to the Goblins. You are limited to a maximum of 50 points per Earth day from trading items to the Goblins.
Dial Keys
Trade a Dial Key to one of the Goblins listed above to spin the corresponding dial.
Special gobbiedial key Can be used to open the special dial of the Gobbie Mystery Box. Using this item makes it more likely that you'll receive equipment than when using Daily Tally.
Dial key #ANV Can be used to open the anniversary dial of the Gobbie Mystery Box. Using this item can give you special items that do not appear in the special dial.
Dial key #Ab Can be used to open the abjuration dial of the Gobbie Mystery Box. Using this item can give you various abjurations and cursed items.
Dial key #Fo Can be used to open the fortune dial of the Gobbie Mystery Box. Using this item can give you items that are used to upgrade your equipment.
Brief Campaign Overview
The game features a variety of special in-game campaigns designed to help support adventurers.
Login Campaign
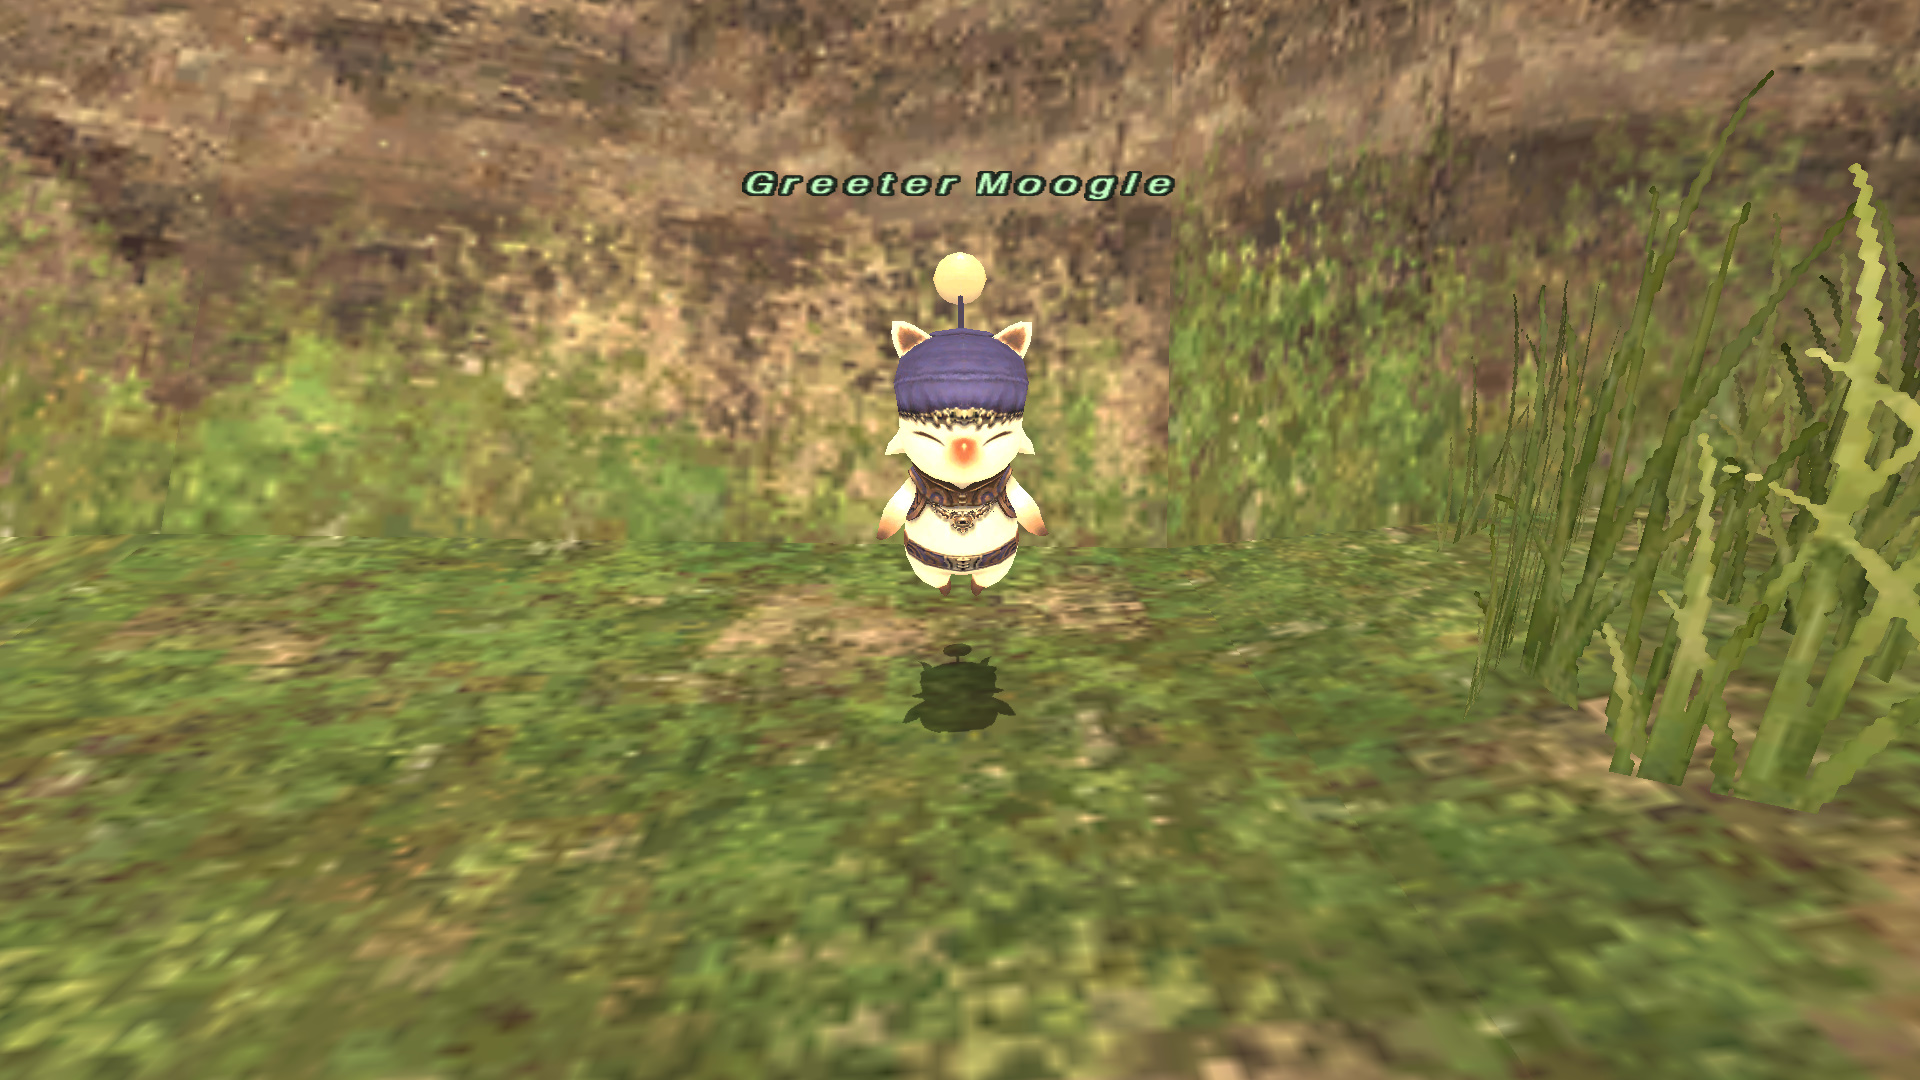
You are given special login points for each day that you log into the game during the campaign period. The login points that you receive can be exchanged with the Greeter Moogle for exclusive equipment, furnishings, and mounts. Up to 1,500 login points can be carried over to the following month.
Port San d'Oria (J-10)
Port Bastok (J-13)
Windurst Walls (C-13)
Chocobo Circuit (H-8)

Various Other Campaigns
There are also various limited-time campaigns that can give you additional experience and capacity points, rewards for specific battle content, and others that can help you on your adventures. It's a good idea to plan your adventures around the various campaign contents. Here is an overview of some of the campaigns available in the game. For more details on each campaign, please refer to them when they are available.
Chain Experience Bonus Campaign
Chain Capacity Point Bonus Campaign
These campaigns help you earn additional experience and capacity points. The size of the bonus is based on the experience chains and can yield up to triple the usual number of points for the duration of the campaign.
Alter Ego Extravaganza
This campaign lets you obtain alter egos that can fight alongside you in battle. You can also acquire alter egos that are normally hard to obtain.
Adoulin Dial Campaign
Abjuration Dial Campaign
Wanted Dial Campaign
You can open the special dial of the Gobbie Mystery Box once per day without using Daily Tally. Additionally, there is an increased chance of receiving equipment when opening the special dial of the Gobbie Mystery Box while this campaign is active.
Voidwatch Campaign
When this campaign is active, every Voidwatch battle starts with alignments at the maximum level. (Note: This does not apply to Beguiling Radiance, Seductive Radiance, Maddening Radiance, or Provenance Watcher.) During the campaign, you will obtain key items even when defeating monsters without hitting their weaknesses.
Additional Seal Battlefield Spoils Campaign
When this campaign is active, defeating monsters in specific battlefields below will drop a variety of items, including Mog Kupons I-Seal (can be exchanged for resources needed to upgrade empyrean equipment), various materials, Shadowreign era currencies, synthesis materials, and more. Additionally, Shemo in Port Jeuno (H-8) will exchange seals and crests at a reduced rate of 2:1.
Macrocosmic Orb Campaign
When this campaign is active, defeating specific monsters in battlefields that can be accessed with the use of a Macrocosmic Orb will occasionally drop copies of Rem's Tale, Shadowreign era currencies, alexandrite, heavy metals, and more. Additionally, Shemo in Port Jeuno (H-8) will exchange seals and crests at a reduced rate of 2:1.