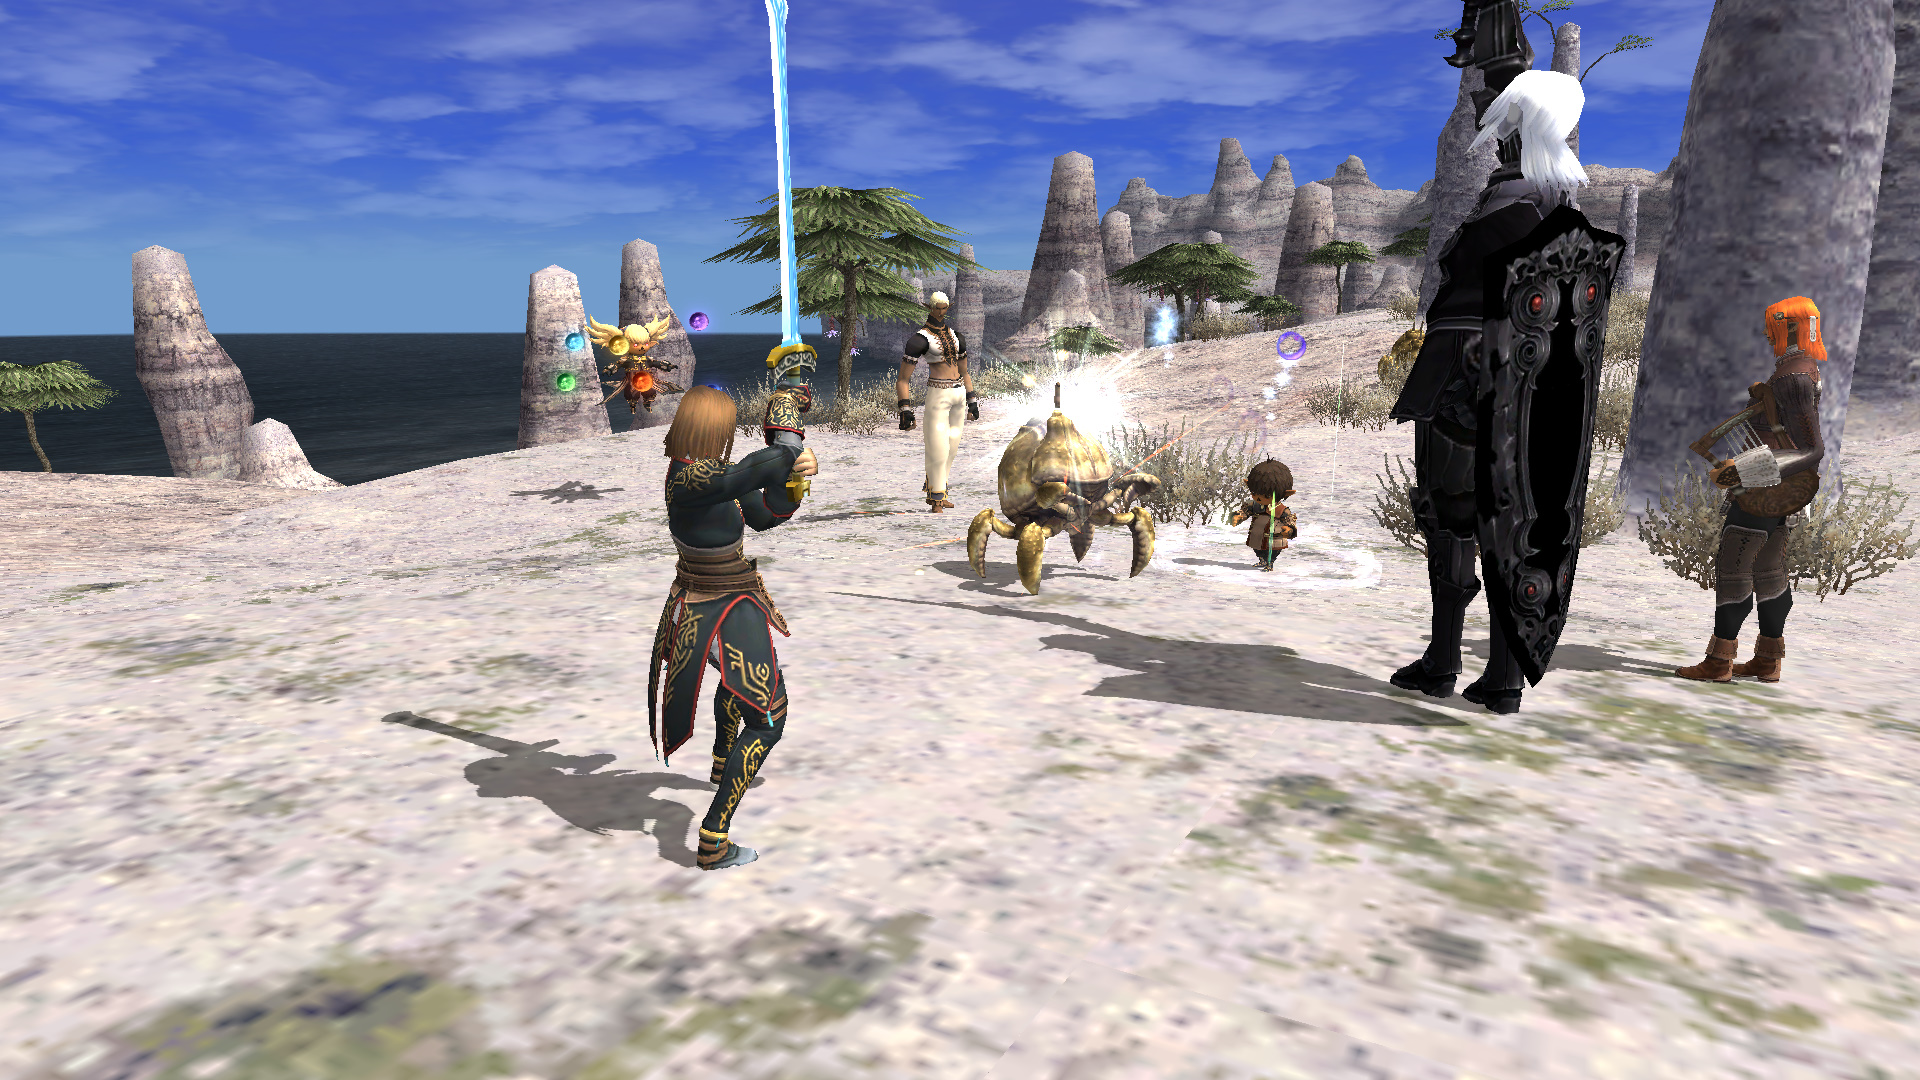
The purpose of this series is to give a basic overview of the gameplay systems, specifications, and general knowledge regarding the current state of FINAL FANTASY XI ("FFXI") for those players who are thinking of returning to Vana'diel after spending some time away from the game.
Volume 6 of this on-going series takes a look at The Voracious Resurgence storyline, which reveals the truth behind the world of Vana'diel, job-specific equipment, how to further upgrade Wanted equipment, and much more. Additionally, we'll also examine Master Levels, which can be used to upgrade your character even after obtaining the title of ★Job Master.
Progressing through The Voracious Resurgence
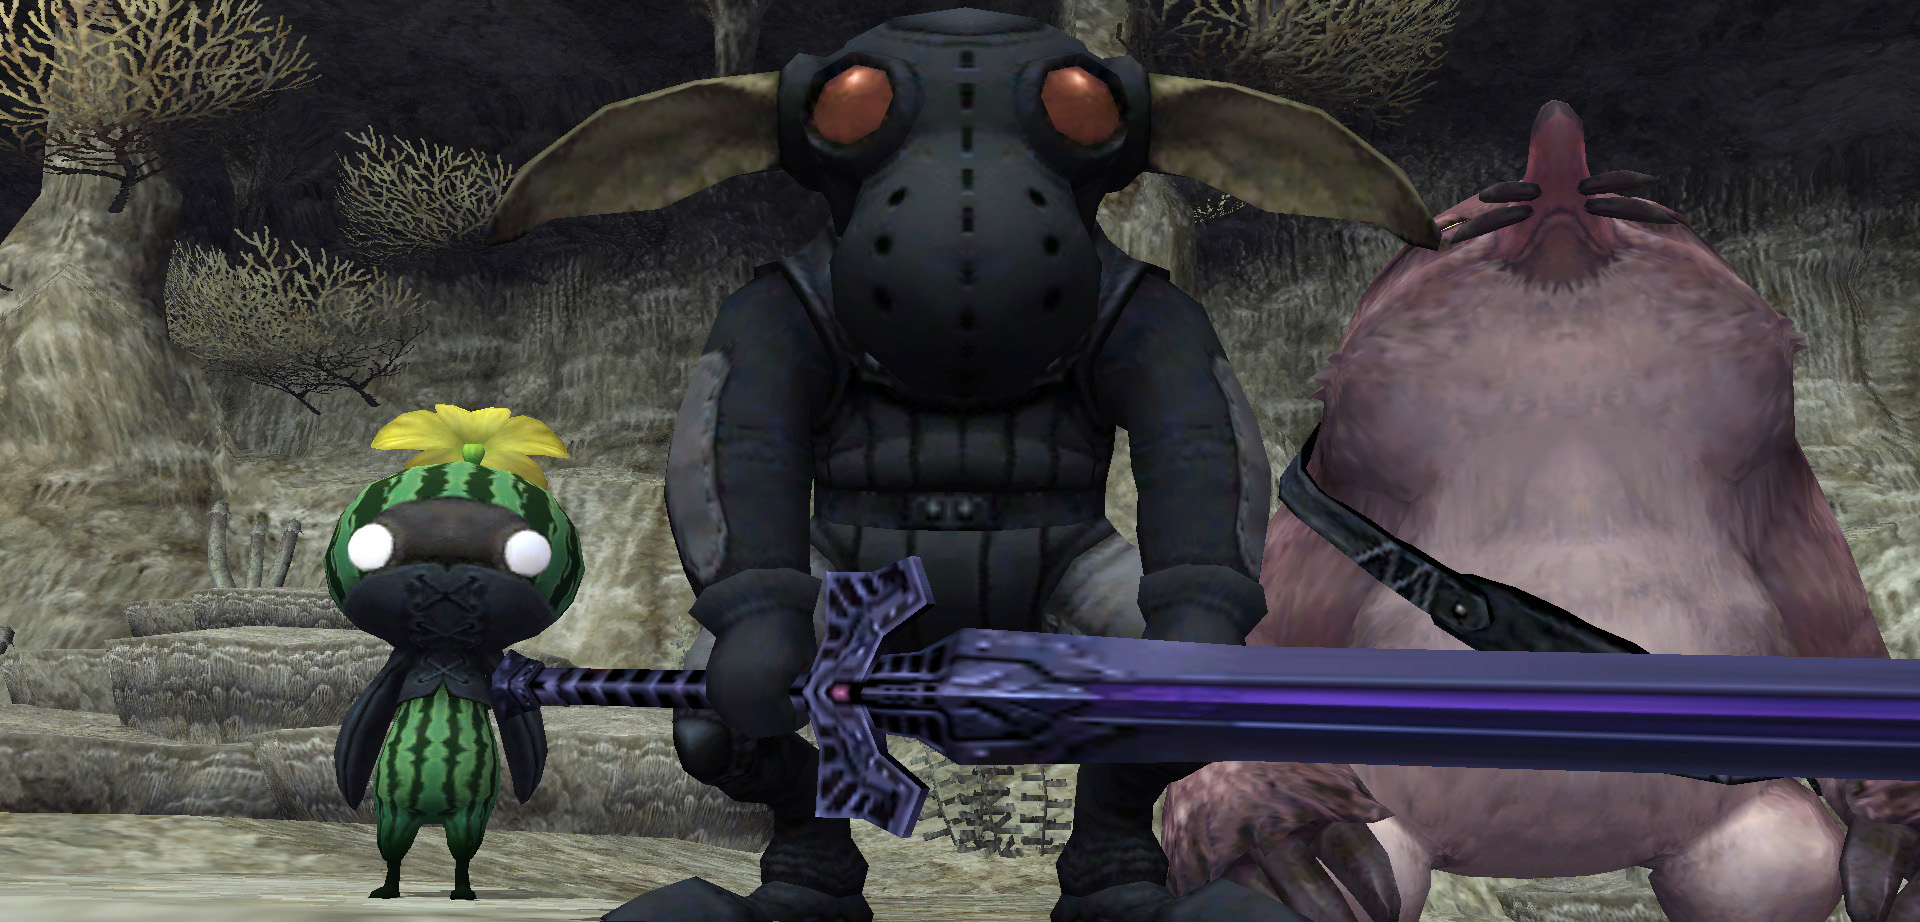
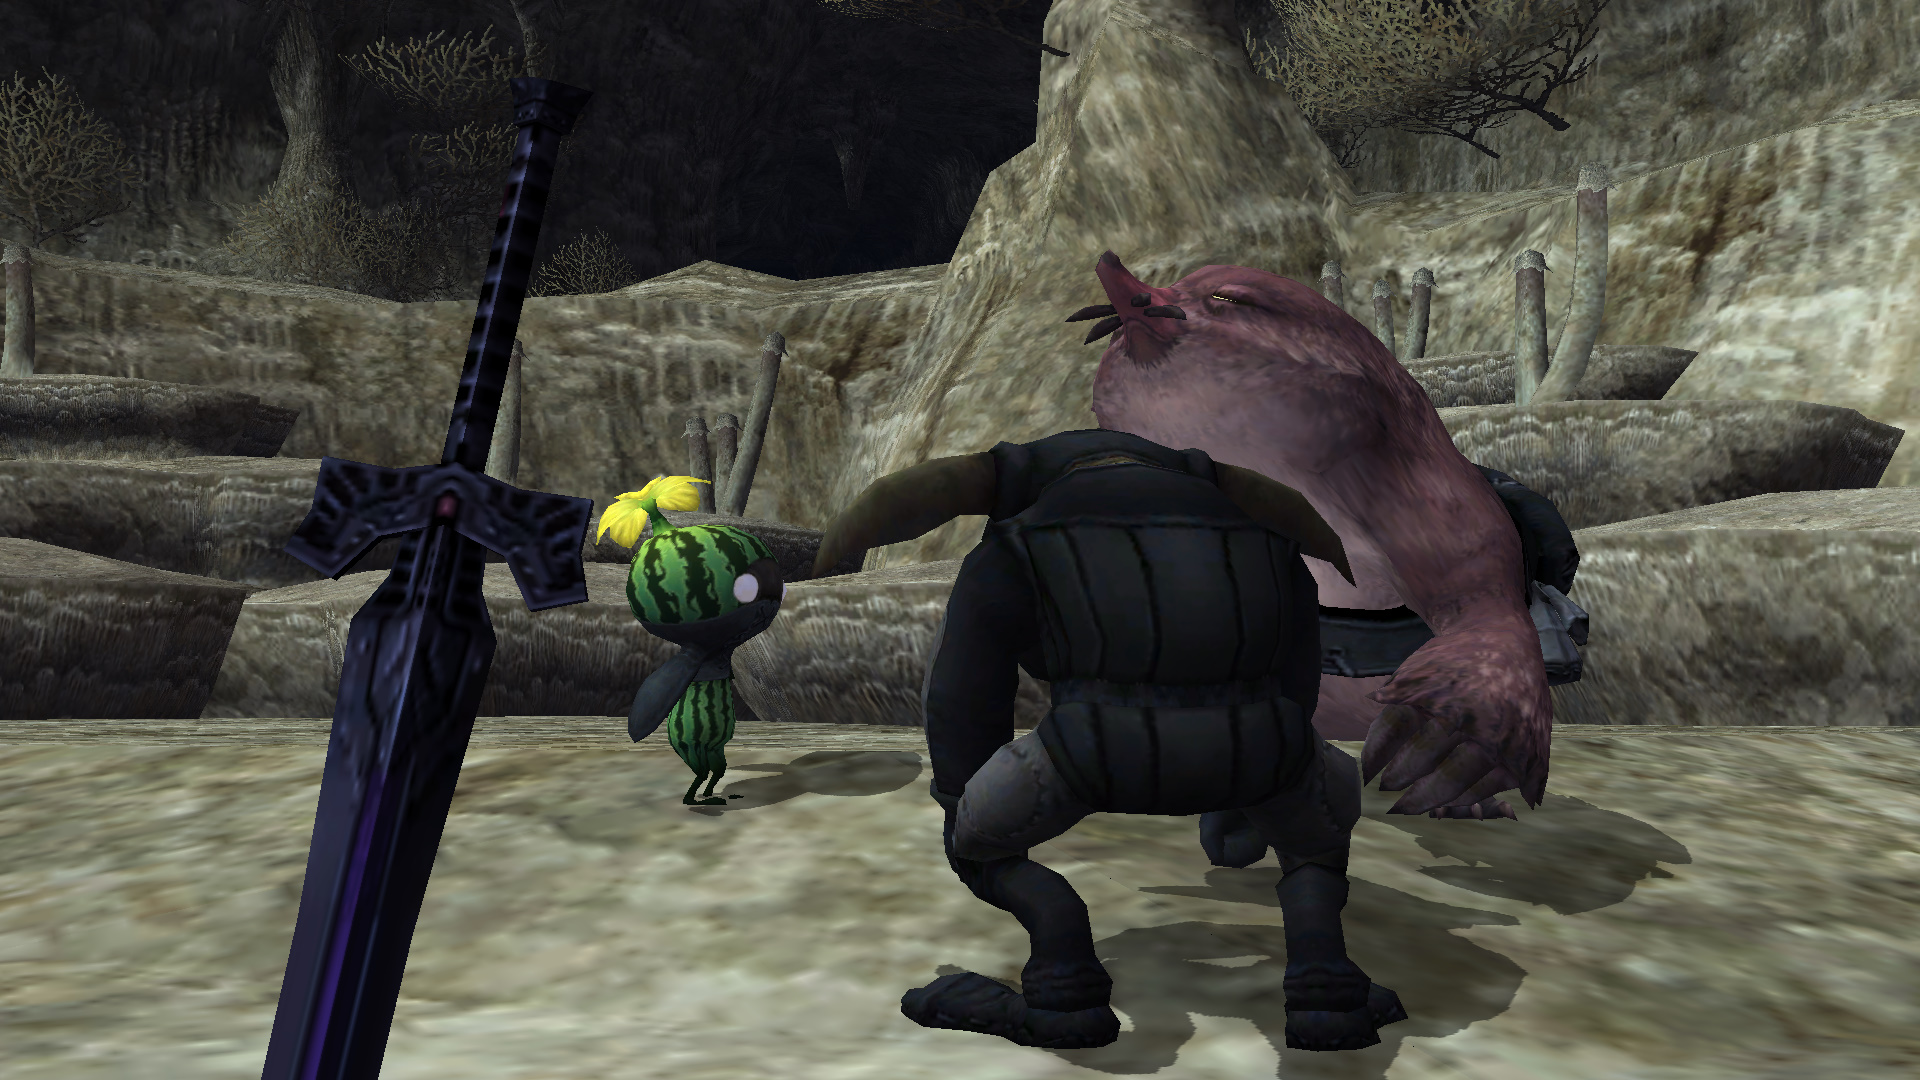
The Voracious Resurgence tells the story of the previously untold truth behind Vana'diel and a group of beastmen's quest for a mysterious egg. In order to play The Voracious Resurgence, you must have completed the Rhapsodies of Vana'diel storyline as well as the Chains of Promathia and Treasures of Aht Urhgan missions.
Getting started with The Voracious Resurgence
After completing the Rhapsodies of Vana'diel missions, speak to Gumbah in Bastok Mines (J-7).
Crafting and upgrading a PPrime WeaponWeapon
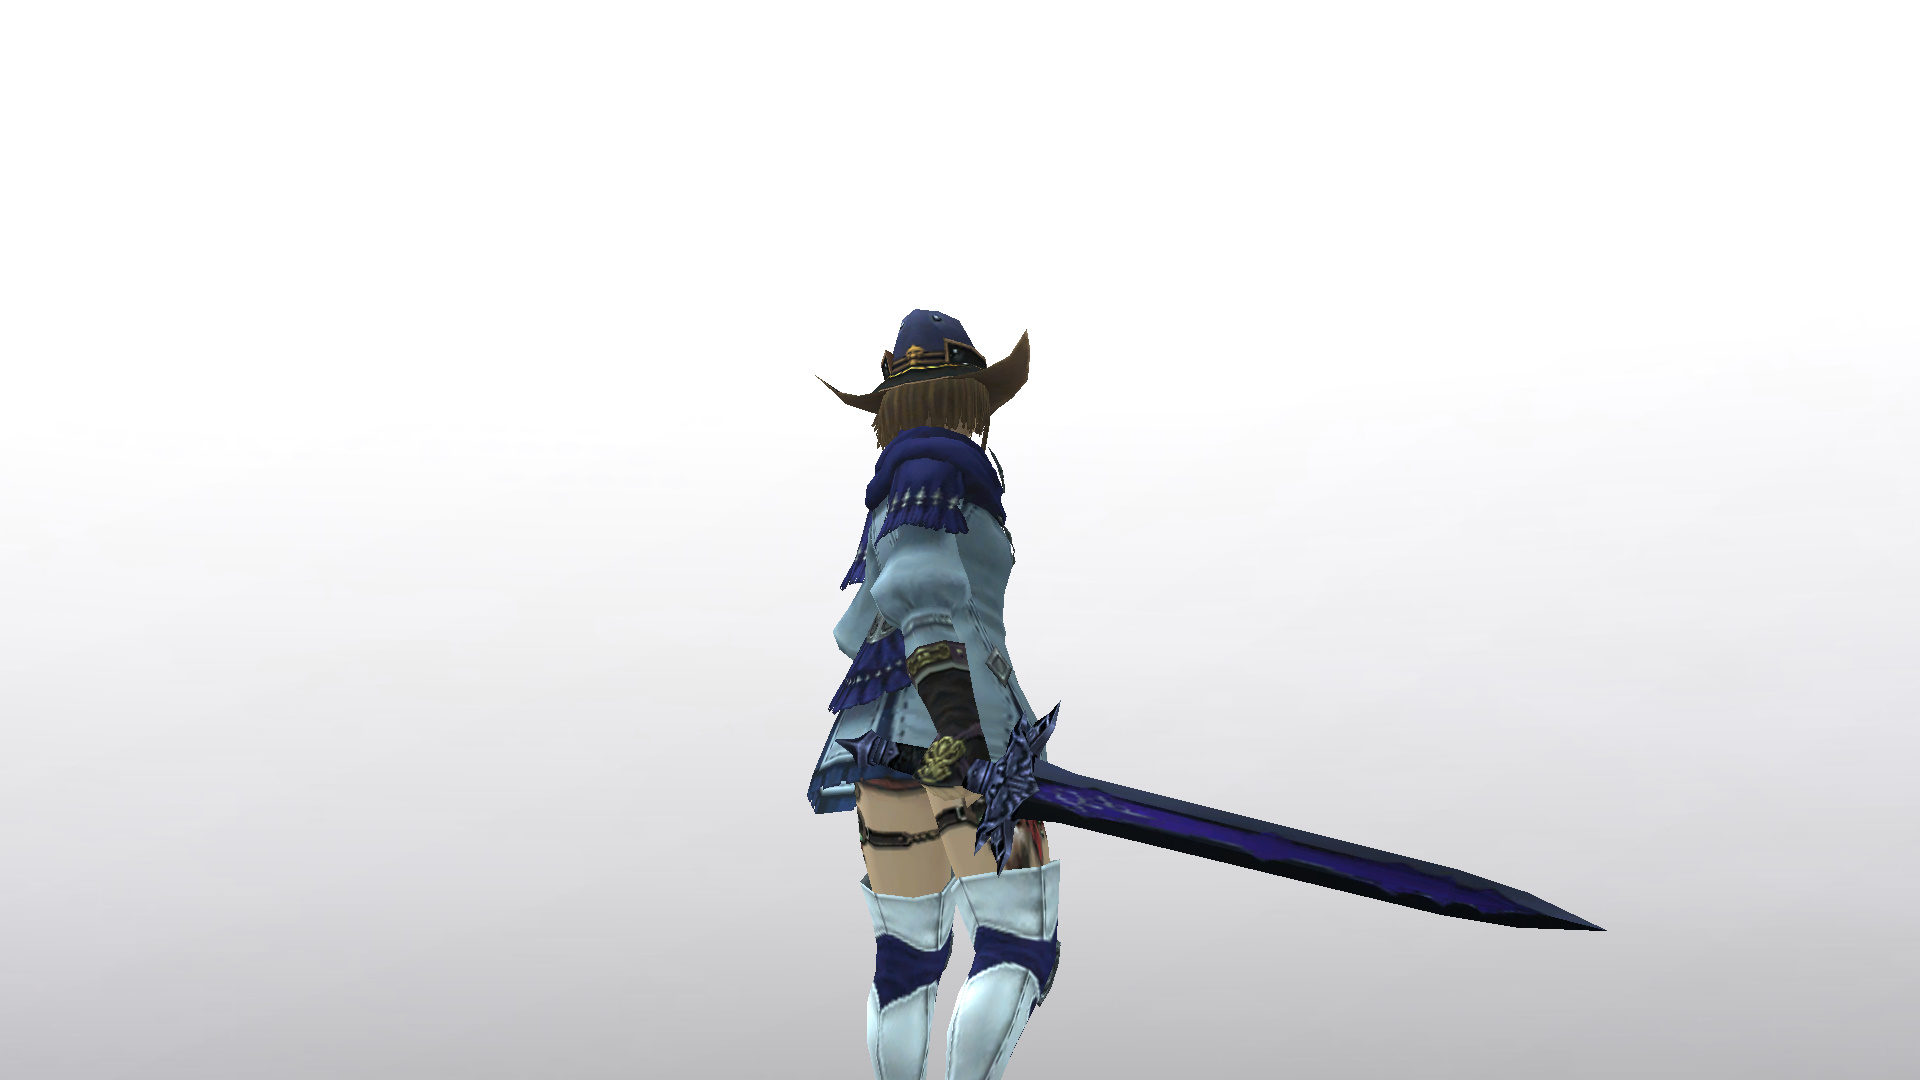
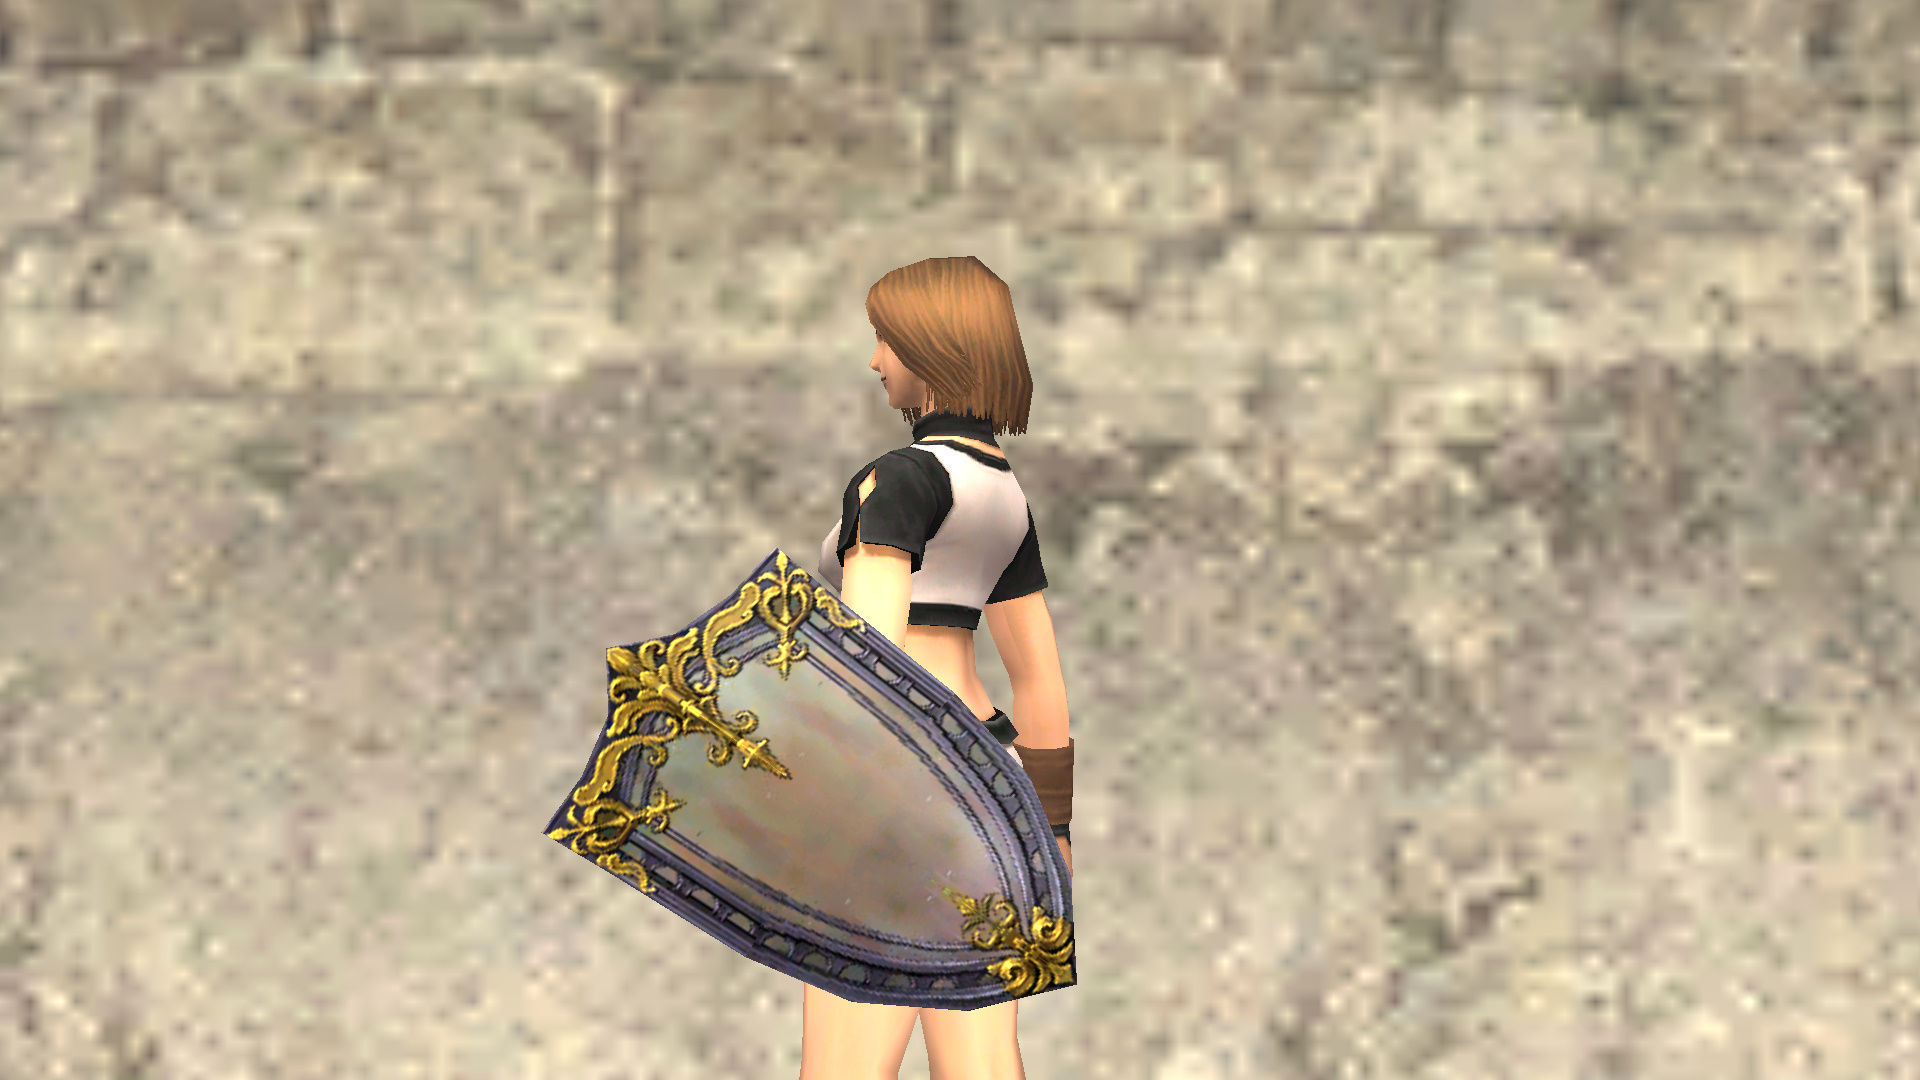
The Voracious Resurgence introduces a new class of weapons known as Prime Weapon. As the story progresses, you will need to forge and upgrade a Prime Weapon¹ in order to continue with the story. Both forging and upgrading your Prime Weapon require the use of gallimaufry, which is a special currency that can be obtained in the battle content known as Sortie. While making your way through The Voracious Resurgence, you will need to upgrade your weapon to its second phase and you will also be able to upgrade it to its third phase and beyond after completing The Voracious Resurgence story.
1: Since it must be equipped as a weapon, shields and instruments do not count as a Prime Weapon.
A new Records of Eminence objective
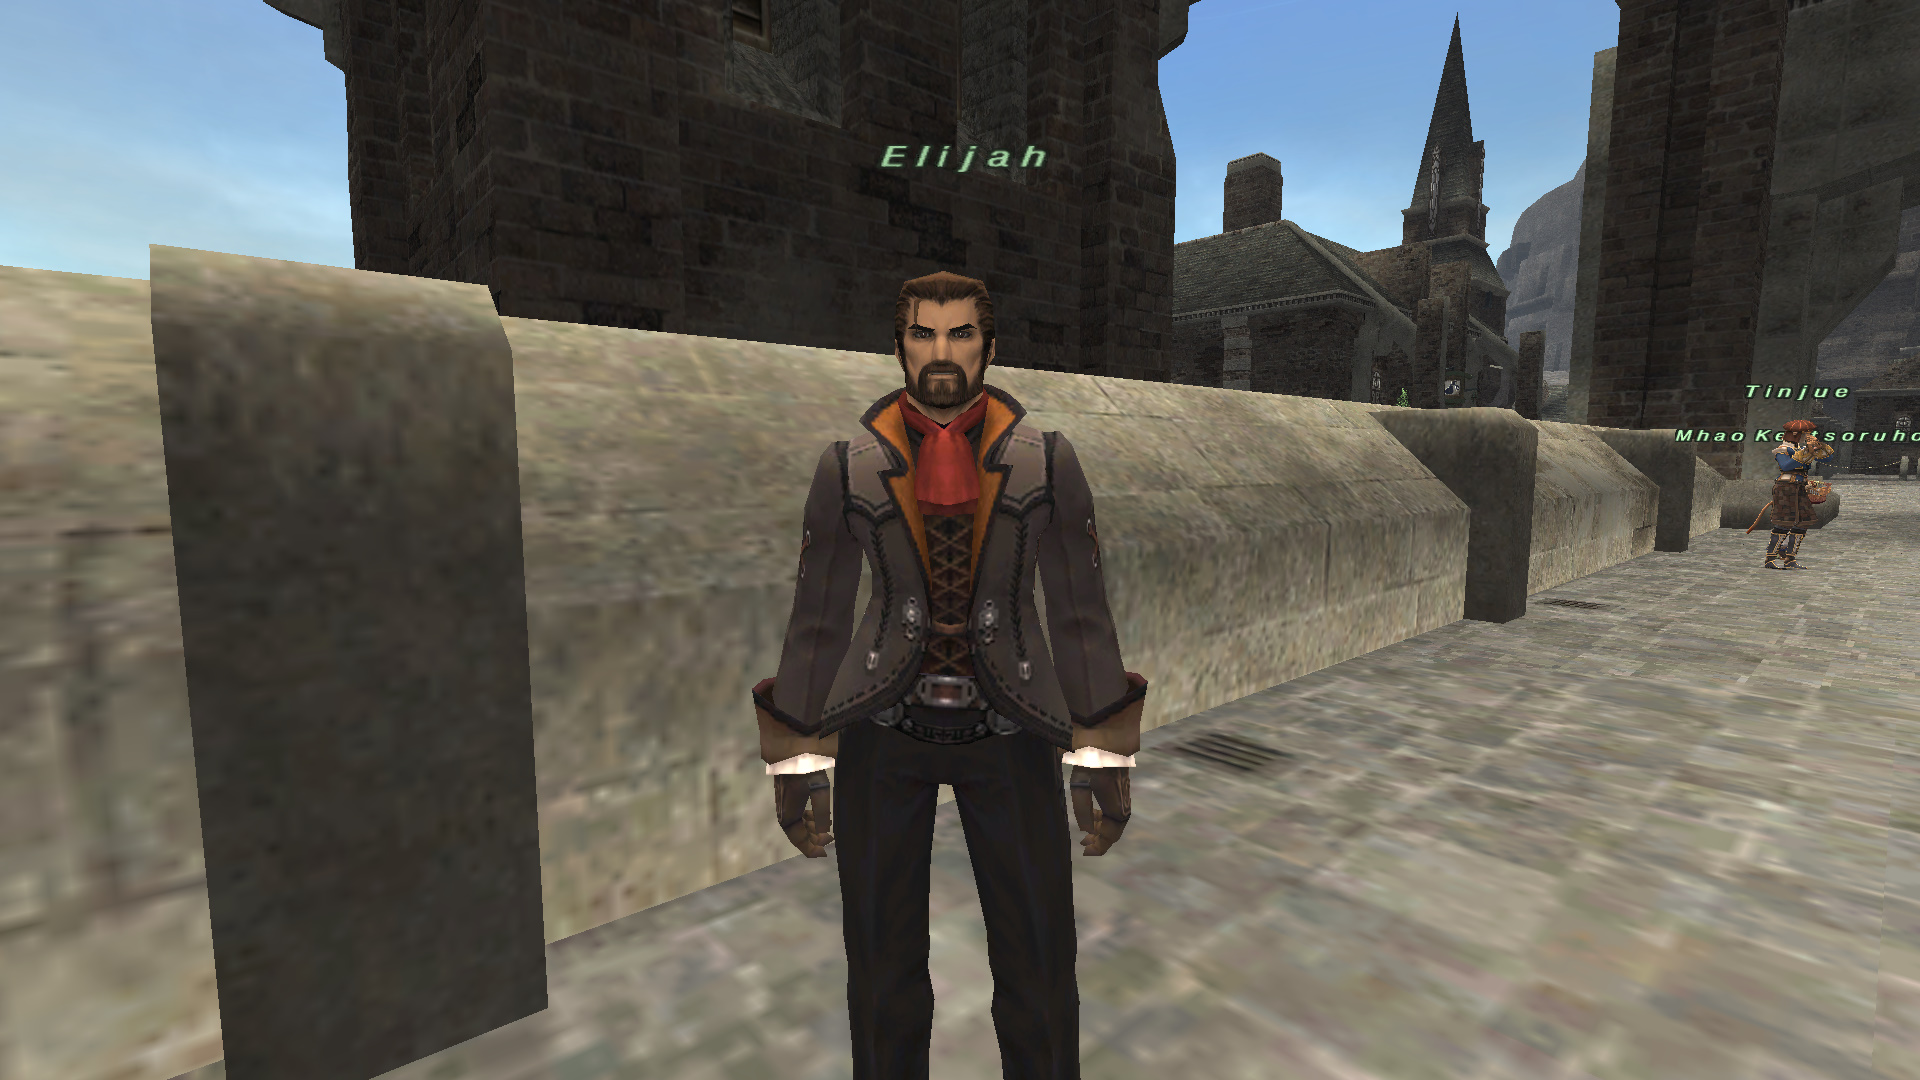
Once you have reached a certain point in The Voracious Resurgence, a new Records of Eminence objective will be added after you speak with Elijah in Upper Jeuno (G-6). Afterwards, once you have progressed through enough missions, speak to Elijah again to add the objective. When you complete this objective, you will receive a silver A.M.A.N. voucher.

Additional Upgrades for Job-Specific Equipment
Job-specific equipment (artifact, relic, and empyrean armor) that you have upgraded to item level 119 (+1) can be upgraded to item level 119 (+2) and item level 119 (+3) if you meet certain conditions. Here, we'll explain the relevant battle content as well as the methods for upgrading each level of equipment.
* See here for information on upgrading job-specific equipment to item level 109 and item level 119 (+1):ers
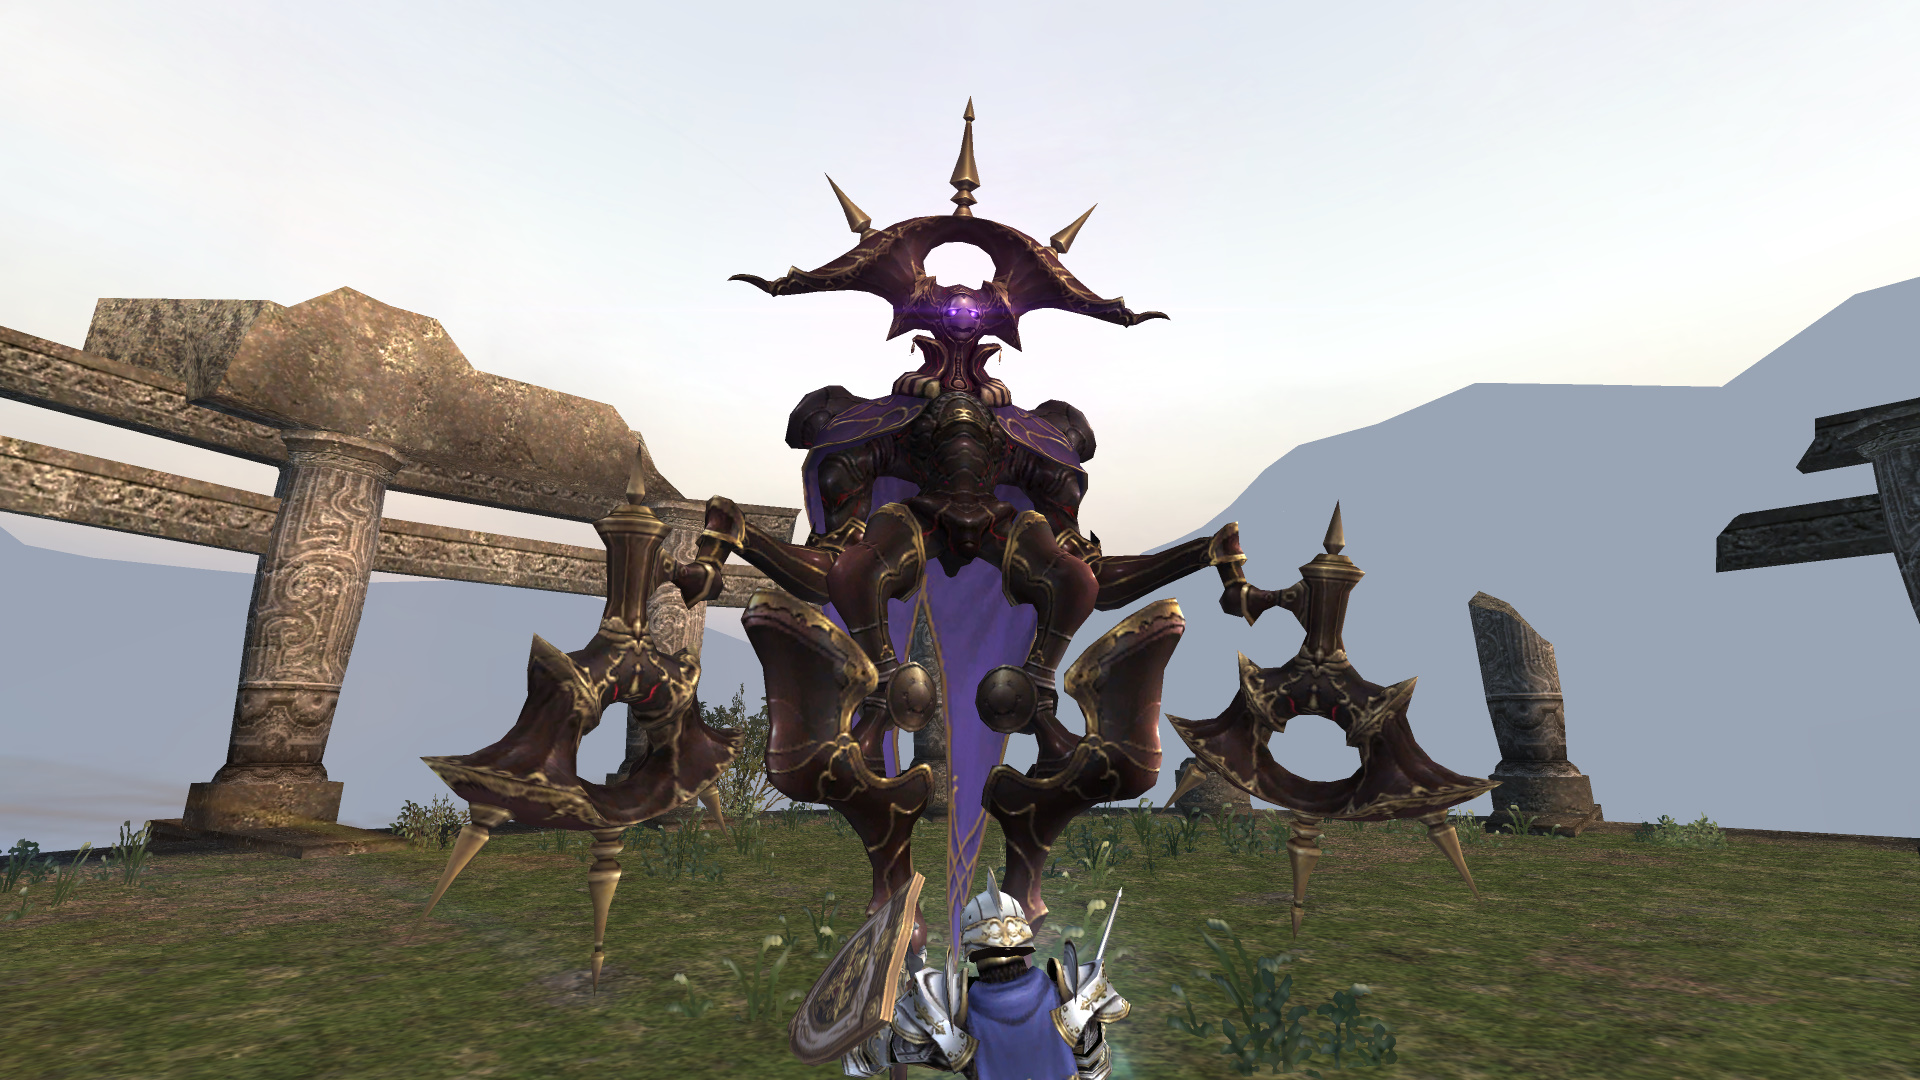
Omen
Omen is battle content that takes place in Reisenjima Henge in which play must complete the objectives assigned on each level. Along the way, the content branches off into two paths, each with its own boss battle awaiting you. Select a route that aligns with your current objective. The path with the larger light features additional objectives to complete, meaning that you can acquire more of the paragon job cards that are needed to upgrade artifact armor.
Requirements
・After completing the Rhapsodies of Vana'diel missions, speak to Incantrix in Reisenjima to receive an explanation of the content.
* Incantrix is located near Ethereal Ingress #10. Examine the Ethereal Ingress and select "Teleport using the scintillating rhapsody." to proceed.
・All party members must have the "mystical canteen" key item.
Content game flow
1. Teleport to Ethereal Ingress #10 in Reisenjima and receive the "mystical canteen" key item from Incantrix.
2. The party leader examines the earthly concrescence in Reisenjima and selects "Omen" to proceed.
3. A message will be displayed when the battle is ready, so examine the earthly concrescence within the specified time limit to enter the battle.
* If you have the auto-transport function set to ON, you will automatically be taken to the battle once it is ready.
Omen Rewards
You will receive paragon job cards as you defeat monsters and complete objectives. Also, you will receive swart astral detritus as spoils from monsters, as well as equipment, synthesis materials, and more from the boss monsters.
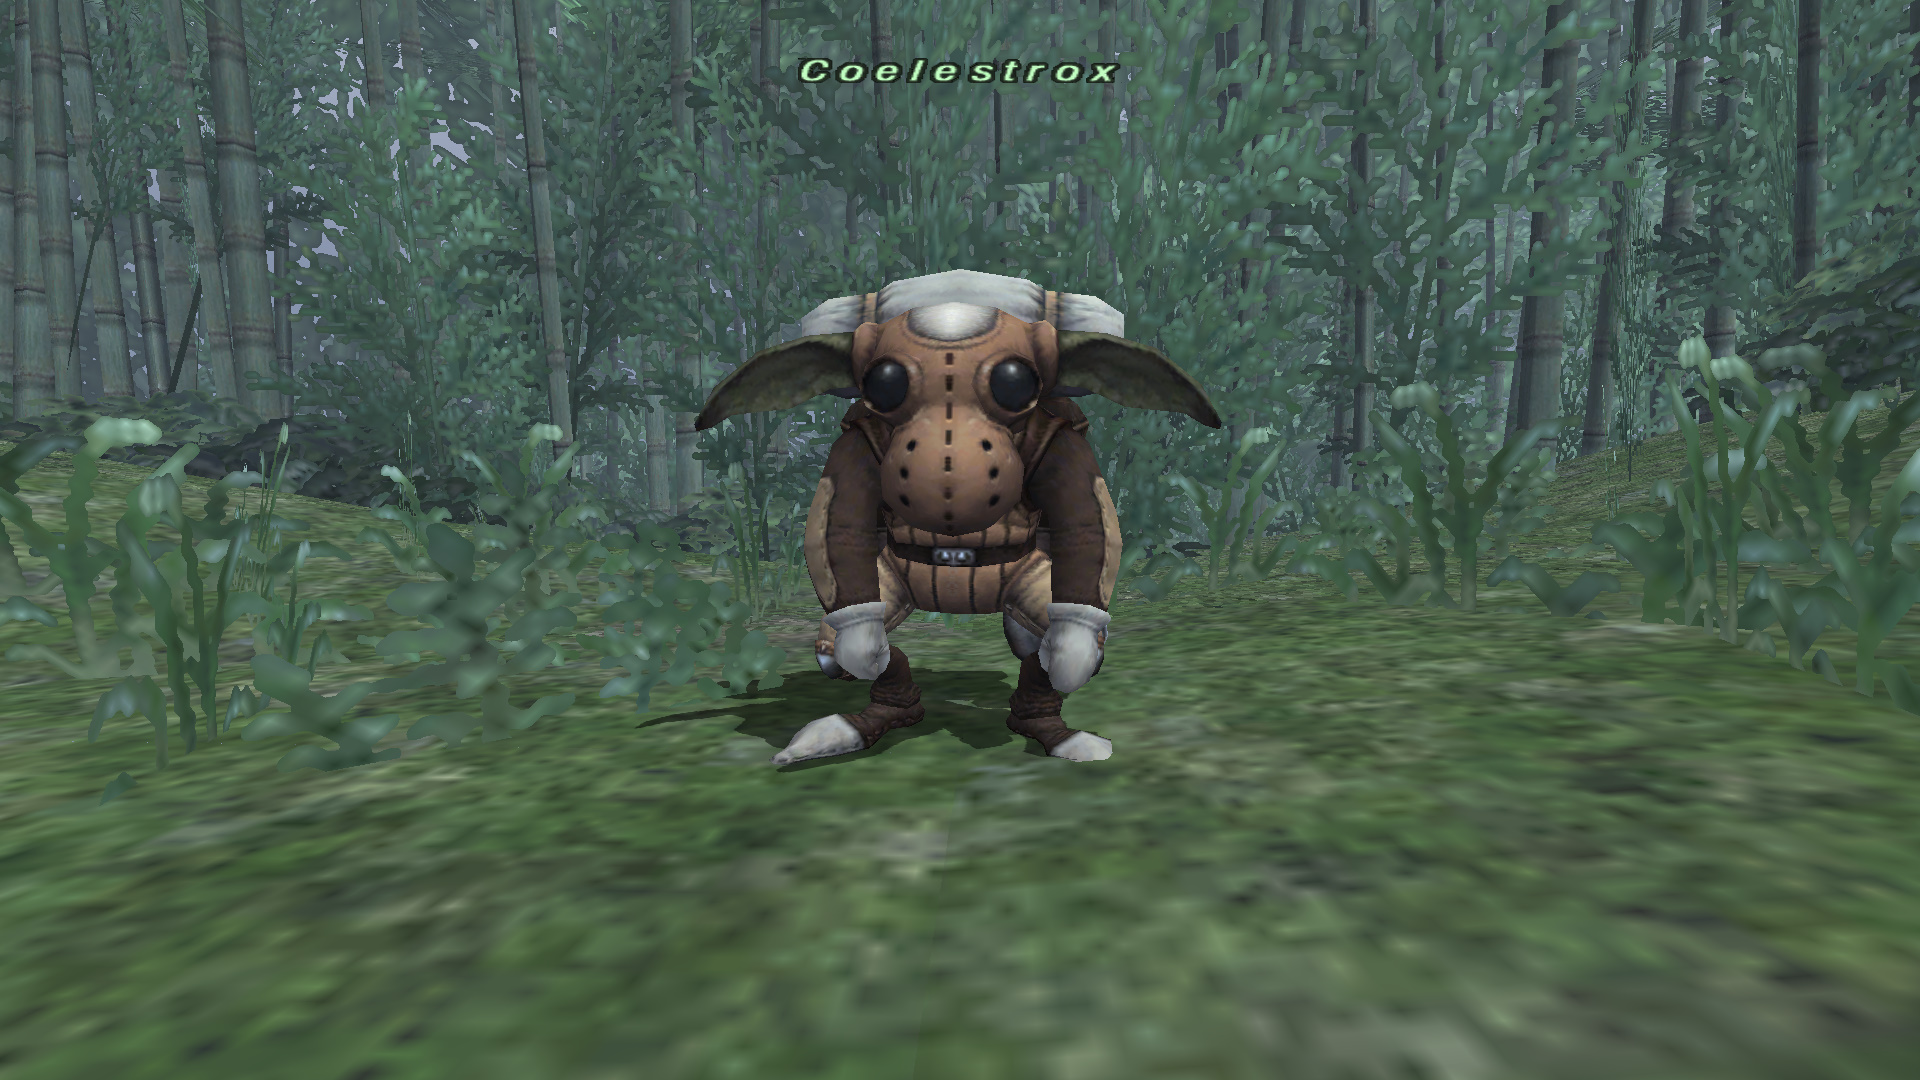
Upgrading artifact armor
Once you enter Omen, speak to Coelestrox in order to be able to upgrade your item level 119 (+1) artifact armor to item level 119 (+2). In addition, you can even upgrade your armor to item level 119 (+3) if you acquire "distorted fragment" key items. You can obtain distorted fragments by defeating the specified boss monster, or by defeating a certain number of monsters who include "Sweetwater" or "Transcended" in their name.
The upgrade requires a corresponding paragon job card, the necessary upgrade materials, and escha beads. There are two upgrade methods to choose from. You can make it right away but at the cost of more escha beads, or you can make it for cheaper by waiting until the following day (Vana'diel time).
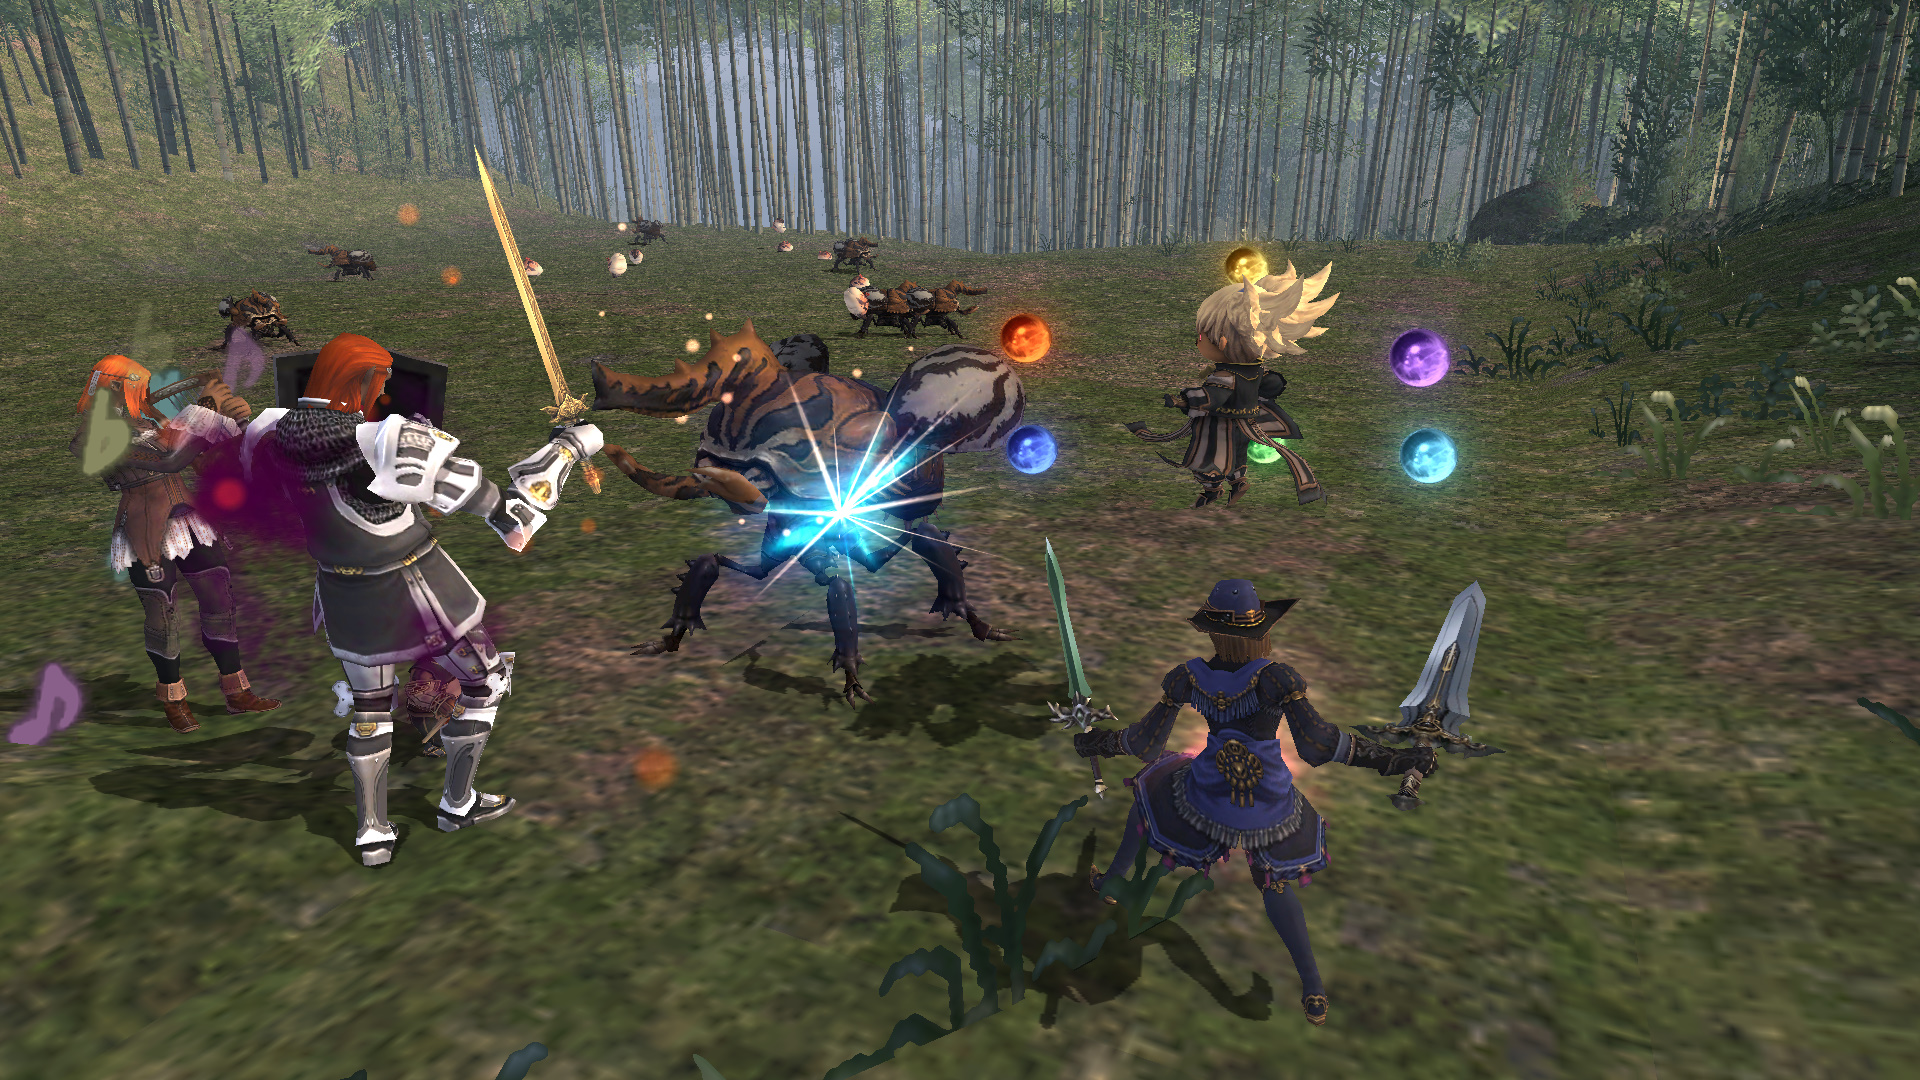
Dynamis – Divergence
Dynamis – Divergence is battle content that uses existing Dynamis areas as a base and increases the difficulty based on your item level. If you are detected by the various statues that roam the zone, or if you aggro a monster, then multiple monsters will appear and attack you. Fight off these monsters while working to defeat the zone's boss monster.
Requirements
・You must have defeated at least one of the following boss monsters in Dynamis – Tavnazia:
Diabolos Heart / Diabolos Diamond / Diabolos Spade / Diabolos Club
・Complete the Rhapsodies of Vana'diel storyline.
・You must be in possession of the "empty hourglass" key item¹.
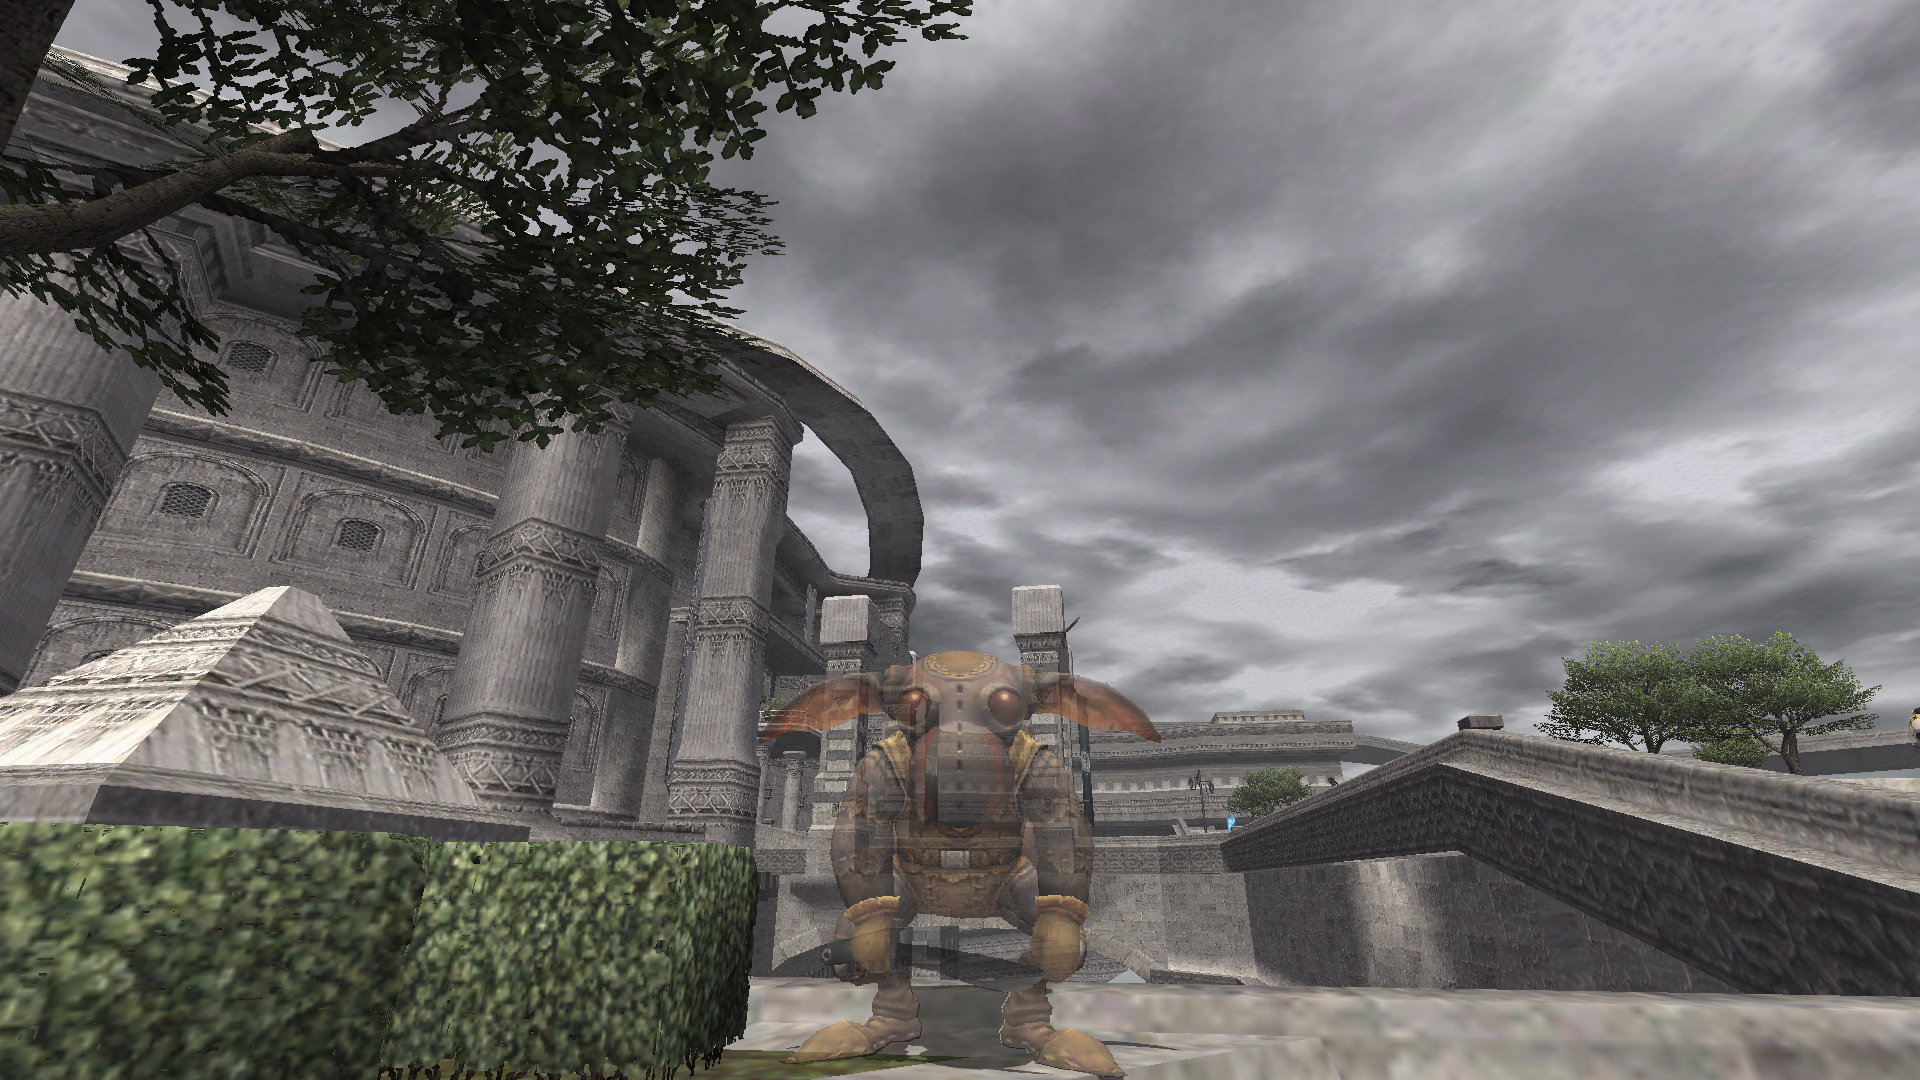
1: Examine the ??? in Ru'Lude Gardens (G-8) to obtain the "empty hourglass" key item from Aurix the Goblin and receive an explanation of the content. The "empty hourglass" can be exchanged for any of the following items:
Lungo-Nango jadeshells / Montiont silverpieces / 100-byne bills
Content game flow
1. Form a party of at least three members and have the party leader examine the Enigmatic Footprints to request entry.
- Southern San d'Oria (K-10)
- Bastok Mines (I-9)
- Windurst Walls (H-7)
- Ru'Lude Gardens (F-9)
* You cannot request entrance to Dynamis – Divergence if any of the following conditions apply.
・Not every party member is in possession of the "empty hourglass" key item.
・One of your party members has already applied for entry.
・One of your party members has entered Dynamis – Divergence within the past 60 hours (Earth time).
・One of your party members is in their Mog House.
2. A message will be displayed when the battle is ready, so examine the enigmatic footprints within the specified time limit to enter the battle.
* If you have the auto-transport function set to ON, you will automatically be taken to the battle once it is ready.
Dynamis – Divergence Rewards
Defeating monsters in Dynamis – Divergence earns you upgrade materials for your relic armor and also medals that can be traded to Aurix for various items. You can also obtain valuable equipment by defeating boss monsters.
Upgrading relic armor
In order to upgrade item level 119 (+1) relic armor, you must enter the corresponding armor zone with the job you wish to unlock upgraded armor for. There are a total of four zones within Dynamis – Divergence, with each zone able to unlock specific body parts for your armor upgrades.
- Head: Dynamis – Windurst [D]
- Hands: Dynamis – Bastok [D]
- Legs: Dynamis – Jeuno [D]
- Feet: Dynamis – San d'Oria [D]
* Note: Torso drops are available after completing the conditions for the four zones listed above.
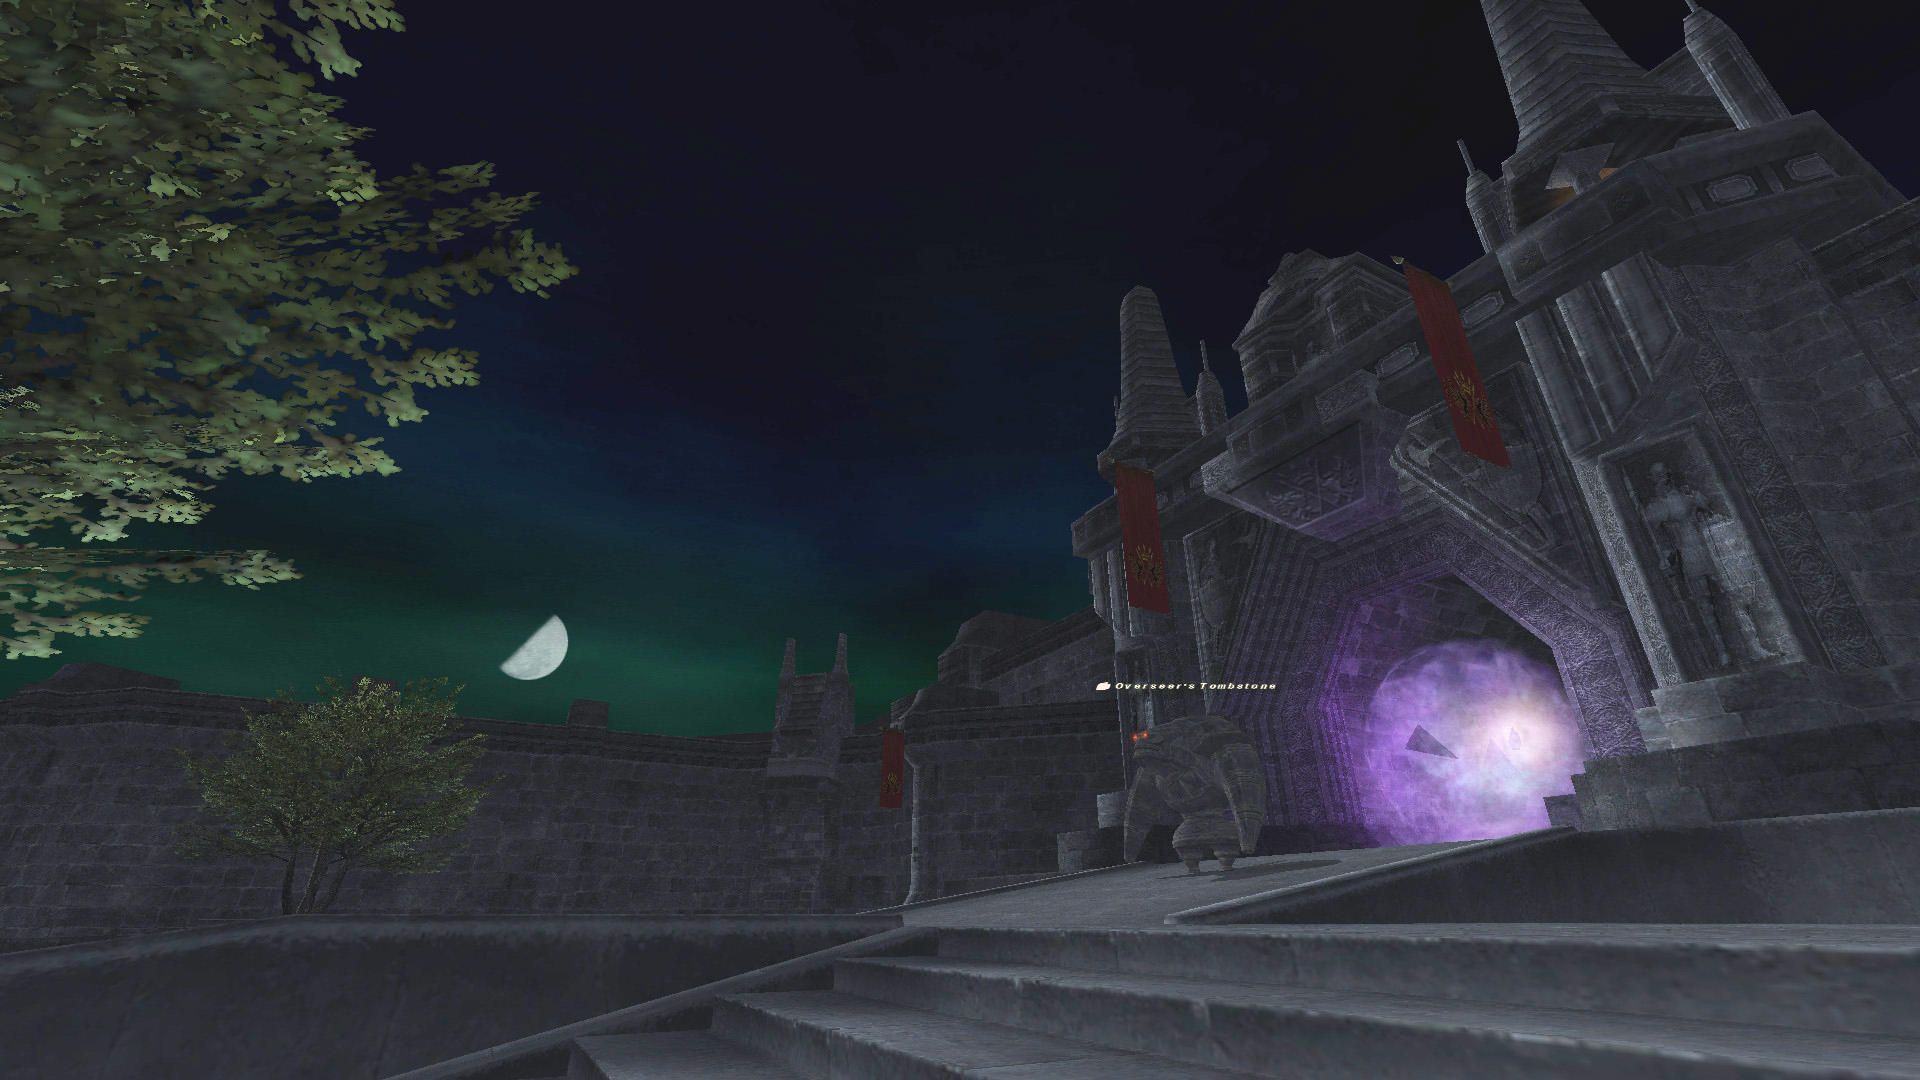
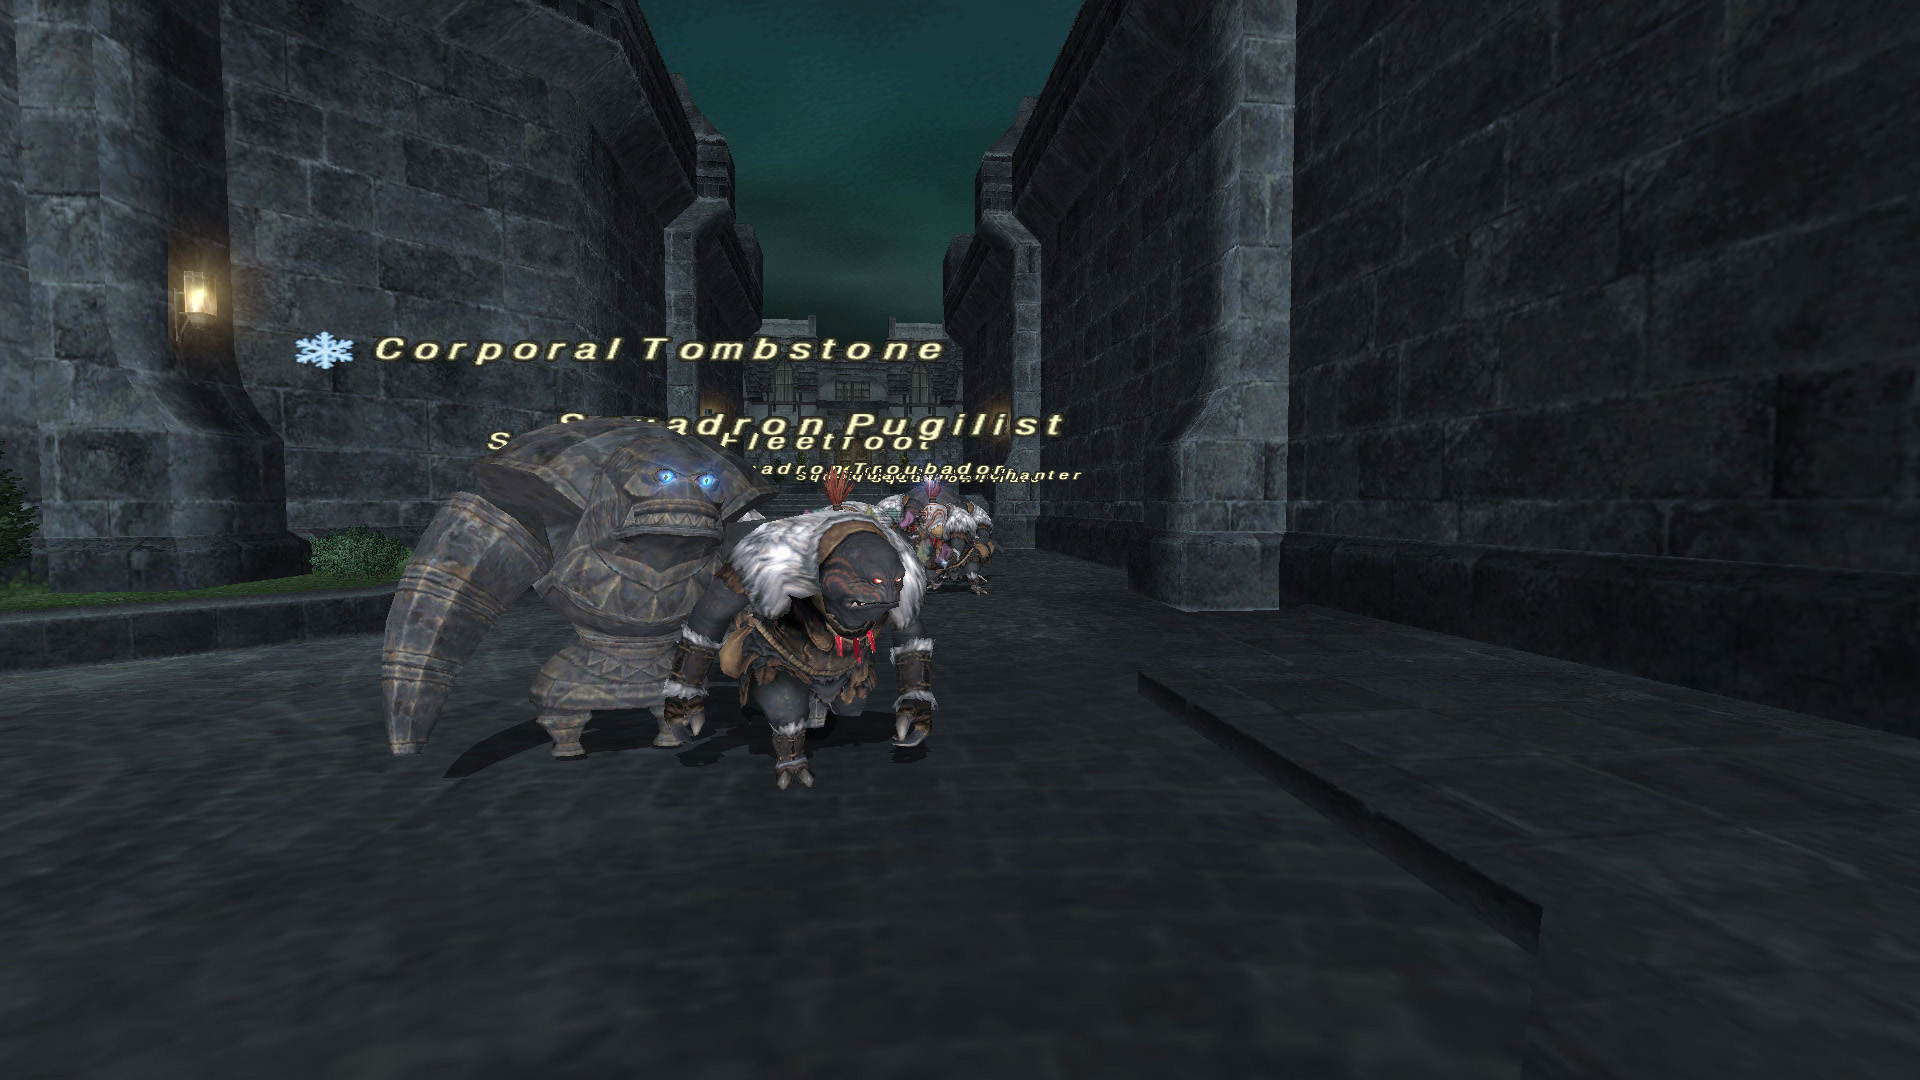
The upgrades are unlocked in stages and when you first enter the Dynamis – Divergence zone, you will be able to upgrade the body part corresponding to that area to item level 119 (+2). You can also upgrade your relic armor to item level 119 (+3) by defeating the Wave 1 boss monster (Overseer's Tombstone, Mu'Sha Effigy, Evincing Idol, Impish Golem) for the corresponding zone, or by defeating a certain number of monsters who include "Squadron" in their name.
The upgrades are handled by Aurix the Goblin, who can be found by examining the ??? in Ru'Lude Gardens (G-8). The materials required for the upgrades can be obtained via Dynamis – Divergence as well as from the auction house and bazaar.
Additional upgrades for relic, mythic, empyrean, ergon, and aeonic weapons
When you defeat the Wave 3 boss monster in each zone, or if you inflict a certain amount of total damage against a boss monster, you will receive a key item that can be given to Oboro in Port Jeuno (E-6) to upgrade the corresponding weapon.
- Relic weapons: Dynamis – Windurst [D]
- Mythic, ergon weapons: Dynamis – Bastok [D]
- Empyrean weapons: Dynamis – San d'Oria [D]
- Aeonic weapons: Dynamis – Jeuno [D]
Using reinforcement points for job-specific weapons and neck equipment
Job-specific weapons that can only be synthesized by craftsmen with an aurum tome and job-specific neck equipment made from synthesis recipes for Expert rank craftsmen can be augmented by speaking to Oboro in Port Jeuno (E-6). Affixing or upgrading an augment requires the use of a heroism crystal or heroism aggregate that can be obtained in Dynamis – Divergence. Or you can defeat enemies in Dynamis – Divergence while equipped with the gear you wish to augment in order to earn the reinforcement points needed to perform the augmentation.
Sortie
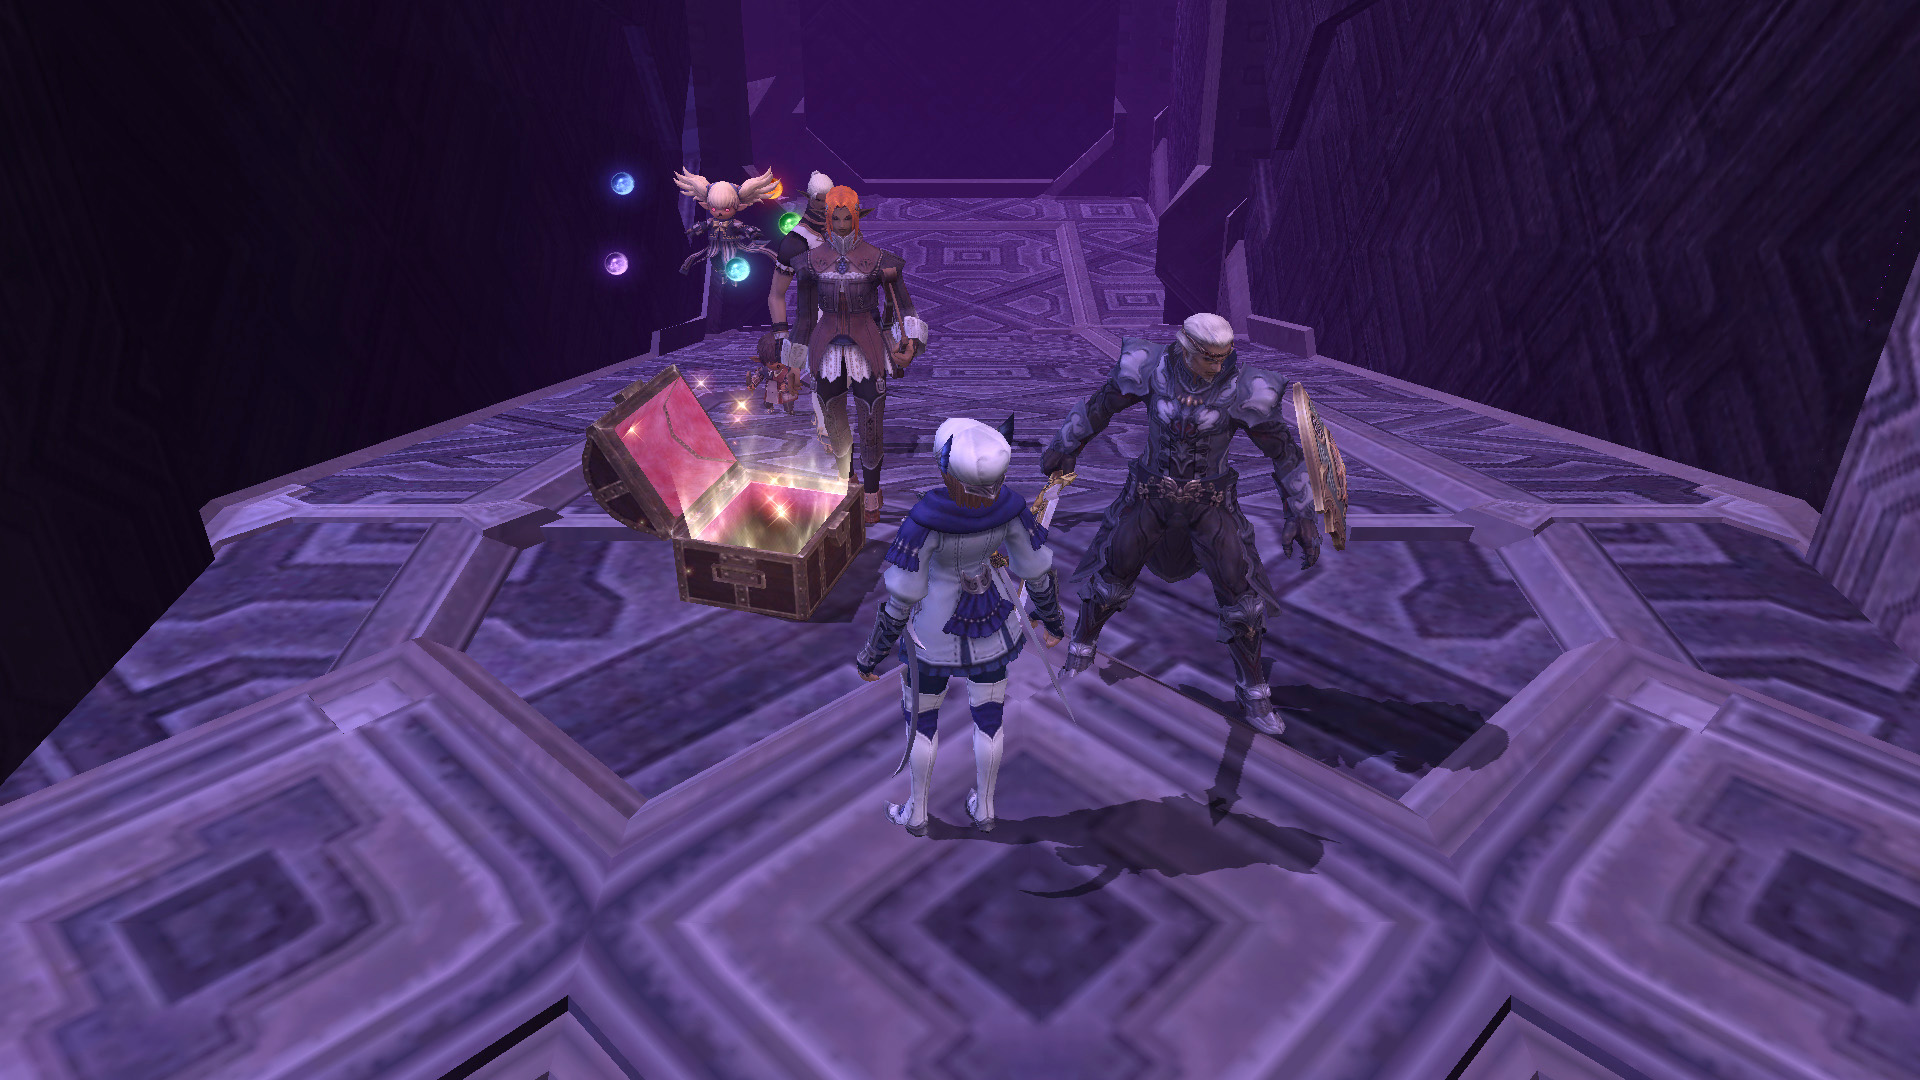
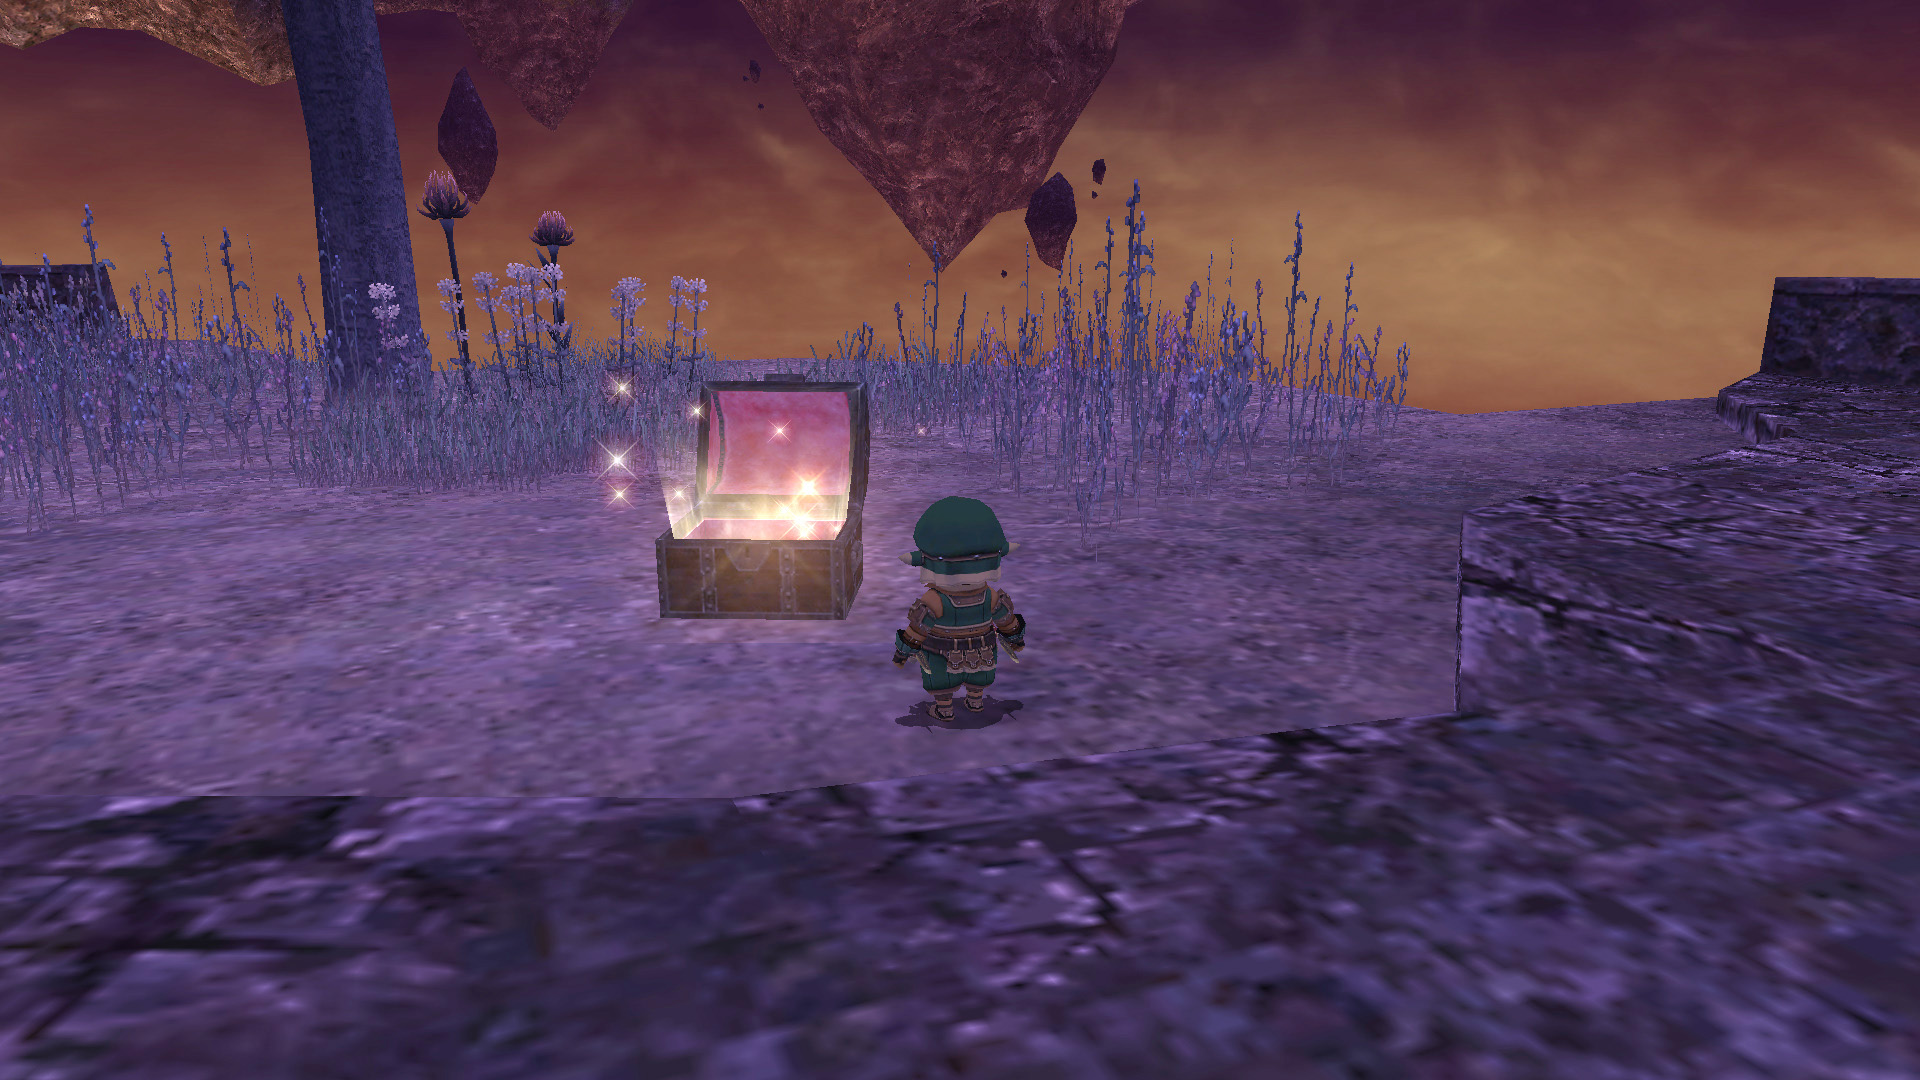
Sortie is battle content held within Outer Ra'Kaznar [U] that sees you searching for treasure chests that appear after completing certain objectives. You can also defeat monsters in order to earn a special currency known as gallimaufry. The conditions for getting the treasure chests to appear can vary considerably from other game content, and include conditions such as "examine a specified location with no gear equipped" and "discard certain temporary items."
Requirements
・Complete the "Seekers of Adoulin" missions.
・You must be in possession of the "scintillating rhapsody" key item.
・All party members must have the "shiny Ra'Kaznarian plate" key item.
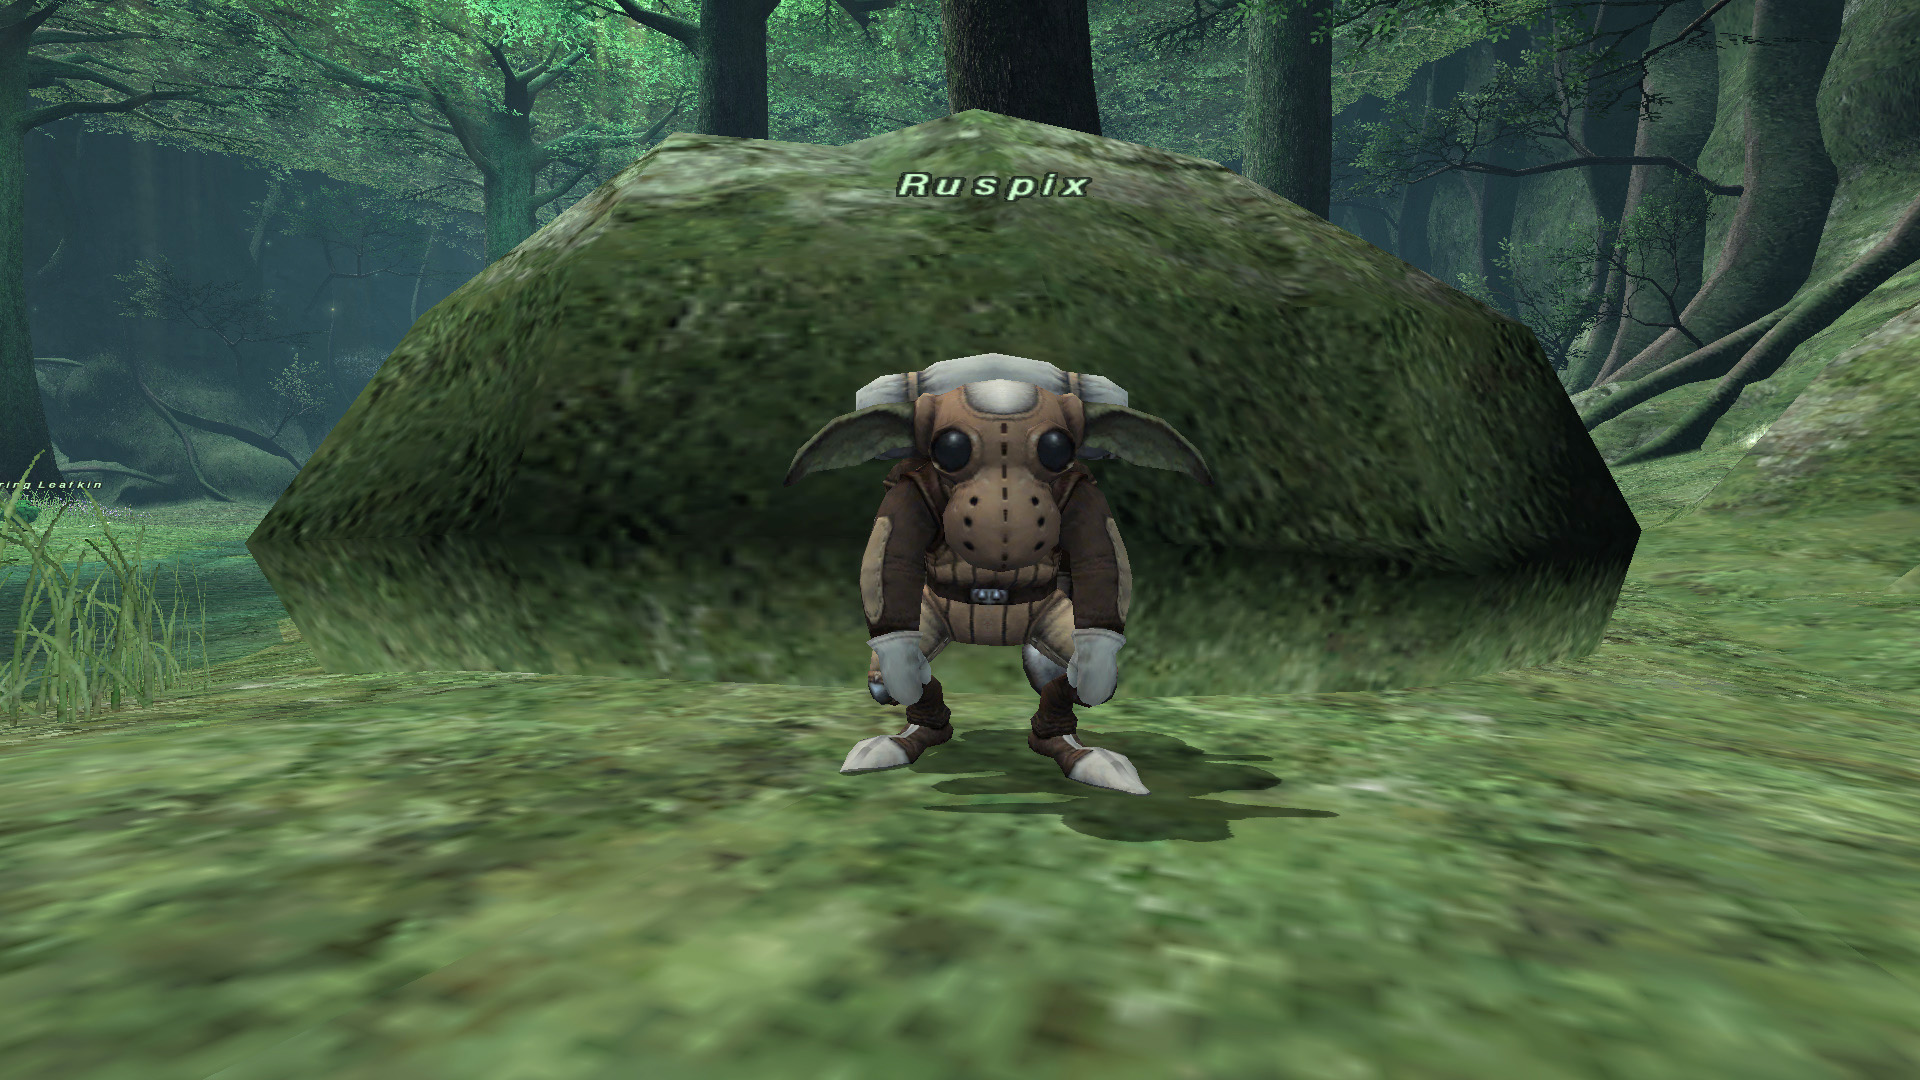
* The "shiny Ra'Kaznarian plate" key item can be obtained by speaking to Ruspix the Goblin in Leafallia (H-8). From your second foray into Sortie onward, you will need to wait 20 hours (Earth time) for your dull Ra'Kaznarian plate to recharge. Once it is fully charged, approach the diaphanous transposer in Kamihr Drifts (F-6) in order to transform it into a shiny Ra'Kaznarian plate so that you can attempt Sortie again.
* After entering Sortie for the first time, speak to Ruspix again to receive the "Ruspix's plate" key item. In addition, starting with your second foray into Sortie onward, your Ruspix's plate will be charged with energy, storing an amount of time that is one-fifth of the time that exceeds the 20-hour waiting period since the last time you entered Sortie. Once the time you have accumulated exceeds the necessary amount to enter Sortie again, speak to Ruspix to change your dull Ra'Kaznarian plate into a shiny Ra'Kaznarian plate. The maximum amount of time you can store is 72,000 seconds (20 hours).
Content game flow
1. Obtain the "shiny Ra'Kaznarian plate" key item from Ruspix the Goblin in Leafallia (H-8).
2. The party leader examines the diaphanous transposer in Kamihr Drifts (F-6) and requests to enter Sortie.
3. A message will be displayed when the battle is ready, so examine the diaphanous transposer within the specified time limit to enter Sortie.
* If you have the auto-transport function set to ON, you will automatically be taken to the battle once it is ready.
Sortie Rewards
In Sortie, you can acquire a special currency known as gallimaufry by defeating monsters and opening treasure chests. Gallimaufry is used to upgrade your empyrean armor and also to craft a Prime Weapon. You can also acquire job-specific earrings from old cases.
Upgrading empyrean armor
In order to upgrade item level 119 (+1) empyrean armor, you must enter Sortie as a job class that is capable of using the armor. Once you enter Sortie, you'll be able to upgrade your empyrean armor to item level 119 (+2). Also, if you have the "Ra'Kaznar Sheet" temporary item and enable transportation to a sector, you can upgrade your gear to item level 119 (+3) as well.
The gear upgrades are handled by Ruspix the Goblin in Leafallia (H-8) and require the use of gallimaufry and a specified item. You can acquire the necessary item by defeating notorious monsters in Sortie or from the caskets, coffers, and aurum coffers that appear upon completing certain conditions.
Crafting a Prime Weapon
As you progress through The Voracious Resurgence, you will be required to craft and then upgrade a special weapon known as a Prime Weapon. You will need a special item and also gallimaufry in order to do so.
Other Battle Content
Aside from upgrading job-specific equipment, there are various other types of battle content where you can earn powerful gear, upgrade other kinds of equipment, and more. The following are three types of such content.
High-tier battlefields (high-tier mission battlefields, high-tier avatar battlefields)
High-tier battlefields can be entered via the veridical confluxes located in Selbina (H-7) or via Abyssea - Empyreal Paradox. Even on the "Very easy" difficulty level, these battlefields are content level 119 battles, making them much harder than other high-tier battlefields.
A Stygian Pact (Odin Prime) / Selbina (H-7)
Champion of the Dawn (Cait Sith) / Selbina (H-7)
Divine Interference (Alexander) / Selbina (H-7)
Maiden of the Dusk (Lady Lilith) / Selbina (H-7)
Shinryu / Abyssea - Empyreal Paradox
Content game flow
1. Obtain a Phantom Gem from one of the NPCs listed below in exchange for Merit Points.
* You must be at least level 95 and have already completed the battlefield that corresponds to the high-tier battlefield you wish to take on.
Trisvain in Northern San d'Oria (J-7)
Raving Opossum in Port Bastok (J-11)
Mimble-Pimble in Port Windurst (L-5)
2.The party leader examines the veridical conflux (transcendental radiance in Abyssea - Empyreal Paradox for ★Shinryu) in Selbina (H-7) and selects a high-tier battlefield and difficulty level to take on. In the case of ★Shinryu, you will be taken directly to the battlefield.
3.Except for ★Shinryu, a message will be displayed when the battle is ready, so use the veridical conflux within the specified time limit to enter the battlefield. * If you have the auto-transport function set to ON, you will automatically be taken to the battle once it is ready.
High-tier Battlefield Rewards
Like with other high-tier battlefields, the rewards for the high-tier battlefields detailed here will be available as spoils after winning the battle. Equipment corresponding to the difficulty level is also available as rewards, so it's definitely worth taking on the challenge provided by these battles.
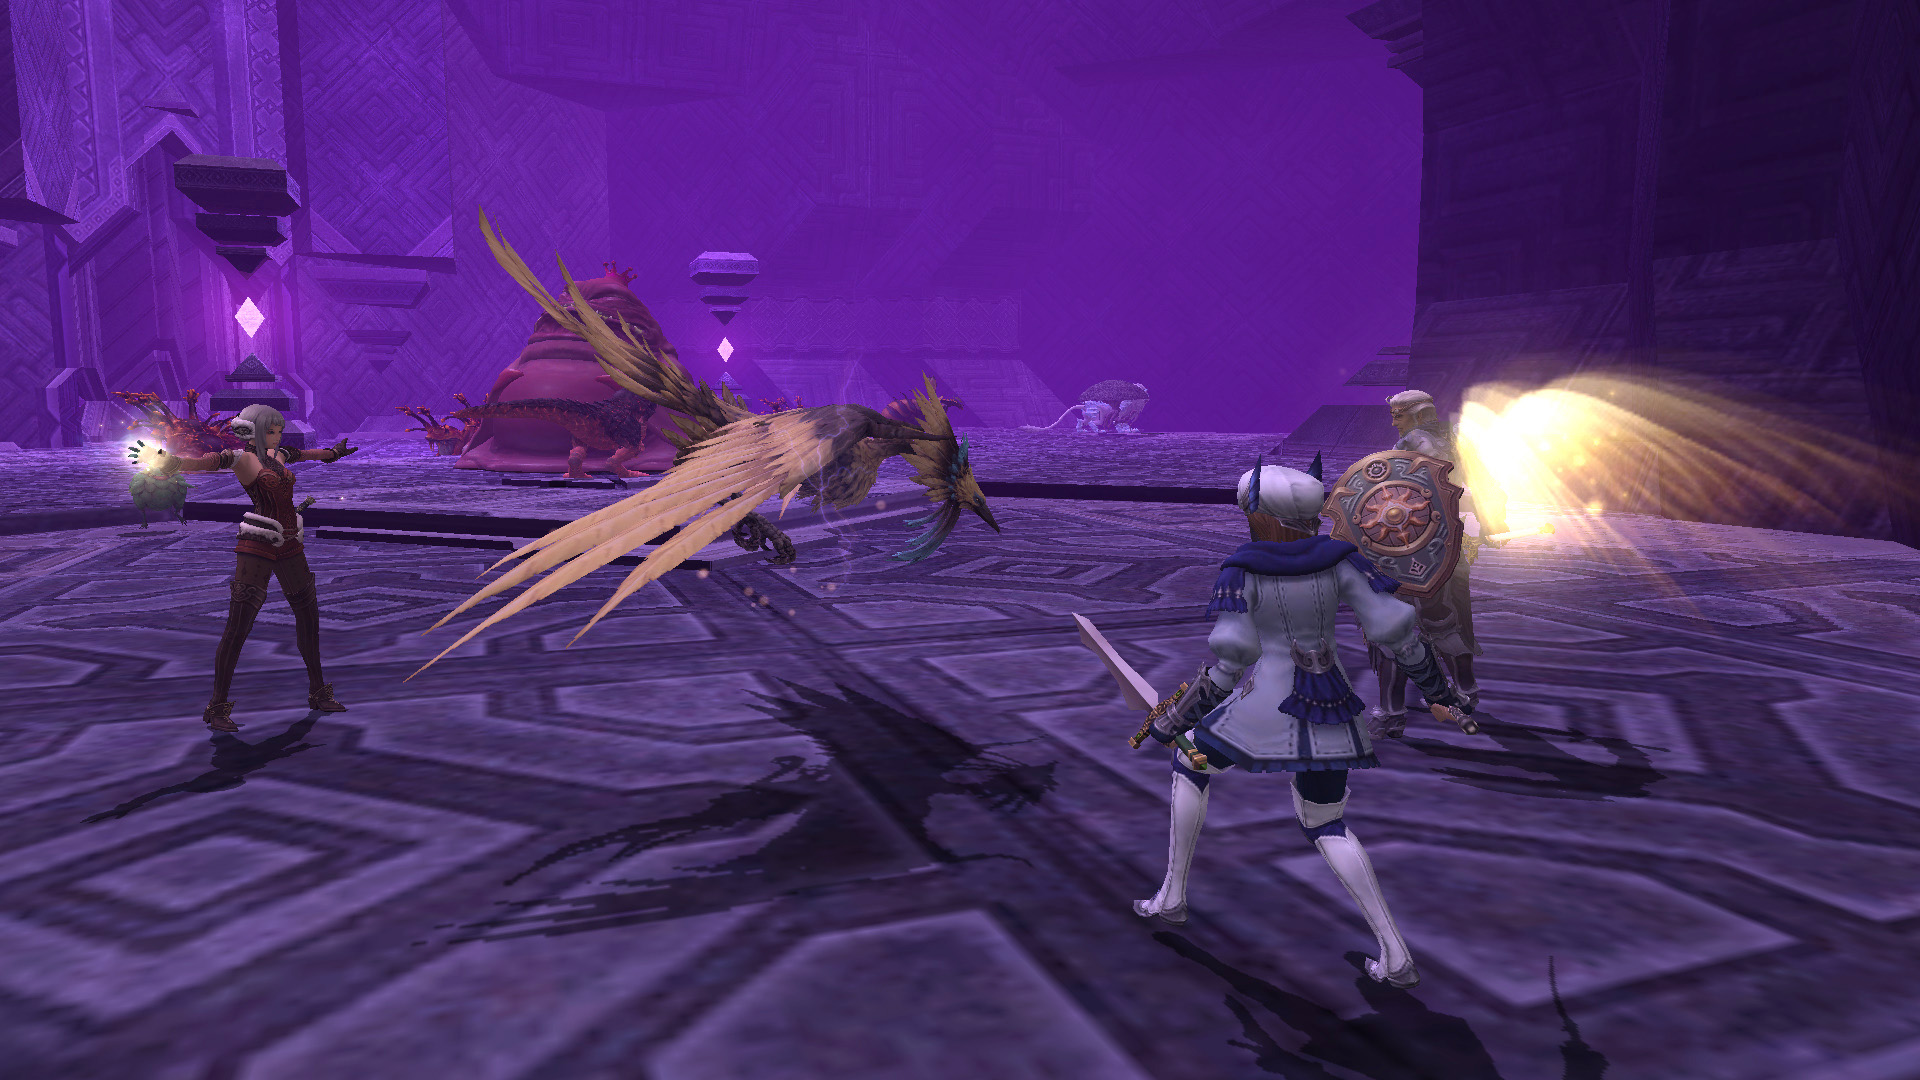
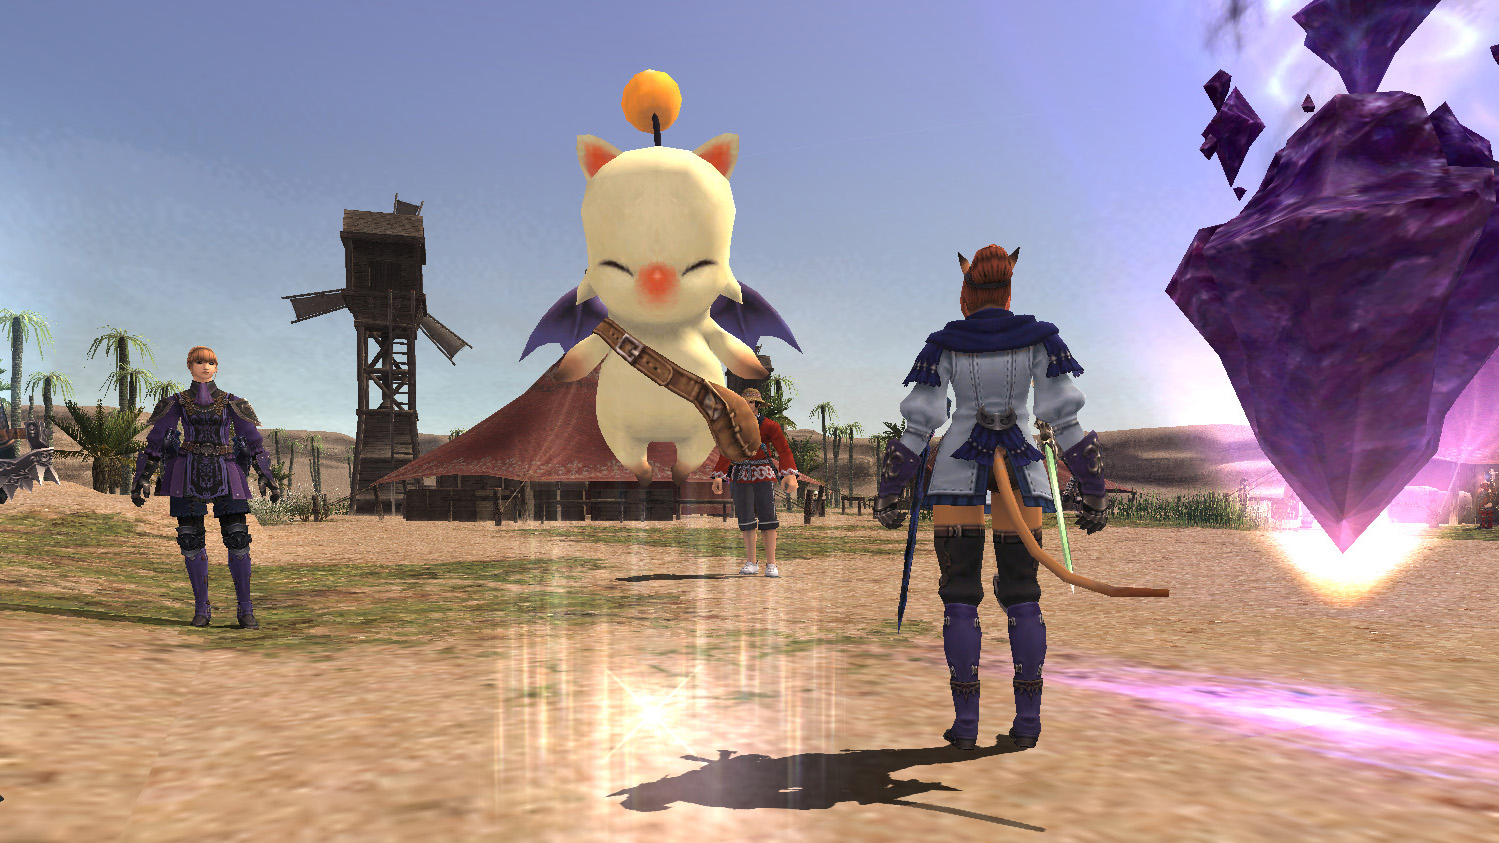
Odyssey (Sheol A–C)
Odyssey is exploration-based battle content where you defeat monsters and open treasure chests while making your way to the area's exit, known as an otherworldly vortex. There are three types of Odyssey: Sheol A, B, and C. Another type, Sheol: Gaol, will be covered further below. The monsters that appear in Odyssey have resistances to damage types other than their specific weaknesses. Be sure to try a variety of weapon types when taking them on. There are also monsters that cannot be targeted unless special conditions are met, meaning that they cannot be attacked or otherwise impeded.
In Odyssey, defeating monsters earns you a special currency known as izzat. This izzat can be used to get notorious monsters to appear and also to open treasure chests. Your izzat are reset when you exit the content, so make sure to utilize them effectively. Note that the treasure chests in Odyssey can also be opened with a key (thief's tools, living key, or skeleton key) if your main job class is Thief. However, using a key to open a chest is not always successful and the chest may sometimes turn into a mimic instead.
Requirements
・All party members must have the "moglophone" key item.
Content game flow
1.Examine the ??? in Rabao (G-6) and acquire the "moglophone" key item from the Pilgrim Moogle.
2.The party leader examines the veridical conflux in Rabao (G-6), selects an area to take on, and requests entry.
3.A message will be displayed when the battle is ready, so use the veridical conflux within the specified time limit to enter Odyssey.
* If you have the auto-transport function set to ON, you will automatically be taken to the battle once it is ready.
Odyssey Rewards
In addition to a special currency called moogle segments, defeating monsters in Odyssey can also give you upgrade materials for Wanted equipment, and various other rewards. You can also receive upgrade materials when successfully opening treasure chests. Furthermore, when you reach the exit (otherworldly vortex) and examine it, you will receive a special bonus of gil and moogle segments based on the number and types of monsters you defeated and also the number of treasure chests you opened. You can trade moogle segments to the Pilgrim Moogle that appears when you examine the ??? in Rabao (G-6) in exchange for upgrade materials, the "moglophone II" key item needed to enter Sheol: Gaol, and other items.
Upgrading Wanted equipment
You can upgrade your Wanted (+1) equipment even further by speaking to a Unity Concord NPC. Upgrading Wanted equipment requires that you reach the exit (otherworldly vortex) of the corresponding area for the equipment.
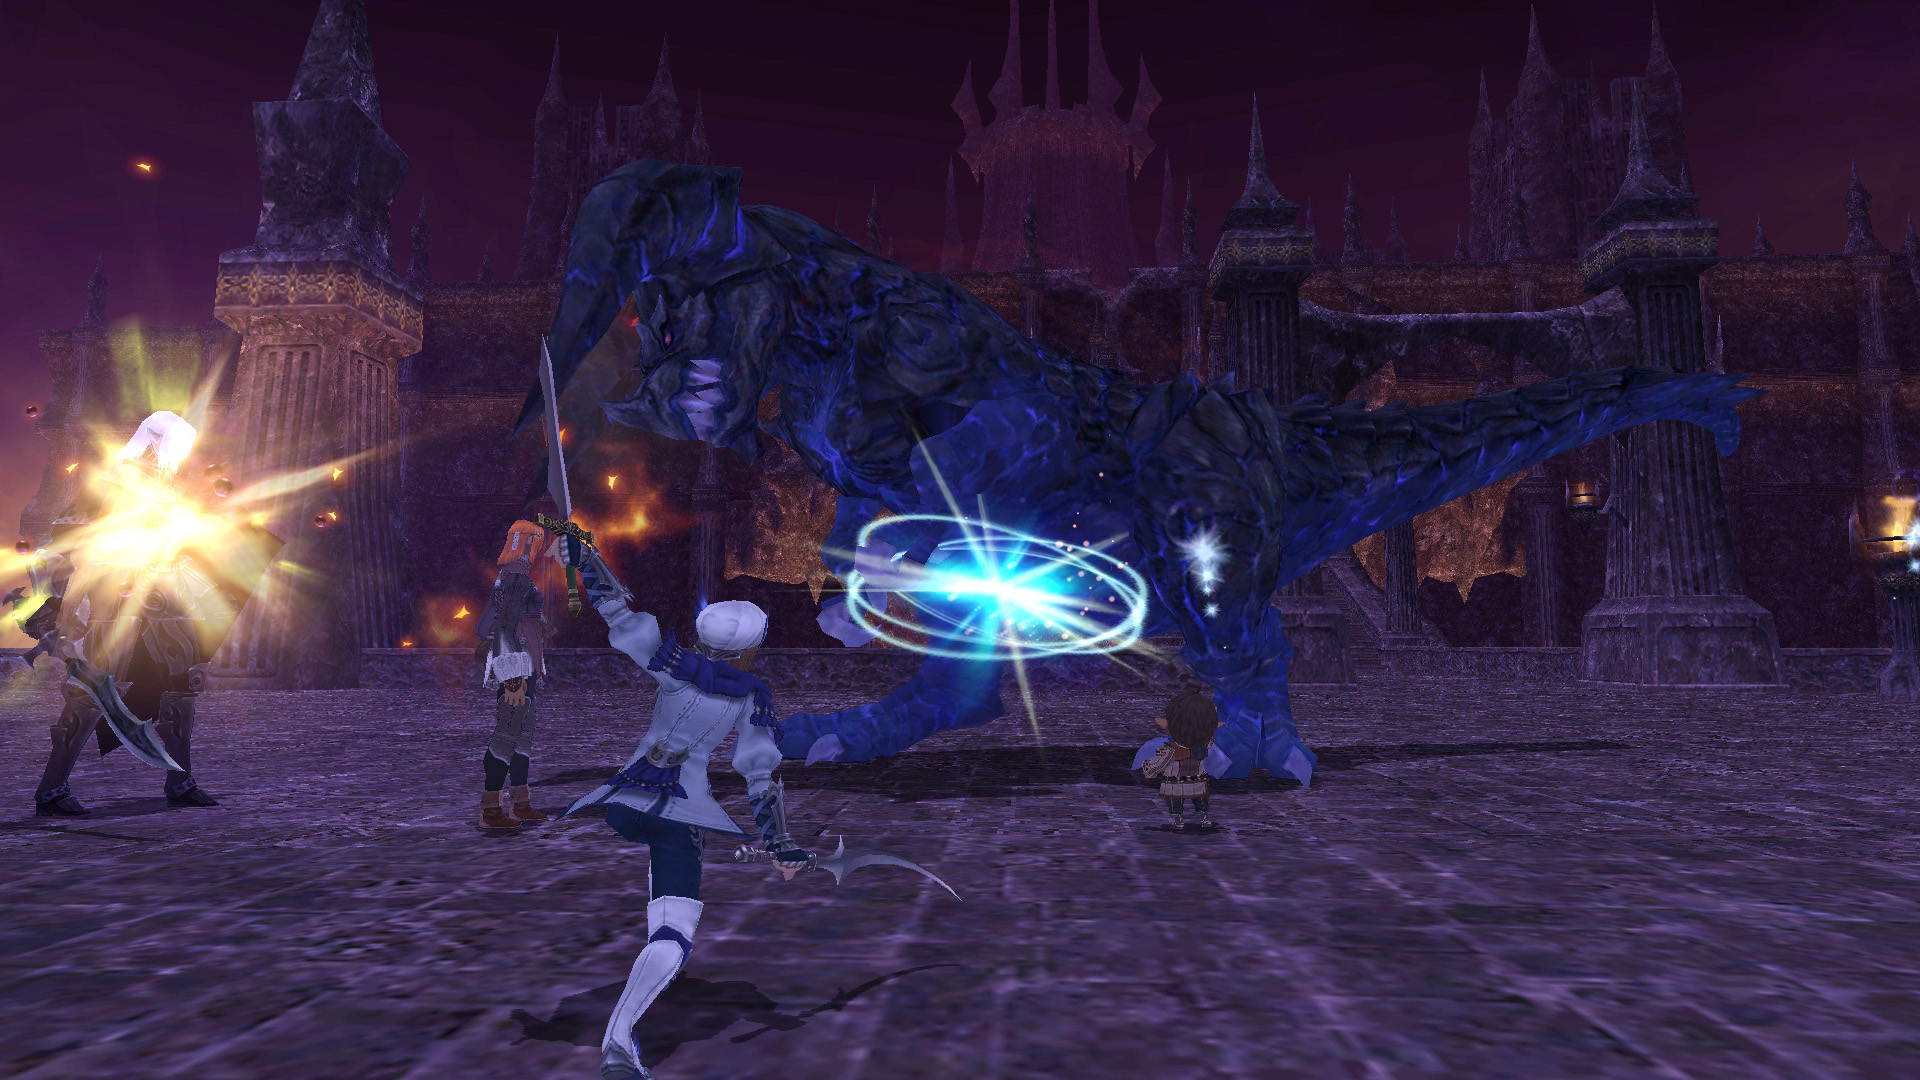
Odyssey (Sheol: Gaol)
Odyssey (Sheol: Gaol) is special battle content where you fight powerful notorious monsters and its content differs greatly from Sheol A, B, and C. You can take on up to three bosses each time you enter and you will be given preparation time between each battle. In Odyssey (Sheol: Gaol), support jobs are disabled and the same type of job and Trust magic cannot be used in more than one entry. Therefore, you are allowed to change jobs in the preparation area. You are also able to set the strength (Vengeance level) of the notorious monsters. If you defeat a monster of at least a certain level, the augmentation limit of the corresponding equipment will increase.
Requirements
・All party members must have three of the "moglophone II" key item.
Content game flow
1.Examine the ??? in Rabao (G-6) and acquire three of the "moglophone II" key item from the Pilgrim Moogle.
2.The party leader examines the veridical conflux in Rabao (G-6), selects Sheol: Gaol, and requests entry.
3.A message will be displayed when the battle is ready, so use the veridical conflux within the specified time limit to enter Sheol: Gaol.
* If you have the auto-transport function set to ON, you will automatically be taken to the battle once it is ready.
4.Enter the preparation area. Once your preparations are complete, select the notorious monster and difficulty you wish to attempt and head to the battle area.
5.After the battle against the notorious monster, return to the preparation area. If you are attempting another battle, change the job class for all party members, making sure there are no duplicates.
6.Once your preparations are complete, return to the battle area.
Odyssey (Sheol: Gaol) Rewards
After defeating the notorious monsters in Odyssey (Sheol: Gaol), the Pilgrim Moogle that appears after examining the ??? in Rabao (G-6) will have additional equipment for sale. Additionally, depleting the notorious monster's HP by a certain amount will earn you reinforcement points, which are used to upgrade certain kinds of equipment.
Upgrading Odyssey (Sheol: Gaol) equipment
You can use your accumulated reinforcement points to upgrade the equipment that you purchase from the Pilgrim Moogle. Also, the higher the difficulty level that you defeat the equipment's corresponding notorious monster on, the higher the upgrade limit for the equipment will be.
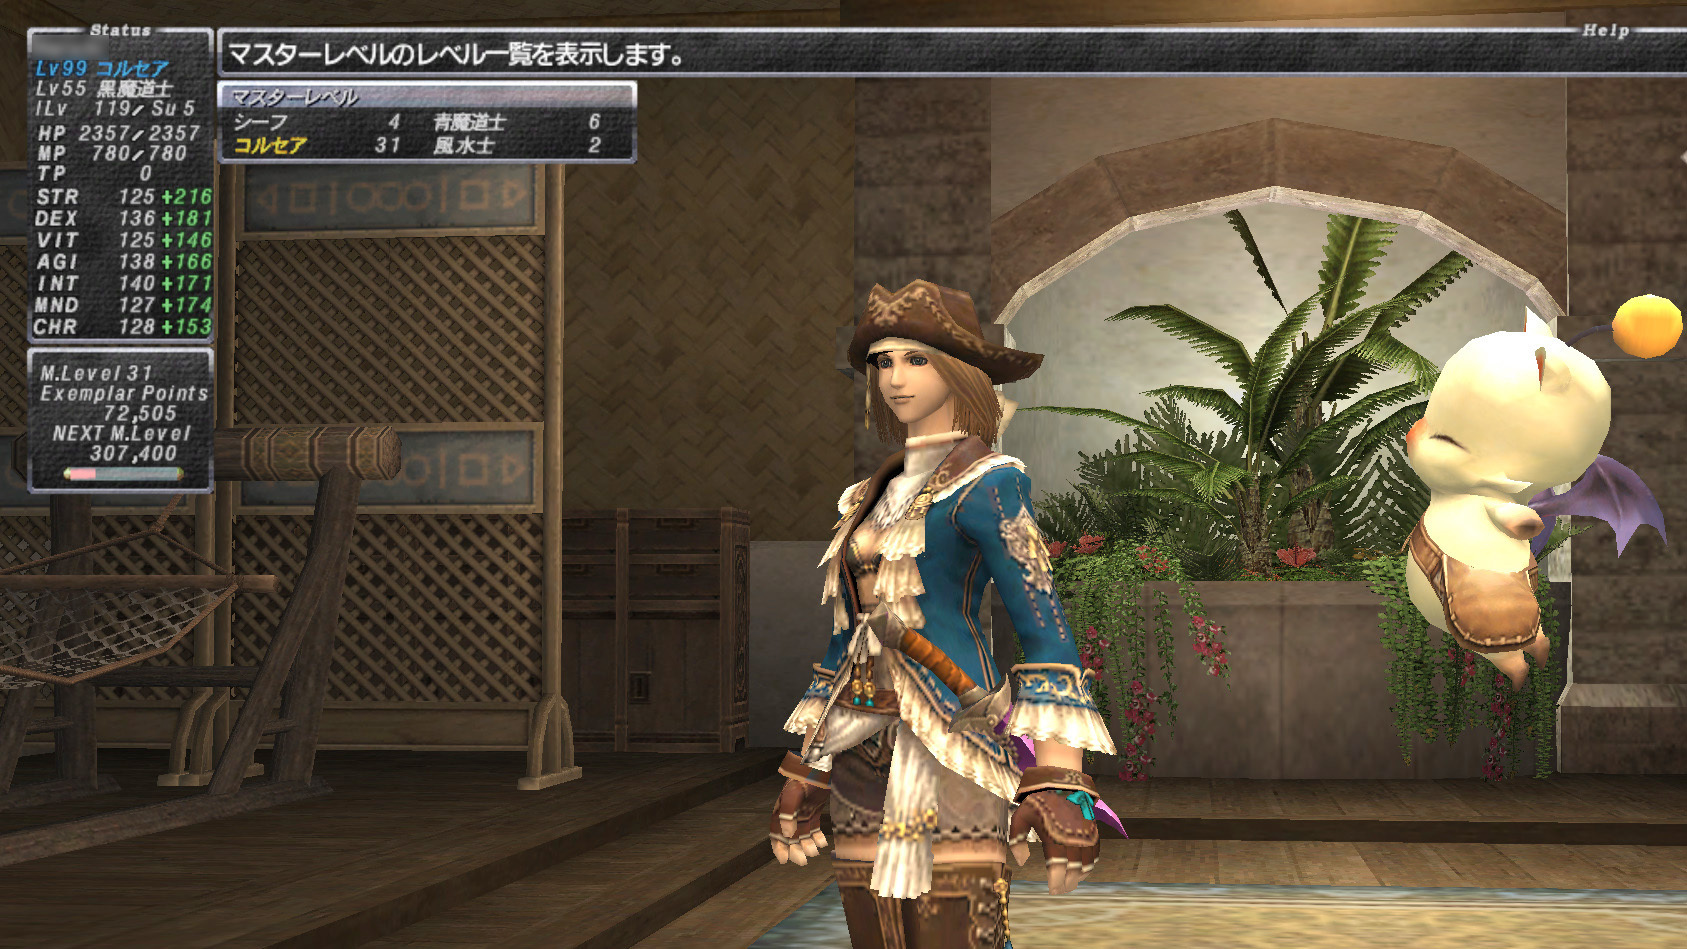
Master Levels
Master Levels are a way to further enhance the abilities of characters that have earned the title of ★Job Master by investing job points into them. As your character's Master Level increases, their basic parameter, battle skill, and magic skill caps will also increase. After every five master levels, your character's support job level cap will also be increased by one. The cap for Master Levels is 50 and the cap for Support Levels is 59.
Once you have acquired the "master breaker" key item and received the title of ★Job Master for your character's job class, defeating monsters labeled as Easy Prey or higher will earn you exemplar points. Your Master Level will increase once you acquire enough exemplar points. When you are knocked out, you will lose a portion of your experience points and also your exemplar points. Being revived by skills such as Raise will restore some of your lost exemplar points.
Obtaining the "master breaker" key item
Once you have met the requirements listed below, speak to the Nomad Moogle in Ru'Lude Gardens (H-5) to receive the "master breaker" key item.
・Your current main job is level 99.
・You have received the ★Job Master gift for your current main job.